7
3
Peripheral Installation
The peripheral and modules units provided are tested and can be supplied at your
request.
3-1
Cash Drawer
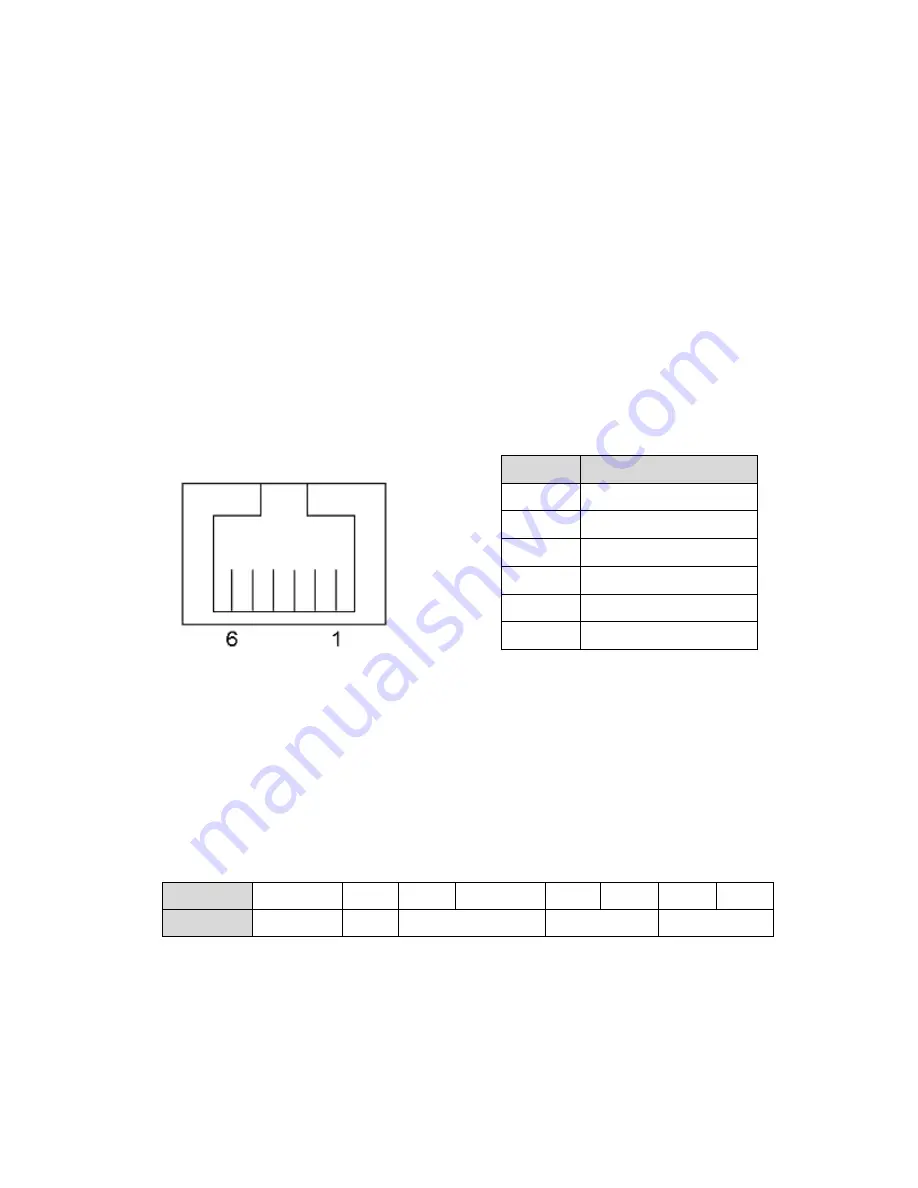
You can install a cash drawer through the cash drawer port. Please verify the pin
assignment before installation.
Check topic 6 “Jumper settings” to find out how to set the motherboard to
work with 12 or 24V cash drawers.
Cash Drawer Pin Assignment
Cash Drawer Controller Register
The Cash Drawer Controller use one I/O addresses to control the Cash Drawer.
Register Location:
48Ch
Attribute:
Read / Write
Size:
8bit
BIT
BIT7
BIT6
BIT5
BIT4
BIT3
BIT2
BIT1
BIT0
Attribute Reserved Read
Reserved
Write
Reserved
3-2
Pin
Signal
1
GND
2
DOUT bit0
3
DIN bit0
4
12V / 19V
5
DOUT bit1
6
GND
Содержание LC7100
Страница 1: ...LC7100 Smart PC...
Страница 9: ...2 2 System View 2 1 Front View Number Description 1 FRONT PLATE 2 CHASSIS COVER Optional 3 CHASSIS...
Страница 10: ...3 2 2 Rear View Number Description 4 I O PLATE...
Страница 11: ...4 2 3 Bottom View Number Description 5 Wall Mount Kit Installing Place 6 Stand Pad...
Страница 13: ...6 Front View Number Description 10 Model Label 11 USB 12 Power LED 13 Power Button 10 11 12 13...
Страница 22: ...15 6 Jumper Settings 6 1 C56 Motherboard Layout...
Страница 31: ...24 4 Change No Power to 12V 5 Press F10 to save...


