


4
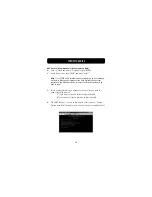
ASSEMBLING YOUR DRIVE ENCLOSURE
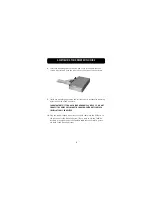
4.
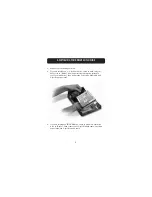
Choose the set of mounting holes that match the drive you intend to use,
and install at least four of the provided mounting screws.
Note: There are four fine-threaded screws, and four coarse-threaded screws
included with your Drive Enclosure Kit. Be sure to choose the screws that
match the mounting holes for your drive. Do not try to force a coarse-
threaded screw into a fine-threaded mounting hole.
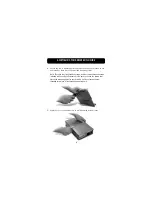
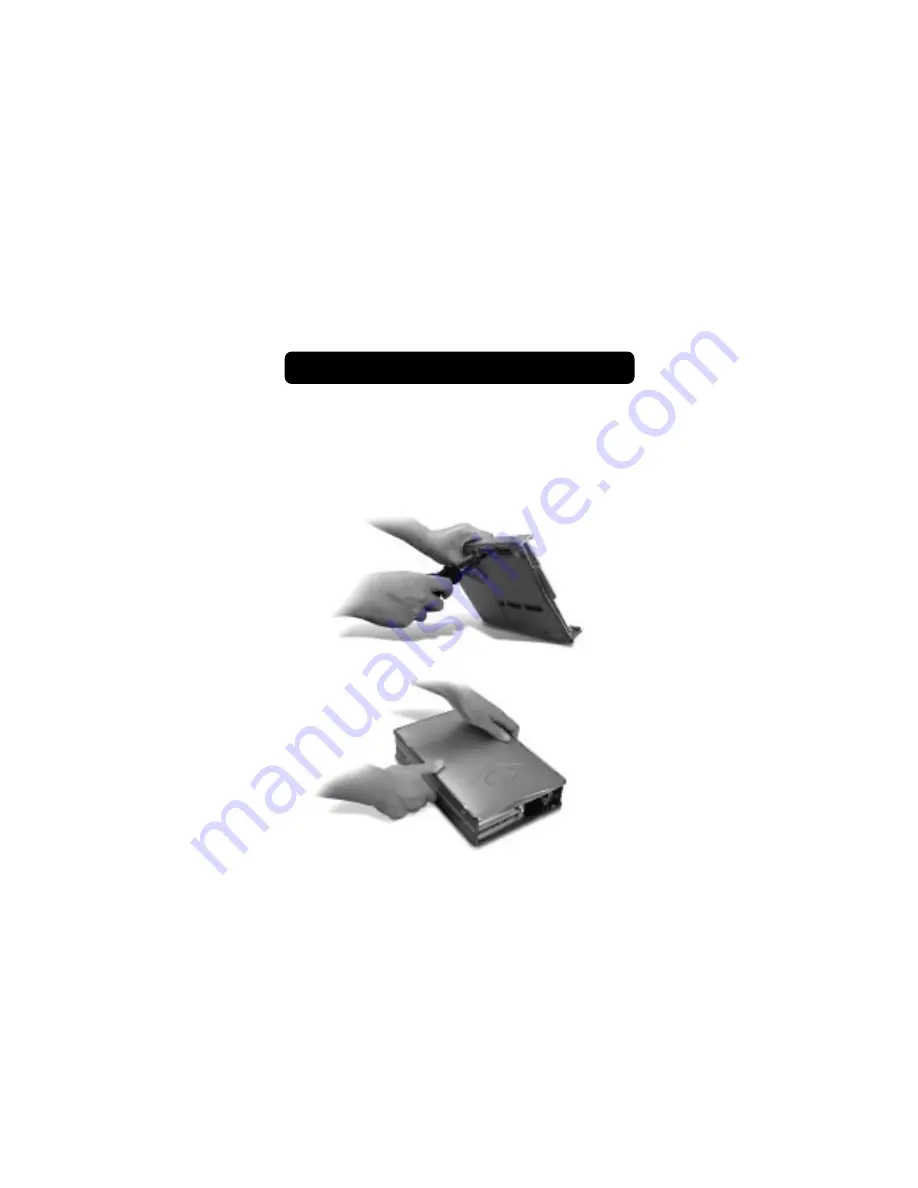
5.
Replace top cover and make sure it is aligned with bottom cover.