Manual
CX2550-0020
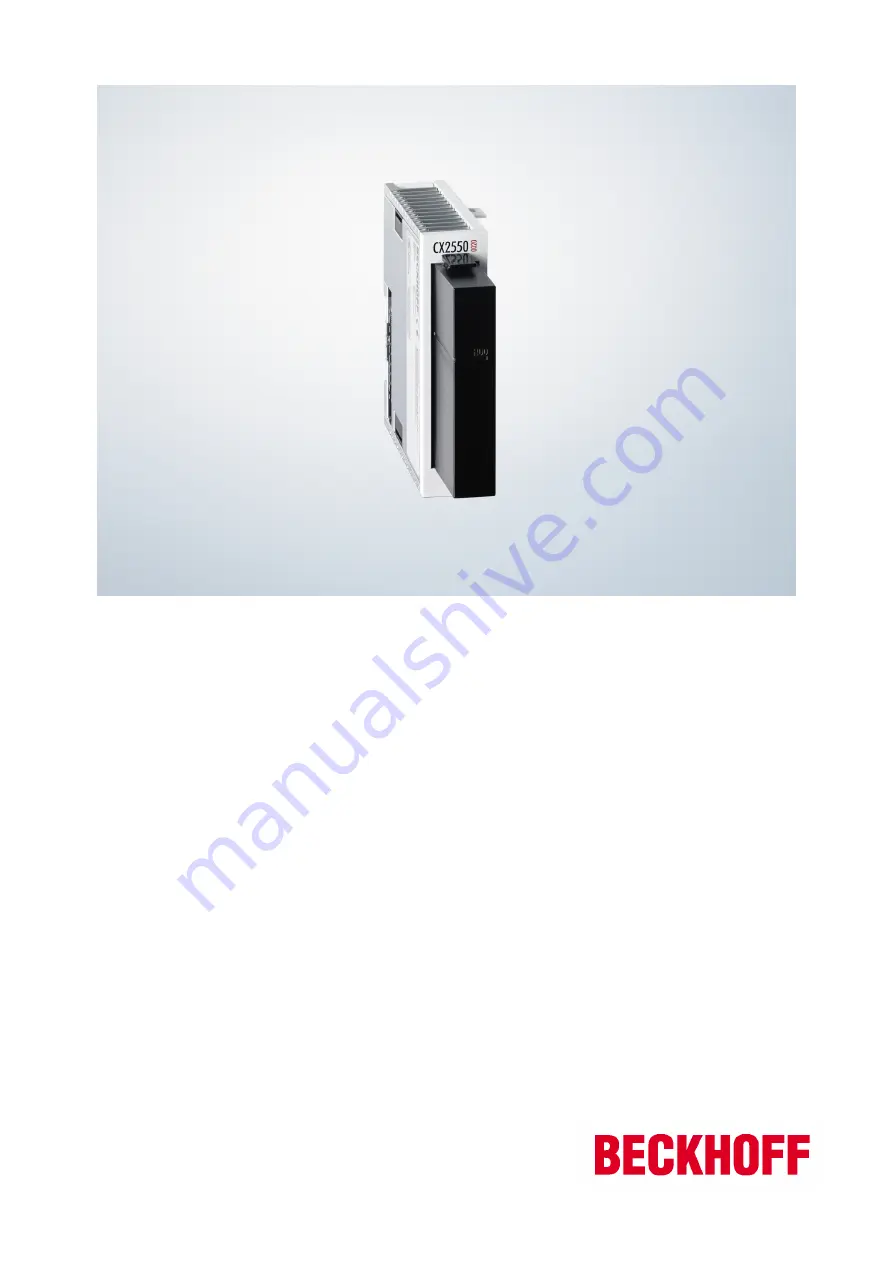
Extension module for CX2000 – Module for 2½-inch HDD/SSD
1.12016-08-31
Version:Date:
Страница 1: ...Manual CX2550 0020 Extension module for CX2000 Module for 2 inch HDD SSD 1 1 2016 08 31 Version Date ...
Страница 2: ......
Страница 3: ...ioning 18 5 1 Switching on and off 18 5 2 Installing storage media 19 5 3 Removing storage media 21 5 4 Partitioning storage media 22 5 4 1 Activating the Disk Defragmenter service 23 5 4 2 Partitioning 24 5 4 3 Deactivating the Disk Defragmenter service 26 5 5 Setting up a RAID system 27 5 5 1 Using the Beckhoff USB stick for setting up the system 28 5 5 2 Using the Intel Manager for setting up t...
Страница 4: ...Table of contents CX2550 0020 4 Version 1 1 ...
Страница 5: ...diagrams and descriptions in this documentation Trademarks Beckhoff TwinCAT EtherCAT Safety over EtherCAT TwinSAFE XFC and XTS are registered trademarks of and licensed by Beckhoff Automation GmbH Other designations used in this publication may be trademarks whose use by third parties for their own purposes could violate the rights of the owners Patent Pending The EtherCAT Technology is covered in...
Страница 6: ...familiar with the applicable national standards Description of symbols In this documentation the following symbols are used with an accompanying safety instruction or note The safety instructions must be read carefully and followed without fail DANGER Serious risk of injury Failure to follow the safety instructions associated with this symbol directly endangers the life and health of persons WARNI...
Страница 7: ...Foreword CX2550 0020 7 Version 1 1 1 3 Documentation issue status Version Modifications 1 0 First version 1 1 Chapter Recovery mode added ...
Страница 8: ...g during a function test To disconnect first pull the first terminal behind the power supply unit optional then pull the connectors of the fieldbus connections System components that have been switched off must be secured against being switched on again The Embedded PC s power supply unit must be supplied with 24 VDC Attention Damage to the environment or devices Do not exchange any parts when und...
Страница 9: ...set up when more than one storage medium is used The CX2550 0020 extension module features a 2 inch slot which is suitable for HDD SSD storage media with a thickness of up to 9 5 mm The storage media are installed at the front with the aid of a slide in frame so that they can be exchanged quickly and easily The storage medium is protected by the attachable cap which latches to the housing of the m...
Страница 10: ...pply via system bus through CX2100 0xxx power supply modules Dimensions W x H x D 24 mm x 99 mm x 124 mm Weight approx 290 g without storage medium Operating storage temperature 25 C 60 C 40 C 85 C Relative humidity 95 no condensation Vibration shock resistant conforms to EN 60068 2 6 EN 60068 2 27 EMC immunity emission conforms to EN 61000 6 2 EN 61000 6 4 Protection class IP 20 ...
Страница 11: ...kaging Keep it for transporting the device in the future 3 Check the delivery for completeness by comparing it with your order 4 Please keep the associated paperwork It contains important information for handling the unit 5 Check the contents for visible shipping damage 6 If you notice any shipping damage or inconsistencies between the contents and your order you should notify Beckhoff Service Shi...
Страница 12: ...y result in damage to the contacts of the extension modules The extension modules may only be attached on the right hand side of the basic CPU mod ule A maximum of two extension modules can be attached to the basic CPU module via the internal PCI Express bus In delivery state the extension module is equipped with a protective cap for the bus connector Before continuing connect the extension module...
Страница 13: ...asic CPU module and then into the power supply unit 5 The module clicks into the basic CPU module and the power supply unit ð The extension module has been installed successfully if the individual modules were connected straight and flush Next you can install the bar clips thereby reinforcing interlocking of the modules ...
Страница 14: ...s The modules can be securely connected to one another with the aid of bar clips Install the bar clips as follows 1 Attach the bar clips to the top and bottom of the devices 2 Push the bar clips between the cooling fins of your devices as shown in the image below ð The bar clips have been installed successfully if they don t protrude and are level with the cooling fins of your modules Once all ext...
Страница 15: ...gn of the CX2000 Embedded PC series may result in increased heat generation The heat is dissipated via a passive ventilation system Venting of the devices requires a correct installation position Ventilation openings are located at the top and bottom of the housing The system therefore has to be installed horizontally This ensures optimum airflow through the devices in vertical direction During in...
Страница 16: ... force or excessive pressure when installing the devices on the mounting rail The CX20x0 can easily be installed on the mounting rail The housing is designed such that it can be pushed against the mounting rail and engaged on it Install the devices on the mounting rail as follows 1 Unlock the latches at the top and bottom ...
Страница 17: ...ly push the devices onto the mounting rail until you can hear a click and the devices are engaged 3 Then lock the latches again ð The devices are now installed successfully Verify that the devices are installed correctly and that all devices are engaged on the mounting rail In the next step you can commission the devices ...
Страница 18: ...be found in the following documentation http beckhoff de Document name CX20x0 hardware description CX2100 00x4 power supply unit for CX20x0 CX2100 09x4 UPS power supply unit for CX20x0 Switching on for the first time When you switch on the PC for the first time the pre installed operating system optional will be started Switching off The control software typically running on Embedded PCs should be...
Страница 19: ...ne side of the storage medium on the hard disk frame mounting pins The storage medium has matching mounting brackets Make sure that the label on the hard disk frame HDD connector and the contacts on the storage medium face towards you In this way the storage medium is installed the right way round in the hard disk frame 2 Tighten the hard disk frame with little force to the storage medium and inse...
Страница 20: ...the hard disk frame to the extension module then put the cover on the extension module ð After the storage medium has been installed it is detected automatically by the basic CPU module and is ready to use In the next step you can set up a RAID system ...
Страница 21: ... in a few simple steps Prerequisite for this step Exit the software Shut down the CX system Remove the storage medium as follows 1 Remove the cover of the extension module 2 Release the screws on the hard disk frame and pull the hard disk frame together with the storage medium out of the 2 inch slot 3 Remove the storage medium from the hard disk frame ð If you have trouble removing the storage med...
Страница 22: ...er partitions Partitions may be formatted independently of other partitions Partitions facilitate housekeeping The user can determine which data is stored on which partition Individual partitions can be dedicated to data backup The minimum storage medium size for which partitioning may make sense is 8 GB Smaller storage media would quickly reach their limits since the Windows operating system and ...
Страница 23: ...dustrial PC with Windows Embedded Standard operating system or higher Activate the Disk Defragmenter service as follows 1 In the taskbar click on Start Control Panel The Control Panel window opens 2 Click on Administrative Tools then Services The Services window opens 3 Double click on Disk Defragmenter The Disk Defragmenter Properties window appears 4 Under Startup type select the option Automati...
Страница 24: ...rerequisites for this step The Disk Defragmenter service must be enabled Partition your storage media as follows 1 In the taskbar click on Start Control Panel The Control Panel window opens 2 Click on Administrative Tools then Computer Management The Computer Management window appears 3 In the tree view click on Disk Management The installed storage media are displayed 4 Right click on a storage m...
Страница 25: ...apacity appears 6 Right click on the section with non allocated storage capacity 7 In the context menu click on New Simple Volume Follow the installation instructions to create a new logic storage medium ð You have now successfully partitioned a storage medium The new storage medium appears next to the reduced storage medium Be sure to disable the Disk Defragmenter service after the partitioning s...
Страница 26: ...ervice Prerequisites for this step Completed partitioning of the storage media Deactivate the Disk Defragmenter service as follows 1 In the taskbar click on Start Control Panel The Control Panel window opens 2 Click on Administrative Tools then Services The Services window opens 3 Double click on Disk Defragmenter The Disk Defragmenter Properties window appears 4 Under Startup type select the opti...
Страница 27: ...rough redundancy as well as higher data throughput For this option at least three storage media are required Note Optimum RAID system An inappropriate RAID option can lead to data loss Ensure optimum data security for your system and the devices used in it Only use the RAID 1 option for your RAID system in order to ensure enhanced data secu rity in case of failure of the storage media Recommendati...
Страница 28: ...e RAID Volume appears 3 Used the tab key to select the field Name and enter a name for the RAID system 4 Under RAID Level select the option RAID 1 5 Use the tab key to navigate to Create Volume and confirm the settings with Enter 6 Acknowledge the data loss warning with Yes The MAIN MENU appears The RAID system appears with the name you specified and the RAID system status is displayed as Normal I...
Страница 29: ...may occur during the RAID configuration First format the additional storage media you wish to include in the RAID system With this method the RAID system is set up with the Intel Manager A key advantage of this method is that the image does not have to be reloaded The Intel Manager is already pre installed on the device Prerequisites for this step At least two storage media have to be installed in...
Страница 30: ...D 1 4 Click on Next 5 In the Name field enter a name for the RAID system Tick the checkboxes Disk on port 0 and Disk on port 2 Select the option Yes Disk on port 2 to determine which storage medium is to be mirrored The option Disk on port 2 matches the system drive C on which the image is installed 6 Click on Next ...
Страница 31: ... then OK to create the RAID system ð The RAID system is created The Intel Manager changes to status view and shows the newly created RAID system and the storage media used In addition the progress of the data migration to the second storage medium is displayed in percent ...
Страница 32: ...le How to replace storage media in the RAID system 1 Start the Intel Manager under Start All Programs Intel Intel Rapid Storage Technology In the program window the available RAID system appears under Storage System View A malfunction is indicated by a warning sign over a faulty or removed storage medium The new storage medium which was installed as replacement is shown below 2 Click on Rebuild to...
Страница 33: ...0 0020 33 Version 1 1 3 Select the option Disk on port 0 and click on Rebuild ð You have successfully replaced a damaged storage medium and restored the RAID system The progress of the restoration is indicated in percent ...
Страница 34: ...r this step RAID system already installed How to delete a RAID system with the Intel Manager 1 Start the Intel Manager under Start All Programs Intel Intel Rapid Storage Technology 2 In the toolbar click on Manage then Delete Volume 3 Click on Yes to acknowledge the warning ð The RAID system was deleted successfully The storage media are displayed individually in the status overview of the Intel M...
Страница 35: ... recovery disk Use the On request mode for your Recovery system only In this mode you need to request data updates manually to copy master disk changes to the recovery disk Prerequisites for this step At least two storage media have to be installed in the device How to set up the recovery mode 1 Start the Intel Manager under Start All Programs Intel Intel Rapid Storage Technology 2 In the toolbar ...
Страница 36: ... Port 0 7 Select the update mode On request to manually request data updates and copy changes from the master to the recovery storage media 8 Click on Create Volume and then OK to create the Recovery system ð The Recovery system is created The Intel Manager changes to status view and shows the newly created Recovery system and the storage media used In addition the progress of the data migration t...
Страница 37: ...Cause of the fault is either in the software or in parts of the plant outside the Embedded PC Call the manufacturer of the machine or the software CF card access error Faulty CFast card faulty CFast slot Use a different CFast card to check the CFast slot Call Beckhoff Support Embedded PC only works partially or temporarily Defective components in the Embedded PC Call Beckhoff support Please make a...
Страница 38: ...vidual modules to be replaced or removed quite easily This section describes how to remove devices from the CX2000 Embedded PC series Prerequisites for this step Exit the software and shut down the CX20x0 hardware configuration Disconnect the power supply Remove the devices as follows 1 Remove the wiring from the basic CPU module any system interfaces that may be connected and the extension module...
Страница 39: ...d from the support rail The bar clips can then be removed with the aid of a screwdriver Remove the bar clips as follows 1 Lift the bar clips with the aid of a screwdriver 2 Once you have raised the bar clips the bar clips can be removed ð Once the bar clips have been removed successfully the modules can be separated from each other Disposal The device must be fully dismantled in order to dispose o...
Страница 40: ...tes of America FCC Federal Communications Commission Radio Frequency Interference Statement This equipment has been tested and found to comply with the limits for a Class A digital device pursuant to Part 15 of the FCC Rules These limits are designed to provide reasonable protection against harmful interference when the equipment is operated in a commercial environment This equipment generates use...
Страница 41: ...mponents there Beckhoff Headquarters Beckhoff Automation GmbH Co KG Huelshorstweg 20 33415 Verl Germany Phone 49 0 5246 963 0 Fax 49 0 5246 963 198 e mail info beckhoff com Beckhoff Support Support offers you comprehensive technical assistance helping you not only with the application of individual Beckhoff products but also with other wide ranging services support design programming and commissio...