


55
NAVIGATION MODE
>>>
> D
> GB
> F
> I
> PL
By pressing of the
button next to
the selected POI, you can display the
additionally available information for the
destination.
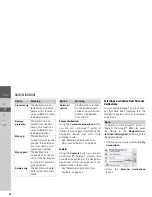
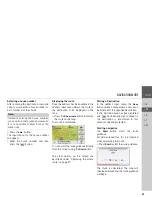
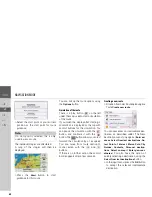
Point of interest near to destination
>
Press the
POI near destination
button.
The categories available near to the
destination are displayed.
>
Select the desired point of interest as
described under "Point of interest in
the vicinity" on page 53.
POI on route
>
Press the
POI on route
button
The available Point of Interest categories
available on the whole route will be
displayed.
>
Select the desired point of interest on
the route as described under "Point of
interest in the vicinity" on page 53.
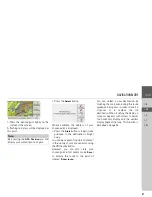
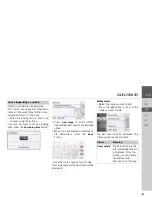
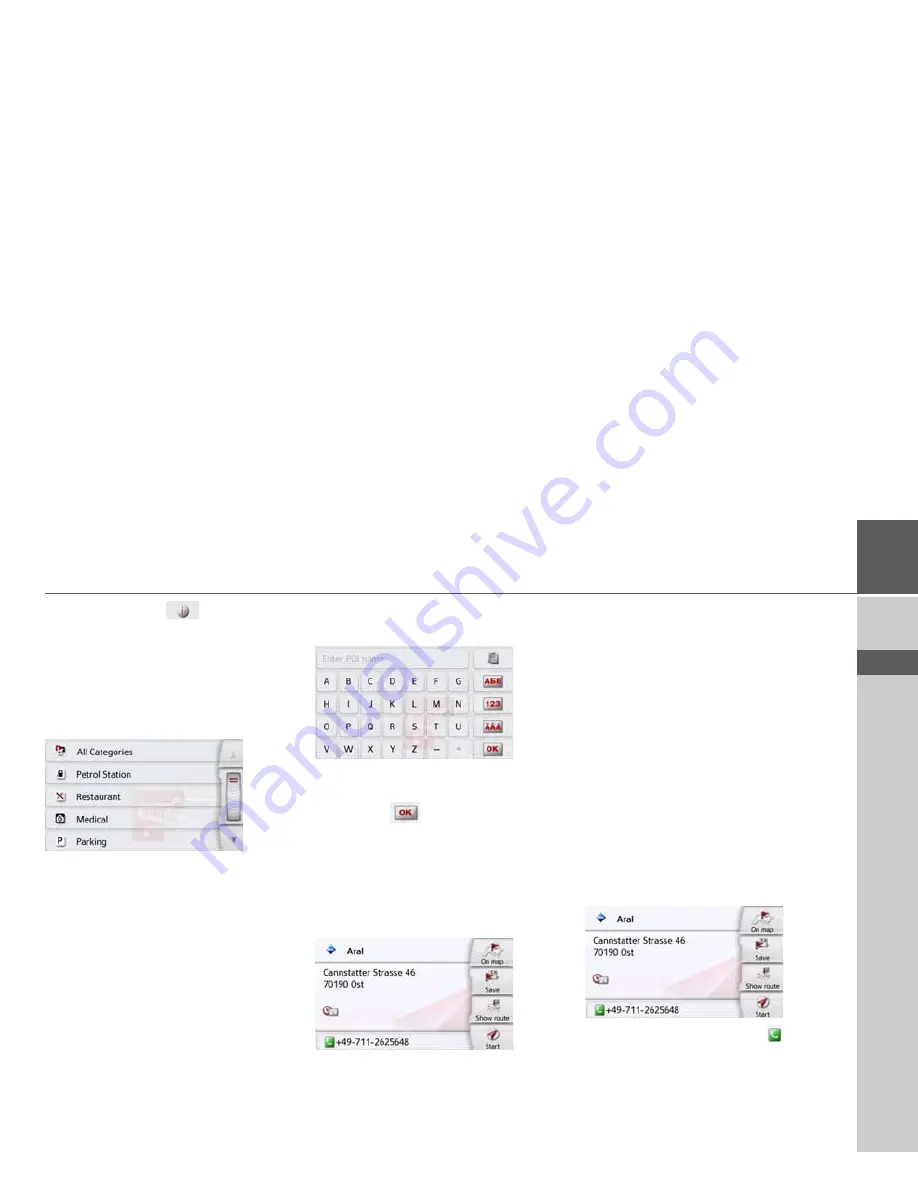
Entering a point of interest directly
>
Press the
POI search by name
button.
>
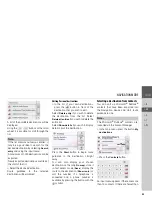
Enter the desired point of interest or
part of the name.
>
Press the
button.
The Navigation device displays in a list all
the points of interest corresponding to
the name entered.
>
Select the desired destination in the
list.
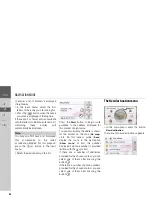
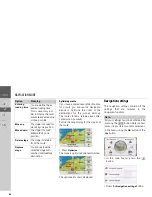
You will now receive additional informa-
tion about your chosen destination.
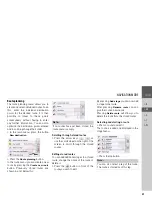
>
Press the
Start
to begin route guidance
to the point of interest straight away.
However, you can also display your
chosen point of interest on the map (
On
map
), store it in fast access mode (
Save
)
or display the route to the point of
interest (
Show route
).
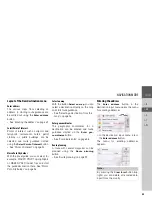
Calling special destination phone number
(depending on the model)
You can dial directly phone numbers
specified in the information on a point of
interest
The prerequisite here is that a cell phone
is connected via Bluetooth with the
Navigation device.
>
Press the button with the
symbol
shown at the bottom of the point of
interest information screen.
The call will be initiated.
Содержание BE D03
Страница 1: ...OPERATING GUIDE ...
Страница 149: ...3LGRCBÍ TGE RGMLÍ K J ͱ ͱEͱ LJ Á Á KL E JG Germany UUU KW CAICP AMK ...


