background image

13

Q UESTionS ?   Ca ll   503 . 632 . 4114

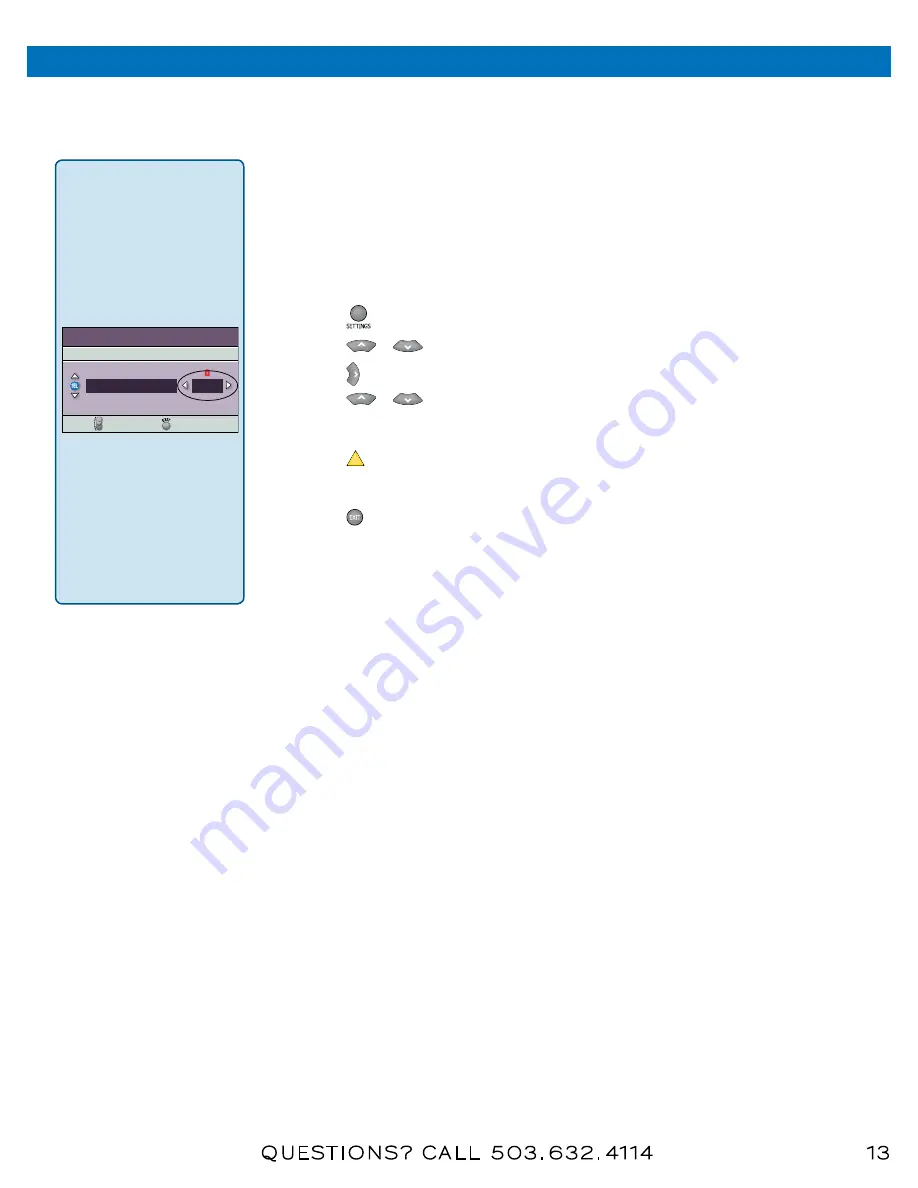
Adjust Your HD Picture using General Settings

You can adjust how your DVR displays pictures using the Picture Format and TV Borders general Settings 

menu options.

Set Your Default Picture Format

By automating picture adjustments, the DVR uses a method that you choose to automatically select the 

picture format that provides the best display possible. The methods that you can select from depend 

partly on the type of video connection your HDTV uses.


1. Press 

 twice to access general Settings.


2. Press 

 or 

 to select Set: Picture Format.


3. Press   to select the picture format setting.


4. Press 

 or 

 to display each option.


Note: See the “general Settings: Set Picture Format” box on the next page for an explanation 


of each option.


5. Press 

A

 to accept the option for the DVR.


Note: The Explorer 8300

 DVR (8300) front panel displays the selected option and scan rate. For 

example, if you selected Pass-Through, the 8300 front panel displays AuTO.


6. Press   to return to normal viewing.

Note: If you select Pass-Through 

or Auto DVI/HDMI in the General 

Settings: Set Picture Format, you 

cannot change the Picture Format 

in the Quick Settings menu (the 

Picture Format option will not be 

shown). You can only stretch and 

zoom the picture with the # key 

on the remote 

or

 within Quick 

Settings.

Pass-Through means that the DVR 

does not change the active signal 

it receives. It is just passing the 

signal through to the TV. Changing 

the picture format in General 

Settings: Set Picture Format to 

Fixed lets you “fix” or adjust the 

format in Quick Settings.

Quick Settings

Highlight an option, then press SELECT.

Turn OFF Parental Control

Picture Format

Picture Size

720p

Normal

Return to TV

More Settings

aDjUST yoUR HDTV piCTURE

Содержание Explorer 3250 HD

Страница 1: ...Standard HDTV Set Up Guide Questions Call 503 632 4 1 1 4 Ex p l o re r 3250 HD 4250 HD C...

Страница 2: ......

Страница 3: ...s call 503 632 4114 table of contents Introduction 4 Safety Compliance 5 using your remote control 6 connect the 3250HD 7 connect the 4250HDC 8 Set Up Wizard 10 Adjust your picture 12 using the progra...

Страница 4: ...eractive Set Top to your television viewing experience Your new HD Set Top provides you the ability to view cable television programming for high definition television HDTV as well as standard definit...

Страница 5: ...tact with any inside part of this product WARNING TO PREVENT FIRE OR ELECTRIC SHOCK DO NOT EXPOSE THIS UNIT TO RAIN OR MOISTURE Overloading Do not overload electrical outlets extension cords or integr...

Страница 6: ...choice On screen decision buttons Exit hides interactive screens Recall favorite channels Recall last channel Return to liveTV programming Fast forward the DVR VCR or DVD Record the DVR VCR or DVD Pau...

Страница 7: ...RENCE TO RADIO COMMUNICATIONS AND IS IN VIOLATION OF THE FCC RULES PART 15 S VIDEO OUT AVIS RISQUE DE CHOC ELECTRIQUE NE PAS OUVRIR CAUTION RISK OF ELECTRIC SHOCK DO NOT OPEN CABLE IN BYPASS CABLE IR...

Страница 8: ...ng back to HDMI when you are not using the home theater or Dolby Digital decoder or you can connect the baseband audio outputs OUT 1 Audio Left and Right to the TV Digital content is encrypted with Hi...

Страница 9: ...RADIO COMMUNICATIONS AND IS IN VIOLATION OF THE FCC RULES PART 15 120 VAC 60HZ 400W LISTED 14H1 CABLE EQUIP 120 VAC 60HZ 40W CABLE IN 1394 S VIDEO OUT OPTICAL AUDIO OUT USB CABLE OUT VIDEO OUT DIGITAL...

Страница 10: ...e with your HDTV for reference Is There More Than One Setup Option Yes The Setup Wizard provides two options Easy and Advanced If you choose the Advanced option you can toggle through all the picture...

Страница 11: ...is set to receive programming in 480i format on non HD channels and 1080i format on HD channels If you pressed B for the widescreen 16 9 setting the TV is set to only receive programming in 1080i form...

Страница 12: ...thod in the Setup Wizard only the settings 480i and 1080i are available for you to select 5 Press to view the picture with this setting 6 If necessary repeat these steps to find a setting that you pre...

Страница 13: ...to accept the option for the DVR Note The Explorer 8300 DVR 8300 front panel displays the selected option and scan rate For example if you selected Pass Through the 8300 front panel displays AUTO 6 P...

Страница 14: ...displays the programs according to the option you selected 5 Press to return to the previous screen displayed Note The Browse By option only shows programs for the current date For information about s...

Страница 15: ...currently being broadcast Note New next to a program indicates that the program is a on for the first time first run program Note HD next to a program indicates that the program is a high definition...

Страница 16: ...CC Rules Operation is subject to the following two conditions 1 the device may not cause harmful interference and 2 the device must accept any interference received including interference that may cau...

Отзывы: