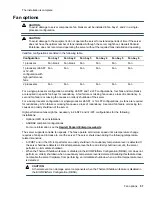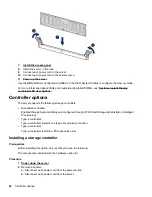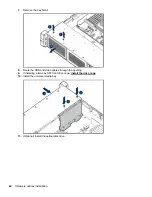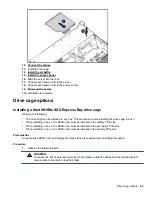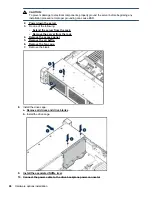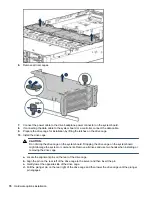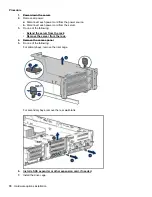
11. Connect the data cables from the drive backplane to the NVMe riser
.
12. Install drives
or drive blanks.
The installation is complete.
Installing a front 6SFF SAS/SATA + 2NVMe Premium drive cage
The drive cage can be installed in any box. This procedure covers installing the drive cage in box 1.
Prerequisites
A storage controller and high-performance fans are required when installing this drive cage.
Procedure
1.
Observe the following alerts.
WARNING:
To reduce the risk of personal injury from hot surfaces, allow the drives and the internal system
components to cool before touching them.
CAUTION:
To prevent damage to electrical components, properly ground the server before beginning any
installation procedure. Improper grounding can cause ESD.
2.
.
3.
Do one of the following:
•
Extend the server from the rack
.
•
Remove the server from the rack
.
4.
5.
6.
.
7.
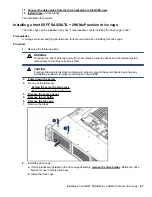
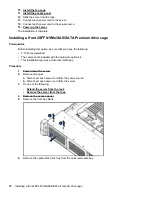
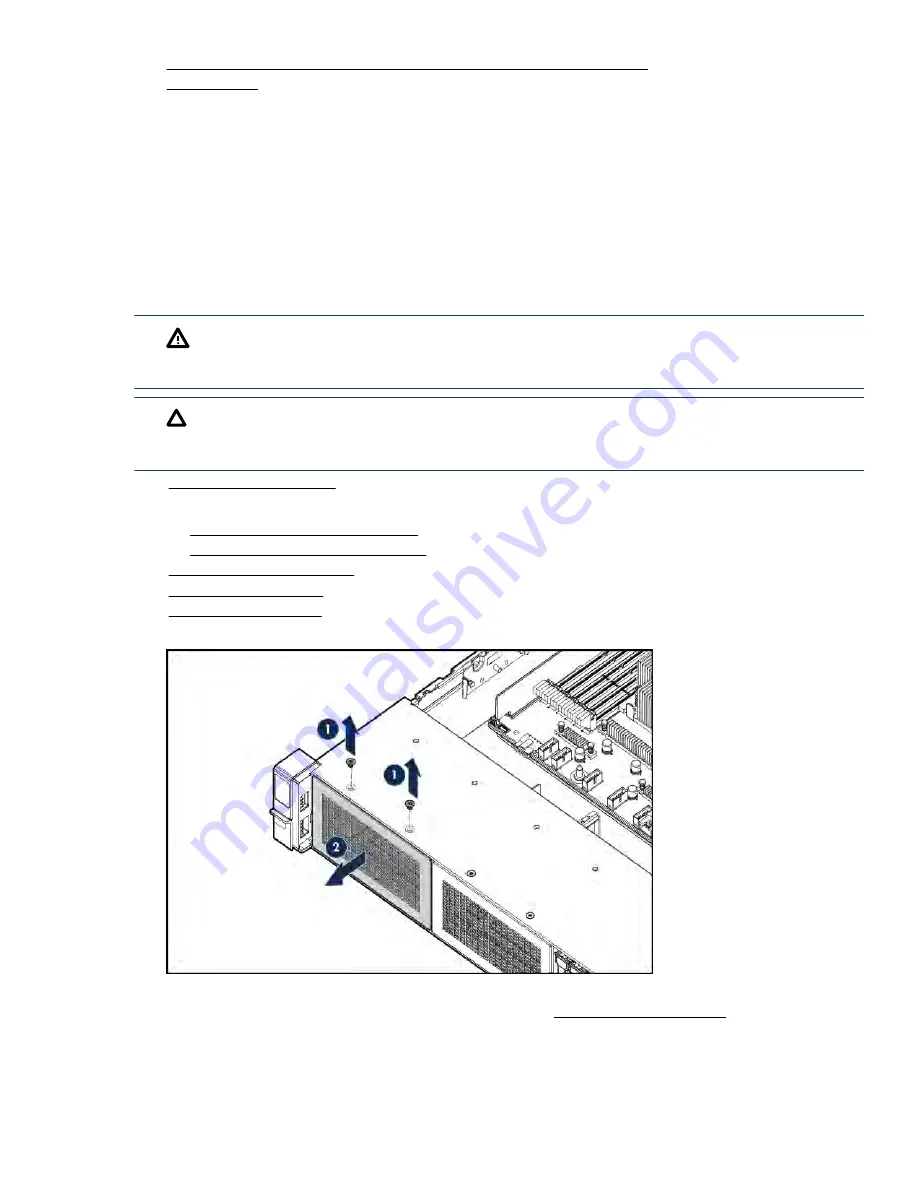
Remove the blank.
8.
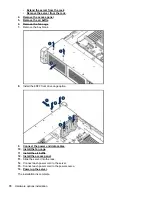
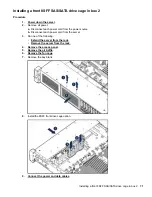
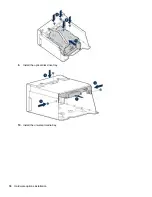
Install the drive cage:
a.
If drive blanks are installed in the drive cage assembly,
blanks for use in empty drive bays.
b.
Install the drive cage.
Installing a front 6SFF SAS/SATA + 2NVMe Premium drive cage
67
Содержание BCD221
Страница 7: ...Documentation feedback 157 Contents 7 ...
Страница 27: ...Component identification 27 ...
Страница 43: ...Operations 43 ...
Страница 74: ...9 Install the optical disk drive tray 10 Install the universal media bay 74 Hardware options installation ...
Страница 80: ...Remove the secondary wall blank 6 Remove the tertiary wall blank 80 Hardware options installation ...
Страница 81: ...7 Install the drive cage compatible rear wall 8 Install the drive cage Hardware options installation 81 ...
Страница 123: ...LFF models Cable routing Front 8SFF drive options Box 1 to SAS Expander Cable routing Front 8SFF drive options 123 ...
Страница 124: ...Box 2 to SAS Expander All boxes 124 Cabling ...
Страница 126: ...Box 2 Box 3 126 Cabling ...
Страница 127: ...Cable routing Front 2SFF NVMe drive option for SFF Cable routing Front 2SFF NVMe drive option for SFF 127 ...

