background image


Audio Input Connections (Made at factory amplifier) 

1.

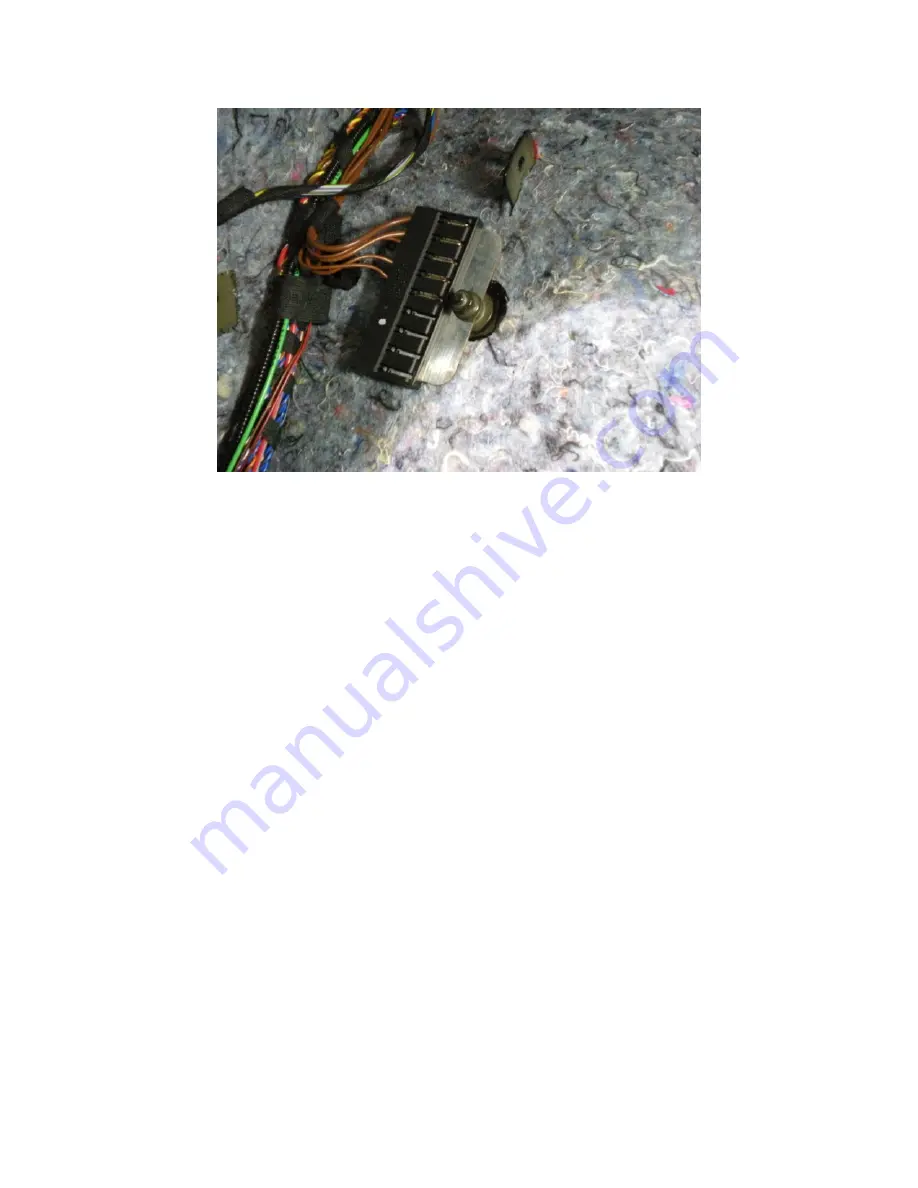
Note the rectangular black box that was included in your amplifier wiring kit. It 

has 7 total wires coming off it, and for this section, we’ll be using the White, 

White/Black and Grey, Grey/Black wires. The red, blue, and black wire 

connections will be covered in the Remote Turn On section.

2.

Now, we need to isolate the 4 wires on the BMW wiring harness that we’re 

going to be working with. They are twisted together in pairs, and are found in 

the main wiring harness that plugs directly into the factory amplifier which we’ll 

unplug.

Содержание BMW E90

Страница 1: ...rk on your vehicle Ensure that your bass and treble settings are set to their default middle positions before installing your new speaker upgrade Once you ve installed your Stage 1 you can reset the bass and treble settings to taste Keep in mind that we generally recommend keeping them both very close to center as large adjustments introduce distortion into the audio signal and will lower performa...

Страница 2: ...e driver side of the carpeted paneling in the trunk Lift the floor panel out of the trunk exposing the bottom edge of the passenger side panel There is no need for further disassembly 1 Locate the three 3 fasteners that secure the driver side carpeted panel to the frame of the vehicle 2 Using your Bavsound Metal panel removal tool slide the fork of the tool between the smaller head of the plastic ...

Страница 3: ...s attached to the chassis using a Torx T40 bolt This needs to be removed as well as the plastic housing that surrounds the bolt 4 With the tie down removed we now need to look to the center plastic piece that sits along the edge of the trunk It is attached by two 2 Philips head screws on the top portion and four 4 plastic fasteners along its bottom rear facing panel ...

Страница 4: ...screws that attach the top portion of the panel We need to use our Bavsound right angle pick tool to remove the plastic covers on either side of the panel Once removed using a Philips head screwdriver remove the screws from either side of the panel ...

Страница 5: ...note These fasteners can be VERY tight Be patient here Use the same methodology as when removing the trunk carpet liner fasteners 7 Now with all of the fasteners removed we can remove the plastic trunk lip panel by lifting upward and toward the front of the vehicle simultaneously Note the metal trunk tie downs that you will have to maneuver around when lifting the ...

Страница 6: ... your hands 8 It s time to remove the driver side carpeted panel at this point Using your hands free the panel from the edge of the trunk as shown in the photo and pull the panel inward toward the center of the vehicle Once you re at this point pull the trunk liner outward towards the exit of the trunk 9 With the panel removed you will see the factory amplifier and all of the associated wiring har...

Страница 7: ...ng Location for New Amplifier 1 With everything removed we now need to decide on a location to mount our new amplifier Most vehicles have ample room beneath the center floor piece as shown in the photo below ...

Страница 8: ... will simply Velcro the amplifier to the chassis Power Ground Connections for the new Amplifier Before you make any connections we must insist on disconnecting the negative battery terminal from the battery This will eliminate any chance electrical damage to the vehicle Power Wire Red Wire You ll want to run the large red wire to the positive terminal of the battery We need to first remove the 10m...

Страница 9: ...imary power supply for your new amplifier This wire will be connected to the 12 terminal on the amplifier Do NOT put the fuse into the fuse holder until you have connected the other end of the wire to the amplifier Once you ve made this connection at the new amplifier it is safe to install the included fuse into the fuse holder ...

Страница 10: ...ted on the passenger side of the vehicle in the photo shown below To attach the ground wire simply remove the factory 10mm nut using your Bavsound nut driver slide the ring terminal attached to the ground wire over the factory bolt reattach the 10mm nut being careful to firmly secure the nut ...

Страница 11: ...e ll be using the White White Black and Grey Grey Black wires The red blue and black wire connections will be covered in the Remote Turn On section 2 Now we need to isolate the 4 wires on the BMW wiring harness that we re going to be working with They are twisted together in pairs and are found in the main wiring harness that plugs directly into the factory amplifier which we ll unplug ...

Страница 12: ...k Stripe twisted with Brown w Orange Stripe Yellow w Black Stripe twisted with Brown w Orange Stripe Keep in mind that we are essentially T ing into the wires Tapping into the factory wires using the blue butt connectors the connections will essentially be as follows ...

Страница 13: ...ack Stripe White Black Brown w Orange Stripe At this point we will cut the factory wires in half one at a time We recommend making your connections one side at a time so as to avoid to any mistakes Strip back of the insulation from each half of the wire as shown below right Here s what the completed connections will look like ...

Страница 14: ...owing connections Blue Connect to Turn On terminal of new amplifier Red Connect to 12 terminal of new amplifier Black Connect to GND terminal of new amplifier Now the Red and Black wires above must be twisted around the larger gauge power and ground wires as you insert them into the amplifier terminals See photo below for a visual The blue remote turn on wire goes directly to the REM terminal of t...

Страница 15: ...highlight your connections Subwoofer Terminal Connects to Connection at Amplifier Red Connects to L Output Black Connects to R Output Enclosure Installation The enclosure simply drops into the tub located beneath the carpeted floor trunk panel You ll need to remove the carpeted insert before installing the enclosure There isn t much to it Drop in the enclosure carefully and that s about it Here s ...

Страница 16: ...crease the overall sound quality in the vehicle General Tuning Tips Baseline Settings Use very light pressure when adjusting the dials on the amplifier Use a small jeweler s type flat head screwdriver to make your adjustments Make sure all bass and treble settings on your radio or EQ are flat or in the middle 1 Preliminarily set the gains crossovers and crossover frequencies as follows Gains Both ...

Страница 17: ...djust this as much as you d like but you ve got to keep your ears open for distortion This is essentially an artificial boost at 45hz so if you like boomier bass you ll likely adjust this slightly higher Keep a fine ear out for any distortion and once you ve found that sweet spot where the volume and the fullness you desire is ideal you shouldn t ever need to adjust the amplifier again Troubleshoo...

Страница 18: ...Ground Connection Set the DMM to its continuity section Place one lead of the DMM on the amplifiers ground location where you screwed into the chassis and the other lead on the negative battery terminal If you don t see any continuity move your ground wire until you do Power Connection Set the DMM to direct current again and place one lead on the amplifiers power terminal and the other on the ampl...

Страница 19: ......

Отзывы: