background image

Bareknuckle Welterweight - Airless Paint Sprayer     

OPERATING INSTRUCTIONS  & SAFETY MANUAL

Bareknuckle Welterweight - Airless Paint Sprayer     

OPERATING INSTRUCTIONS  & SAFETY MANUAL   

  |  

8   |

Clean Sprayer immediately to prevent permanent damage.

Clean Sprayer immediately to prevent permanent damage.


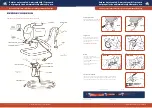
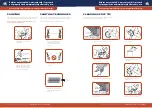
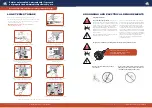
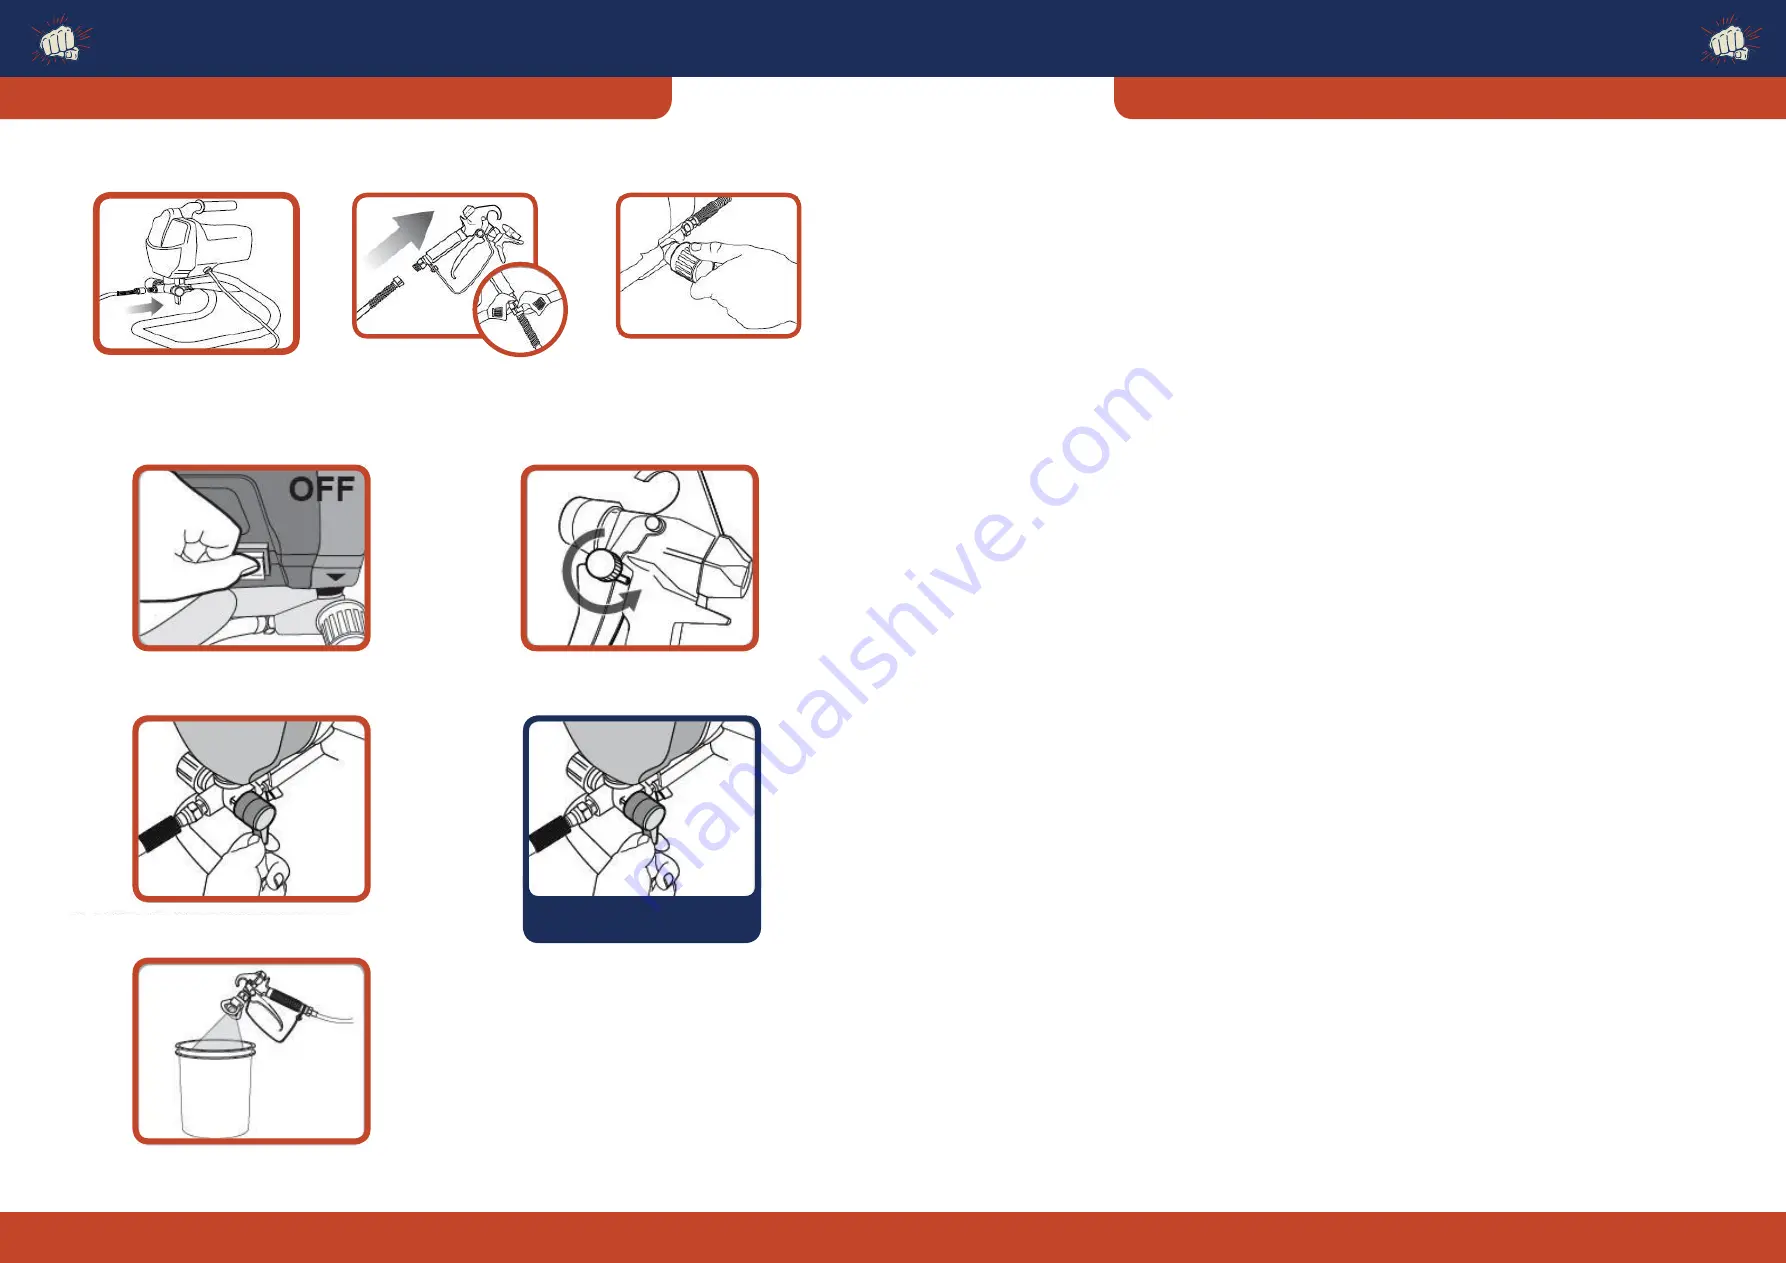
TO RELIEVE SPRAYER PRESSURE

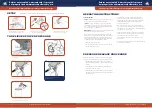
SETUP

NOTE: Remove or cover objects that you want to protect from overspray (paint mist).

1. Attach Paint Hose to Paint Hose 

Outlet and tighten with wrench.

1. Turn Power Switch off and unplug unit 

from outlet

2. Switch Prime/Spray switch to Prime mode.

Note: Always set to Prime mode 

between uses.

3. Point gun into paint pail and activate 

Sprayer Trigger to relieve pressure.

4. Turn Trigger Knob to Locking poistion.

2. Attach Paint Hose to Paint Gun 

and tighten with two wrenches.

3. Turn Pressure Control Knob to 

Low Pressure Spray setting.

Bareknuckle Welterweight - Airless Paint Sprayer     

OPERATING INSTRUCTIONS  & SAFETY MANUAL

8   |


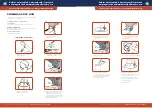
BEFORE STARTING

1) 

CHECK

 all fittings and connections in the pump system, 

hose, and gun to ensure that they are tight.

 CHECK

 to ensure that there is a spray tip in the gun, 

and that the tip is the correct size for the coating you 

are to spray. (There are various tips available, for each 

type of coating or configuration.)

2) 

MAKE SURE

 the power source is securely grounded and 

match the motor rating of your sprayer.

3) New spray: Oil is used by the factory for testing and 

protection. It is necessary to flush unit before spraying. 

Clean the pump with warm soapy water. Make sure 

the hydraulic oil in the pump is clean and sufficient in 

volume then begin the following procedure

1. Remove spray tip from gun

2. Put the input hose and pressure relief tube into the 

bucket with some water, 

3. Turn on the motor and push the pressure valve 

upright. In a few seconds, water will begin to flow 

up through the tube and flow out from outlet valve, 

tighten the outlet valve deasil, then tighten the 

pressure valve deasil.

4. When the pressure reaches up to around 207bar, 

check if there is any leakage on the outlet hose, if it’s 

leaking, Please check. Don’t stop or deflect leaks with 

your hand, body, glove or rag.

5. If it doesn’t leak, open the spray gun and test spray. 

Clean the oil in pump. Change the soapy water and 

use clean water when the spray is clean.

6. Turn off power, Continue to spray until there is no 

more water.

7. Unlock trigger lock. Put the pressure valve upright, till 

no soapy water in pump.

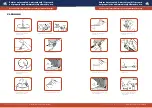
Whenever instructed to relieve pressure, Stop spraying, 

Check or service equipment or install or clean spray tip.

1. Engage trigger safety lock on gun. Turn Off power 

and turn sprayer pressure control to lowest pressure 

setting.

2. Hold gun against side of flushing pail. Trigger gun 

into pail to relieve pressure.

3. Turn off pump and release fluid pressure by turning 

the pressure relief prime valve located on the side of 

the pump down.

OPERATING INSTRUCTIONS

PRESSURE RELEASE PROCEDURE


Returns not accepted & warranty void if sprayer is 

not properly cleaned immediately after every use.

Returns not accepted & warranty void if sprayer is 

not properly cleaned immediately after every use.

Содержание Welterweight APS

Страница 1: ...ng instructions Onlyusewithgroundedelectricaloutlets protectedbyaresidualcurrentdevice Personswithanyheartconditionorhavingapacemaker shouldnotusethismachine Whenunpackingthiscarton ifanypartsaremissi...

Страница 2: ...tainers rags and other flammable materials 12 Know the contents of the paints and solvents being sprayed Read all Material safety Data Sheets MSDS and container labels provided with the paints and sol...

Страница 3: ...er or for flushing or cleaning keep sprayer at least 20 feet 6 m away from explosive vapors Keep work area free of debris including solvent rags and gasoline Do not plug or unplug power cords or turn...

Страница 4: ...hoses to pull equipment Comply with all applicable safety regulations Keep children and animals away from work area Do not operate the equipment when fatigued or under the influence of drugs or alcoho...

Страница 5: ...eing pulled accidentally such as if the gun is dropped Lock whenever not in use Nozzle The nozzle is reversible and removable to make cleaning and unclogging easier Turn to Spray position to use the s...

Страница 6: ...fore spraying Clean the pump with warm soapy water Make sure the hydraulic oil in the pump is clean and sufficient in volume then begin the following procedure 1 Remove spray tip from gun 2 Put the in...

Страница 7: ...rom Priming Tube into waste bucket for 30 to 60 seconds then switch Power to Off 11 11 10 Paint should work itself from Suction Tube to Sprayer to Priming Tube until paint discharges from Return Tube...

Страница 8: ...Nozzle Tip is aligned properly Keep the gun approximately 30cm from the surface 1 Once primed adjust nozzle to Spray setting 1 Switch power off and set Trigger Lock 1 Keep gun straight and move arm ac...

Страница 9: ...m housing 2 Separate tubes 10 Turn to Prime mode 14 Unscrew nut 6 Turn to Spray mode 3 Place Priming Tube in empty waste bucket 11 Continue to flush until clear 15 Remove filter 4 Submerge Suction Tub...

Страница 10: ...type 470 220 240Vac 50Hz 11A 1 phase circuit with a grounding receptacle GROUNDING AND ELECTRICAL REQUIREMENTS Grounding Instructions LONG TERM STORAGE When cleaning for long term storage more than 48...

Страница 11: ...unded metal pail then trigger the gun Keep all screws nuts washers gaskets and electrical fittings removed during repair procedures These parts usually are not provided with replacement kits Test repa...

Страница 12: ...ob setting Motor will not run if set at minimum fully counter clockwise 1 Slowly increase pressure setting to see if motor starts 2 Spray tip or fluid filter may be clogged 2 Relieve pressure then cle...

Страница 13: ...Plastic washer 1 63 Stopper sleeve 1 107 Touch control seat 1 20 Screw seat insert 1 64 Position washer 1 108 Touch control stem 1 21 Pressure relief valve seat 1 65 Copper washer 1 109 Flat washer 4...

Страница 14: ...th the original proof of purchase For a warranty claim we reserve the right to repair or replace the goods or part thereof resupply a refurbished machine repair any item that is deemed necessary If th...

Страница 15: ...RUCTIONS SAFETY MANUAL 26 BareknuckleOperatingInstructions andSafetyManual Forportablesprayapplication ofpaintsandcoatings HDI Trading Pty Ltd 2A 274 Macquarie Rd Warners Bay NSW 2282 Australia Produc...

Отзывы: