background image

Manual   2100-346
Page     7

NOTE:

Do not 

make any tubing connection at indoor unit

at this time.  Make all brazing of joints and
evacuate both suction and liquid line first.

3. Wrap a wet rag around the copper stub before brazing.

4. Flux the copper tube and insert into the stub.  Braze the

joint using an alloy of silver or copper and phosphorus
with a melting temperature above 1,100° F for copper
to copper joints.  The phosphorus will act as a flux,
therefore, no flux will be required.

A copper-silver alloy with a high silver content should
be used when iron or steel material is involved in the
joint.  These alloys require the use of silver solder flux.
Alloys containing phosphorus should not be used with
iron or steel.  Phosphorus reacts with the iron forming
iron phosphate which is extremely brittle.

To further prevent the formation of copper oxide inside
the tubing, dry nitrogen may be purged through the
refrigerant system during brazing.

2. The tubing ends should be cut square.  Make sure it is

round and free of burrs at the connecting ends.  Clean
the tubing to prevent contaminants from entering the
system.

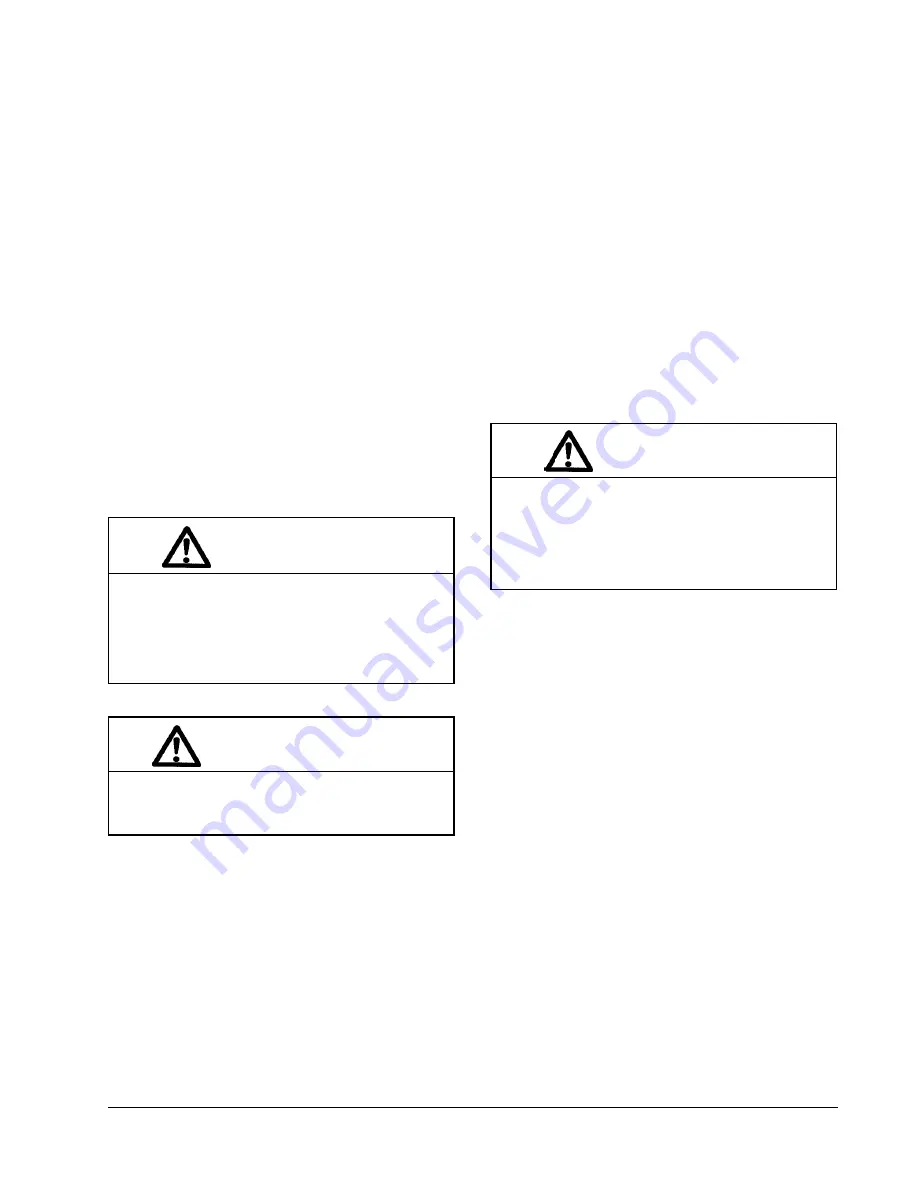
        CAUTION

1.    Brazing alloys with a melting temperature
below 700° F should not be used.    2.  Lead-tin
or tin-antimony solders should not be used due
to their low melting point and necessity for
corrosive fluxes.

        WARNING

Never purge or pressurize a system with
oxygen.  An explosion and fire will result.

5. After brazing, quench with wet rag to cool the joint and

remove any flux residue.

6. Leak test all connections using an electronic leak

detector or a halide torch.

7. Evacuate suction line and liquid line through outdoor

unit base valves.

If orifice does not have to be changed, skip the instructions
outlined further in Step 8 and proceed to Step 15.

8. Recover charge from the indoor unit.

A. Connect the suction line only to the indoor unit as

outlined in Steps 15, 16, and 17.

B. Recover indoor unit and suction line unit charge

through service port located on outdoor unit base
valve.

9. Disassemble Flow Control Assembly by turning body

hex.

10. If existing orifice has not dropped out of the body when

disassembled, remove by using a pin or paper clip.
Discard this original orifice.

11. Insert proper sized orifice fully into the flow control

body with rounded “bullet” nose towards the unit as
shown in Figure 4.  Insure the orifice stays inserted in
body before connecting mating half.  See chart in the
outdoor unit installation instructions for proper size.

        CAUTION

Be sure there is no dirt introduced into the flow
control – orifice assembly.  Be sure to install the
orifice with the bullet nose pointing in the proper
direction as shown in Figure 4.  Failure to do so
will result in improper operation.

14. Evacuate the suction line and indoor unit through the

outdoor unit base valve before connecting all other
tubing.  Refer to section later in installation instructions
for details on setting the proper refrigerant charge.

15. Remove (remaining) protector caps and plugs (if orifice

was changed).  Inspect fittings and if necessary
carefully wipe coupling seats and threaded surfaces
with a clean cloth to prevent the inclusion of dirt or any
foreign material in the system.

12. Thread assembly halves together by hand to insure

proper mating of threads and tighten until bodies
“bottom” or a definite resistance is felt.

13. Using a marker pen or ink pen, mark a line lengthwise

from the union nut to the bulkhead.  Then tighten an
additional 1/6 turn (or 1 hex flat).  The misalignment of
the line will show the amount the assembly has been
tightened.  This final 1/6 turn is necessary to insure the
formation of the leakproof joint.

Содержание HAC181-AD040

Страница 1: ...0 HAC481 BD040 HAC601 AD040 HAC601 BD040 FOR USE WITH MATCHING INDOOR BLOWER COIL UNITS AND MATCHING ADD ON COIL UNITS ONLY INSTALLATION INSTRUCTIONS Manual No 2100 346C Supersedes 2100 346B File Volume 1 Tab 4 Date 09 04 02 Bard Manufacturing Company Bryan Ohio 43506 Since 1914 Moving ahead just as planned Copyright 2002 ...

Страница 2: ... 9 Wall Thermostats 9 Optional Controls 12 Installation Instructions CMA 5 12 Installation Instructions CMA 6 12 Installation Instructions CMA 10A 13 Installation Instructions CMA 13A 14 Charging Instructions 15 Pressure Service Ports 15 System Start Up Indoor Units without Expansion Valves 15 Service 17 Service Hints 17 Fan Blade Setting Dimensions 17 Pressure Tables 20 23 FIGURES Figure 1 1 Figu...

Страница 3: ...0 6 2 5 2 1 5 8 8 1 5 2 0 0 4 5 2 1 7 8 8 1 9 2 1 2 4 C A H 1 8 4 C A H 1 0 6 C A H 0 0 0 5 0 0 5 1 0 0 2 3 5 2 6 6 8 8 6 8 2 0 0 4 5 2 6 8 8 8 6 2 3 W H C B F E A D HIGH VOLTAGE ENTRANCE LOW VOLTAGE ENTRANCE ALTERNATE ELECTRICAL ENTRANCES ON BACK REFRIGERANT SHUTOFF VALVES MIS 1789 Customized Unit Code ElectricalCharacteristics A 230 208 60 1 B 230 208 60 3 Modification Code Capacity 3 Ton or app...

Страница 4: ...1 0 7 2 1 5 2 6 1 0 5 2 1 0 2 3 1 0 2 0 1 5 2 6 1 0 5 2 1 8 7 0 8 7 0 8 7 0 8 7 0 B A 1 8 4 C A H B S A 1 6 A B 0 6 C B 0 0 7 1 0 0 7 1 8 2 5 2 w o L 5 7 8 1 0 5 4 1 5 7 8 1 0 5 4 1 1 8 0 1 8 0 B A 1 0 6 C A H B S A 1 6 A B 0 6 C B 0 6 7 1 0 0 8 1 0 3 8 2 h g i H 0 5 9 1 0 0 5 1 5 7 9 1 5 2 5 1 2 9 0 2 9 0 TABLE 2 RATED CFM AND AIR FLOW DATA WET COIL COOLING Q Measured across the evaporator coil a...

Страница 5: ... p m A d a o L d e t a R 5 7 8 6 3 0 1 1 9 9 2 1 3 2 1 7 4 1 4 3 1 1 8 1 6 7 1 5 9 1 9 7 1 9 1 1 3 1 1 2 5 2 2 1 2 7 5 1 8 3 1 t n e r r u C n o i t c e l e S t i u c r i C h c n a r B 6 8 3 0 1 7 3 1 7 4 1 1 8 1 5 9 1 6 2 1 3 6 2 7 5 1 8 0 2 0 3 2 s p m A r o t o R k c o L 9 4 9 4 6 5 6 5 5 7 5 7 2 8 2 8 5 0 1 5 0 1 2 0 1 2 0 1 1 9 1 9 5 3 1 5 3 1 0 5 1 0 5 1 t a e H e s a c k n a r C e n o N e n...

Страница 6: ...ser air enters the coil from the rear of the unit as shown in Figure 2 with electrical service access MOUNTING UNIT OUTSIDE ON SLAB A solid level base or platform capable to support the unit s weight must be set at the outdoor unit predetermined location The base should be at least two inches larger than the base dimensions of the unit and at least two inches higher than surrounding grade level Th...

Страница 7: ... the unit as shown in Figure 4 Insure the orifice stays inserted in body before connecting mating half See chart in the outdoor unit installation instructions for proper size 6 Thread assembly halves together by hand to insure proper mating of threads and tighten until bodies bottom or a definite resistance is felt 7 Using a marker pen or ink pen mark a line lengthwise from the union nut to the bu...

Страница 8: ...the tubing is kept clean and dry before and during installation Do not remove the plugs from the tubing ends coil connections or base valves until the connection is ready to be brazed The suction line must be insulated with a minimum of 3 8 Armaflex or equivalent before cutting and making connections 1 Being careful not to kink route both the suction line and liquid line between the indoor unit an...

Страница 9: ...ned further in Step 8 and proceed to Step 15 8 Recover charge from the indoor unit A Connect the suction line only to the indoor unit as outlined in Steps 15 16 and 17 B Recover indoor unit and suction line unit charge through service port located on outdoor unit base valve 9 Disassemble Flow Control Assembly by turning body hex 10 If existing orifice has not dropped out of the body when disassemb...

Страница 10: ...s insulate the couplings on the larger tube thoroughly with 3 8 wall thickness closed cell sponge tube insulation or equivalent Failure to insulate will result in water damage to ceiling since the fitting will sweat and drop water on the ceiling 17 Using a marker or ink pen mark a line lengthwise from the coupling union nut to the bulkhead Then tighten an additional 1 4 turn The misalignment of th...

Страница 11: ...table use 50VA transformer There are two 2 separate control diagrams for fossil fuel furnaces with air conditioners Control diagrams for the various circuit which could be encountered with blower coils can be found in the installation instructions of the blower coil WALL THERMOSTATS The following wall thermostats and subbases should be used as indicated depending on the application TABLE 7 CONTROL...

Страница 12: ...Manual 2100 346 Page 10 ...

Страница 13: ...Manual 2100 346 Page 11 ...

Страница 14: ...he bottom of the control panel Connect the low ambient control wires between the terminal block and T2 of the compressor contactor 4 Remove service port cap on discharge line Install the low ambient control on the discharge line with the flare tee adapter that is brazed to the low ambient control Check for pressure at the flare tee dill valve after installation to insure that the dill valve in the...

Страница 15: ...ction and discharge lines Install the high pressure switch on the discharge line to the flare tee adapter that is brazed to the controls Install the low pressure switch on the suction line Check for pressure at the flare tee dill valves after installation to insure that the dill valve in the unit service port was depressed by the flare tee connector Check for leaks at the flare tee connectors Repl...

Страница 16: ...oor motor lead was removed in Step 7 9 Remove service port caps on both the suction and discharge lines Install the high pressure switch and the low ambient control on the discharge line with the flare tee adapter that is brazed to the controls Install the low pressure switch on the suction line Check for pressure at the flare tee dill valves after installation to insure that the dill valve in the...

Страница 17: ...F B Measure indoor air wet bulb temperature ________ ºF C Measure suction pressure ______ PSIG D Measure suction line temperature ________ ºF E Determine optimum system superheat from Table 9 using outdoor air dry bulb Step B and indoor air wet bulb Step A ________ ºF F Determine saturated suction temperature from suction pressure using Table 10 ________ ºF G Determine system superheat Suction lin...

Страница 18: ...1 z o 5 7 1 B A 1 0 6 C A H A S A 1 6 A B 0 6 C B z o 3 5 1 z o 5 6 1 TABLE 11 TOTAL SYSTEM OPERATING CHARGE Includes charge for the basic outdoor unit indoor coil and 25 of interconnecting tubing Q R Includes 25 of 1 4 diameter liquid line For other than 25 and other tube sizes adjust the total charge according to the following schedule Includes 25 of 3 8 diameter liquid line For other than 25 an...

Страница 19: ...oil to permit full and unrestricted air flow circulation is essential FAN BLADE SETTING DIMENSIONS Shown in Figure 10 are the correct fan blade setting dimensions for proper air delivery across the outdoor coil Any service work requiring removal or adjustment in the fan and or motor area will require that the dimensions below be checked and blade adjusted in or out on the motor shaft accordingly T...

Страница 20: ...Manual 2100 346 Page 18 ...

Страница 21: ...Manual 2100 346 Page 19 ...

Страница 22: ... H 6 7 7 7 1 9 7 1 9 1 2 8 6 0 2 5 8 1 2 2 7 8 6 3 2 0 9 2 5 2 2 9 9 6 2 4 9 6 8 2 6 9 4 0 3 8 9 2 2 3 9 9 0 4 3 TABLE 14 PRESSURE TABLE HAC241 A Low side pressure 2 PSIG suction line 8 inches from compressor High side pressure 5 PSIG discharge line 8 inches from compressor liquid at base valve approximately 20 PSIG from values listed Tests are based upon rated CFM airflow across the evaporator co...

Страница 23: ... H 4 7 8 9 1 7 7 5 1 2 0 8 2 3 2 3 8 8 4 2 6 8 5 6 2 8 8 2 8 2 0 9 9 9 2 2 9 6 1 3 3 9 3 3 3 5 9 1 5 3 6 9 8 6 3 TABLE 16 PRESSURE TABLE HAC361 A Low side pressure 2 PSIG suction line 8 inches from compressor High side pressure 5 PSIG discharge line 8 inches from compressor liquid at base valve approximately 20 PSIG from values listed Tests are based upon rated CFM airflow across the evaporator co...

Страница 24: ...e d i S w o L e d i S h g i H 3 8 4 2 2 5 8 1 4 2 7 8 8 5 2 9 8 6 7 2 1 9 4 9 2 3 9 4 9 2 5 9 1 3 3 7 9 0 5 3 9 9 0 7 3 TABLE 18 PRESSURE TABLE HAC481 A HAC481 B Low side pressure 2 PSIG suction line 8 inches from compressor High side pressure 5 PSIG discharge line 8 inches from compressor liquid at base valve approximately 20 PSIG from values listed Tests are based upon rated CFM airflow across t...

Страница 25: ...1 0 1 1 5 1 1 S A 1 6 A B B D 5 7 B W 2 6 e d i S w o L e d i S h g i H 7 6 7 2 2 9 6 3 4 2 1 7 0 6 2 3 7 6 7 2 5 7 3 9 2 6 7 0 1 3 8 7 6 2 3 9 7 3 4 3 9 7 9 5 3 B D 0 8 B W 7 6 e d i S w o L e d i S h g i H 2 7 2 3 2 4 7 9 4 2 6 7 6 6 2 8 7 4 8 2 0 8 1 0 3 2 8 8 1 3 4 8 6 3 3 6 8 3 5 3 8 8 0 7 3 B D 5 8 B W 2 7 e d i S w o L e d i S h g i H 8 7 0 4 2 0 8 8 5 2 2 8 6 7 2 4 8 3 9 2 6 8 1 1 3 8 8 9 ...

Отзывы: