


R5906150 /02
XDL
110
Stage 6 :
Projector is
CONDITIONED
and
ON
. Temperature and humidity inside the sealed compartments are
within specifications and the lasers are activated. The backlight of the On/Off button is blue. Once you press
the Shutter button (reference C, Image 10-4), the image will be projected on the screen (if a source has been
selected or a test pattern is active). The laser status light on the top of the projector lights up white.
While the shutter is closed (backlight of Shutter button is red) the laser power is set to minimum
power and a protective test pattern is projected. This to protect the DMDs and Shutter itself. When
you open the shutter again, the projector will resume the previous power settings.
Stage 7 :
Projector is in
DECONDITIONING
mode. This process starts as soon as the On/Off button is
pressed for 3 seconds (reference D, Image 10-4) while the projector is in conditioning or conditioned mode.
The DECONDITIONING mode brings the system back to the
READY
mode. The laser status light on the top
of the projector remains lighting up white. The sealed compartments are brought back to ambient temperature
and humidity extraction is stopped. The deconditioning process can take up to 15 minutes (depending on the
environmental conditions). During this process the backlight of the Power On/Off button is blinking white.
If the projector is left alone for several minutes while it is in
READY
mode, the projector will automatically go
into
STANDBY
mode. You can also go from Ready to Standby mode by pushing the On/Off button for 3
seconds.
Stage 8 :
Projector is in
STANDBY
mode. The Input & Communication Unit remains running, but only the On/
Off button is active and solid white. The shutter button turns off. The laser status light remains off.
By pressing the On/Off button, you activate the projector and go to
CONDITIONING
mode (effectively skipping
Ready mode). Alternatively, you can transition to
READY
mode instead. Do this by pressing the (non-lit) Menu
button for three seconds.
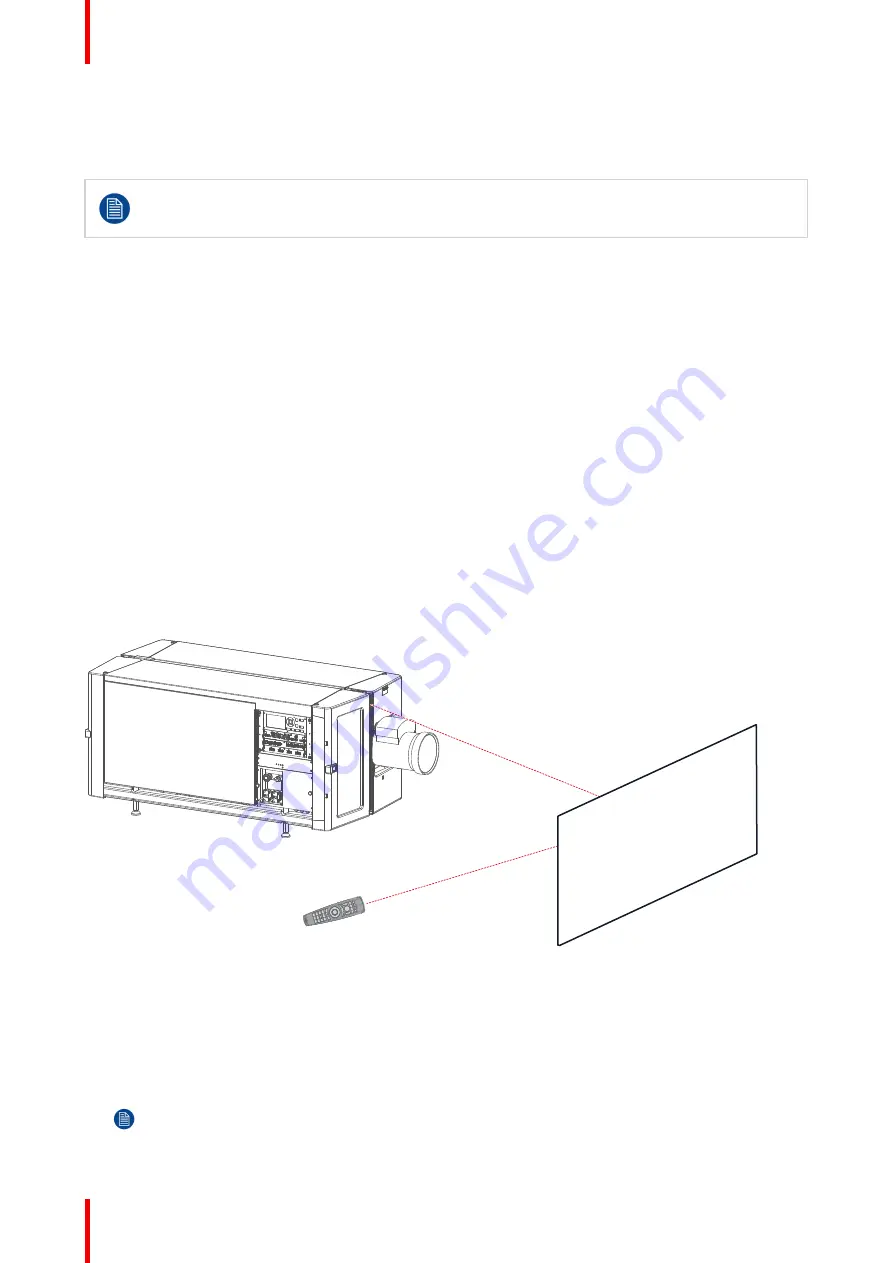
10.4 Using the RCU
Pointing to the reflective screen
1.
Point the front of the RCU to the reflective screen surface.
Image 10-5: IR control via reflective screen
Hardwired to the XLR input
1.
Plug one end of the remote cable in the connector on the bottom of the RCU.
2.
Plug the other end in the big connector on the communication interface of the projector, labelled
‘
Remote
CTRL
’
.
Note:
Plugging the remote control will switch the broadcast address of the remote control to the
default value '0'. This is the only broadcast address that will work when hardwired. If you want to
change the broadcast address after disconnecting the remote control, see
Programming addresses into the RCU
”
, page 47.
Содержание XDL Series
Страница 1: ...ENABLING BRIGHT OUTCOMES Installation Manual XDL ...
Страница 2: ...Barco NV President Kennedypark 35 8500 Kortrijk Belgium www barco com en support www barco com ...
Страница 8: ...R5906150 02 XDL 8 ...
Страница 22: ...R5906150 02 XDL 22 Safety ...
Страница 30: ...R5906150 02 XDL 30 System overview ...
Страница 50: ...R5906150 02 XDL 50 Pulse Remote Control Unit ...
Страница 64: ...R5906150 02 XDL 64 Physical Installation ...
Страница 72: ...R5906150 02 XDL 72 Lenses Lens selection ...
Страница 80: ...R5906150 02 XDL 80 Scheimpflug ...
Страница 94: ...R5906150 02 XDL 94 Input Communication ...
Страница 104: ...R5906150 02 XDL 104 WiFi GSM Module ...
Страница 116: ...R5906150 02 XDL 116 Getting Started ...
Страница 134: ...R5906150 02 XDL 134 Specifications ...
Страница 138: ...R5906150 02 XDL 138 Environmental information ...
Страница 139: ...139 R5906150 02 XDL Overview video timings for video interfaces C ...
Страница 148: ...R5906150 02 XDL 148 Overview video timings for video interfaces ...
Страница 155: ...R5906150 02 XDL 155 ...
Страница 156: ...Barco NV President Kennedypark 35 8500 Kortrijk Belgium www barco com R5906150 02 2018 11 07 ...