7. Advanced
5. Press
ENTER
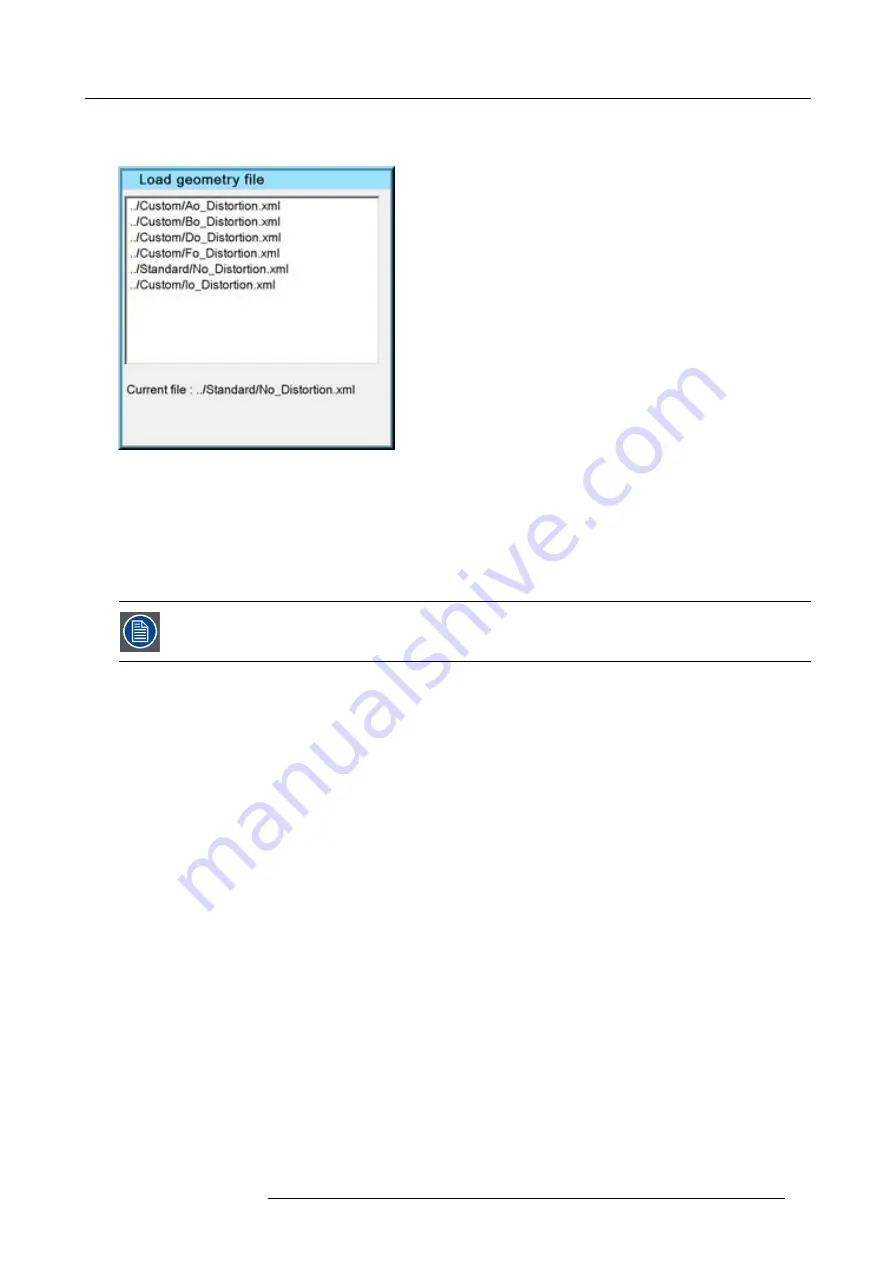
A dialog box is displayed
Image 7-53
6. Use the cursor key
↑
and
↓
to select the desired geometry
fi
le and
7. Press
ENTER
Tip:
Tip: When starting a new geometry setup it is advised to select the “No_Distortion”
fi
le.
The
fi
le is loaded and the geometry settings are adapted.
7.4.6
Edit
The images below show adjustments performed on a hatch pattern generated internally by the projector (see
internal patterns).
Overview
•
Accessing the Geometry Edit menu
•
•
•
•
•
•
•
•
7.4.6.1
Accessing the Geometry Edit menu
How to access the Geometry Edit menu ?
1. Press
MENU
to activate the Tool bar
2. Press
→
to select
Geometry
3. Press
↓
to Pull down the Geometry menu
4. Press
↓
or
↑
to select
Edit
5. Press
→
to open the Edit menu
R59770247 SIM 5H 04/06/2008
71
Содержание SIM 5H
Страница 1: ...Sim 5H Owner Manual R9040390 R59770247 00 04 06 2008...
Страница 4: ......
Страница 8: ...Table of contents 4 R59770247 SIM 5H 04 06 2008...
Страница 10: ...1 Safety Instructions 6 R59770247 SIM 5H 04 06 2008...
Страница 18: ...3 Installation guidelines 14 R59770247 SIM 5H 04 06 2008...
Страница 46: ...5 Setup To clear an IP address or Host name from the text box use the C button 42 R59770247 SIM 5H 04 06 2008...
Страница 48: ...6 Getting started 44 R59770247 SIM 5H 04 06 2008...
Страница 79: ...7 Advanced Image 7 59 Image 7 60 Image 7 61 R59770247 SIM 5H 04 06 2008 75...
Страница 84: ...7 Advanced Image 7 69 Image 7 70 3 Press to select the next adjustment point 80 R59770247 SIM 5H 04 06 2008...
Страница 166: ...7 Advanced 162 R59770247 SIM 5H 04 06 2008...
Страница 170: ...Index 166 R59770247 SIM 5H 04 06 2008...
Страница 172: ...List of tables 168 R59770247 SIM 5H 04 06 2008...


