7. IQ Network
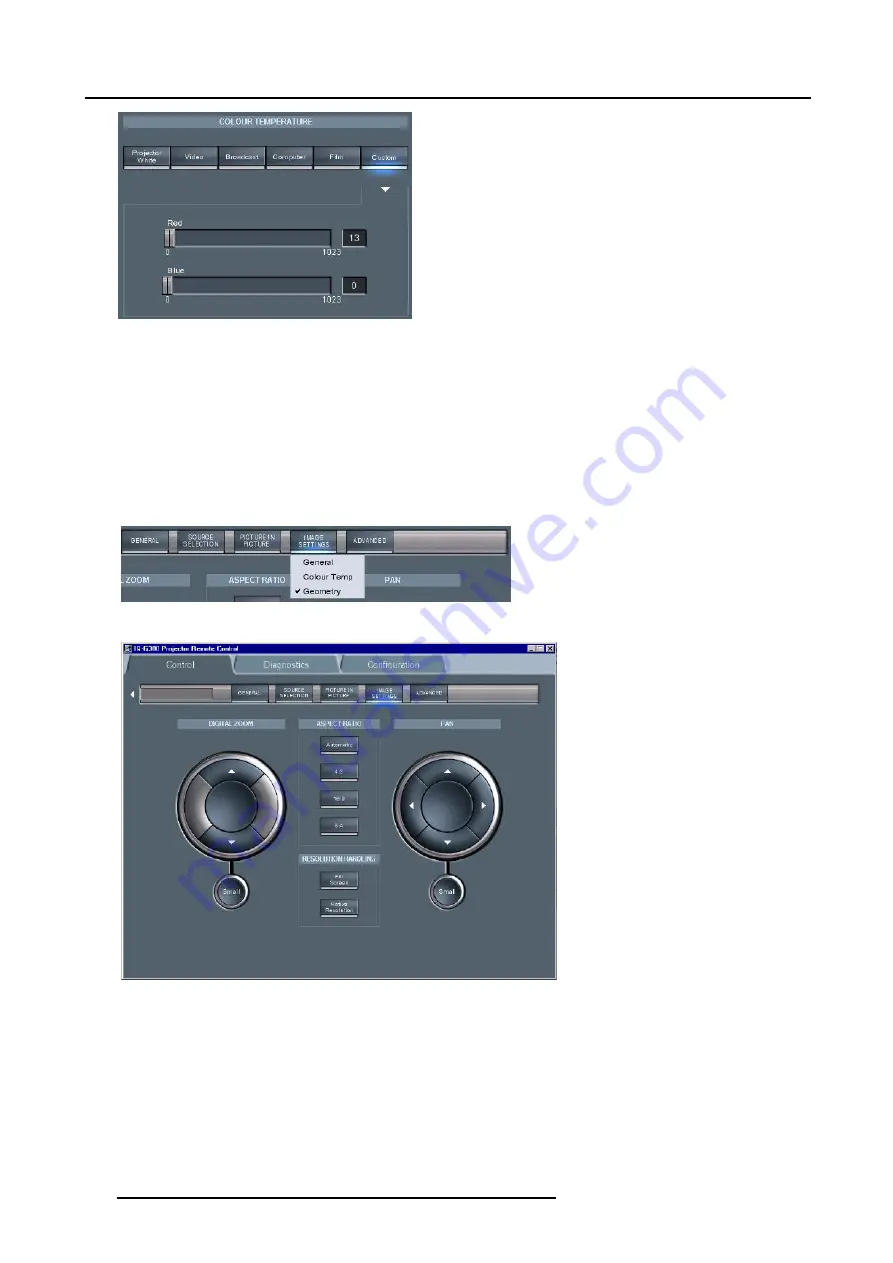
Image 7-40
Geometry settings
1. Click on
Image settings
menu in the tool bar to drop down the submenu. (image 7-41)
2. Click on
Geometry
.
a dialog box is displayed. (image 7-42)
3. Use the buttons to zoom or pan.
Tip:
Use the buttons to choose small, medium or large adjustment steps.
Each click changes the setting.
4. Click on the desired aspect ratio and resolution handling mode.
Image 7-41
Image 7-42
7.5.7
Advanced control
Overview
•
•
128
R5976874 ID PRO R600/R600+ 21/09/2006
Содержание iD R600+
Страница 1: ...iD PRO R600 R600 Owners Manual R9010350 R9010351 R5976874 01 21 09 2006...
Страница 6: ......
Страница 10: ...Table of contents 4 R5976874 ID PRO R600 R600 21 09 2006...
Страница 32: ...4 Setup 26 R5976874 ID PRO R600 R600 21 09 2006...
Страница 36: ...5 Getting started 30 R5976874 ID PRO R600 R600 21 09 2006...
Страница 65: ...6 Advanced Image 6 48 R5976874 ID PRO R600 R600 21 09 2006 59...
Страница 105: ...6 Advanced Image 6 123 Width selections Image 6 124 Width set up for projector 1 R5976874 ID PRO R600 R600 21 09 2006 99...
Страница 112: ...6 Advanced 106 R5976874 ID PRO R600 R600 21 09 2006...
Страница 168: ...11 Standard Image Files 162 R5976874 ID PRO R600 R600 21 09 2006...
Страница 172: ...12 Troubleshoot 166 R5976874 ID PRO R600 R600 21 09 2006...
Страница 176: ...13 Maintenance 170 R5976874 ID PRO R600 R600 21 09 2006...


