2. Installation preparations
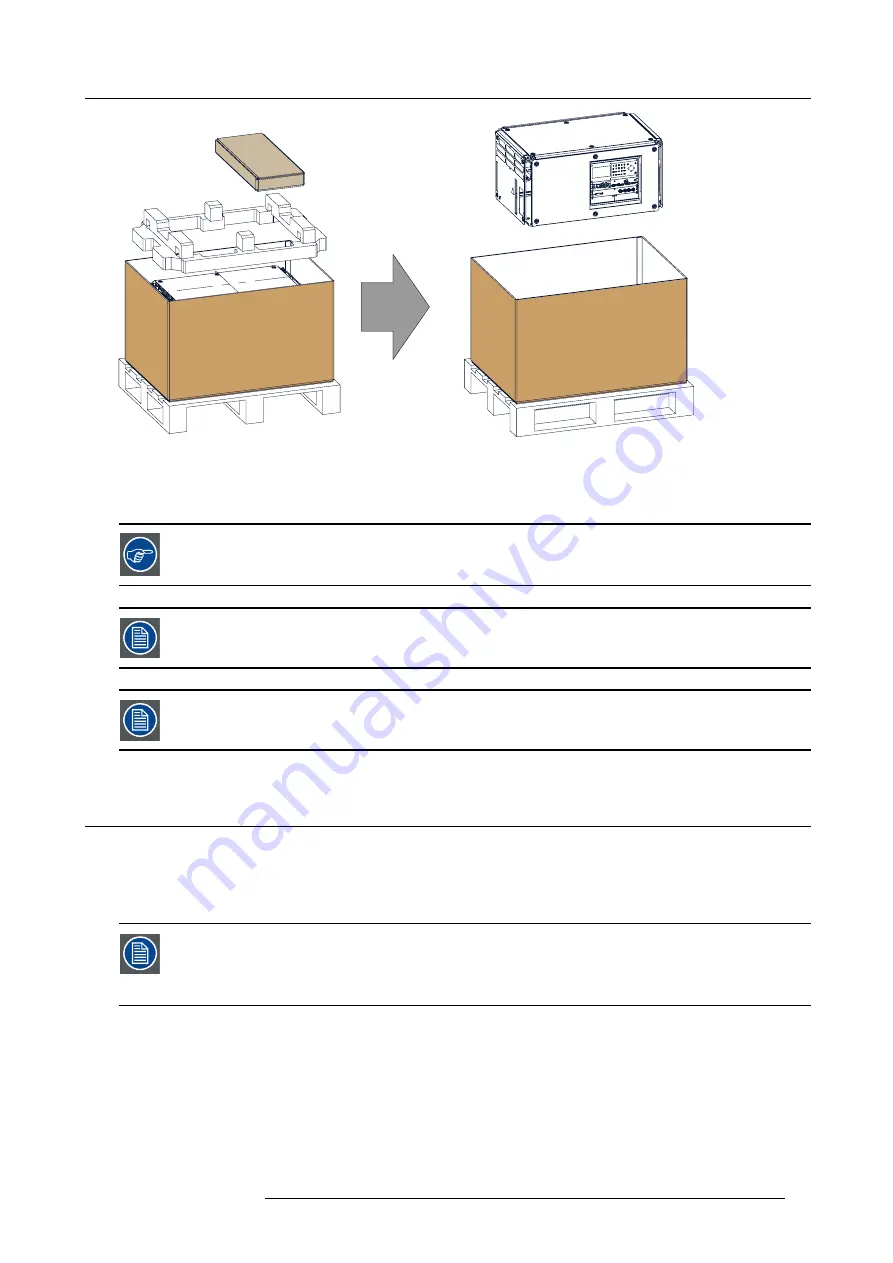
Image 2-2
Remove carton and foam rubber
3. Take out the foam rubber.
4. Take out the projector.
Save the original shipping carton and packing material, they will be necessary if you ever have to ship your
projector. For maximum protection, repack your projector as it was originally packed at the factory.
A rubber foam inside a plastic bag is placed into the lens opening of the projector. It’s recommended to reuse
this foam and plastic back each time you transport the projector. This to prevent intrusion of dust and foreign
particles.
The lens is delivered in a separate box.
2.3
Initial inspection
General
Before shipment, the projector was inspected and found to be free of mechanical and electrical defects. As soon as the projector is
unpacked, inspect for any damage that may have occurred in transit. Save all packing material until the inspection is completed. If
damage is found,
fi
le claim with carrier immediately. The Barco Sales and Service of
fi
ce should be noti
fi
ed as soon as possible.
The packaging of the HDX is provided with a shock-watch label. If this shock-watch label was triggered (red
colored at arrival) during transport, that indicates that the package was possibly roughly handled by the trans-
port company. In this case, the instructions mentioned on the label, should be followed, which are: adding
a note on the “bill of lading” and informing the transport company and the Barco sales and service of
fi
ce as
soon as possible.
Box content
After unpacking the projector it is recommended to check if all following items where included:
R5906070 HDX 4K 23/09/2016
13
Содержание HDX 4K
Страница 1: ...HDX 4K User guide R5906070 00 23 09 2016 ...
Страница 4: ......
Страница 24: ...2 Installation preparations 20 R5906070 HDX 4K 23 09 2016 ...
Страница 44: ...4 Lenses Lens selection 40 R5906070 HDX 4K 23 09 2016 ...
Страница 50: ...5 Input Communication 46 R5906070 HDX 4K 23 09 2016 ...
Страница 59: ...7 Graphic User Interface GUI Image 7 5 Test Pattern menu OFF button R5906070 HDX 4K 23 09 2016 55 ...
Страница 60: ...7 Graphic User Interface GUI 56 R5906070 HDX 4K 23 09 2016 ...
Страница 62: ...8 GUI Source 58 R5906070 HDX 4K 23 09 2016 ...
Страница 66: ...9 GUI Image 62 R5906070 HDX 4K 23 09 2016 ...
Страница 72: ...10 GUI Installation 68 R5906070 HDX 4K 23 09 2016 ...
Страница 78: ...12 Maintenance 74 R5906070 HDX 4K 23 09 2016 ...
Страница 90: ...13 Servicing 86 R5906070 HDX 4K 23 09 2016 ...
Страница 94: ...A Specifications 90 R5906070 HDX 4K 23 09 2016 ...


