6. Getting Started
-
When ’0’ is pressed, the projector is switched off.
-
When ’I’ is pressed, the projector is switched on.
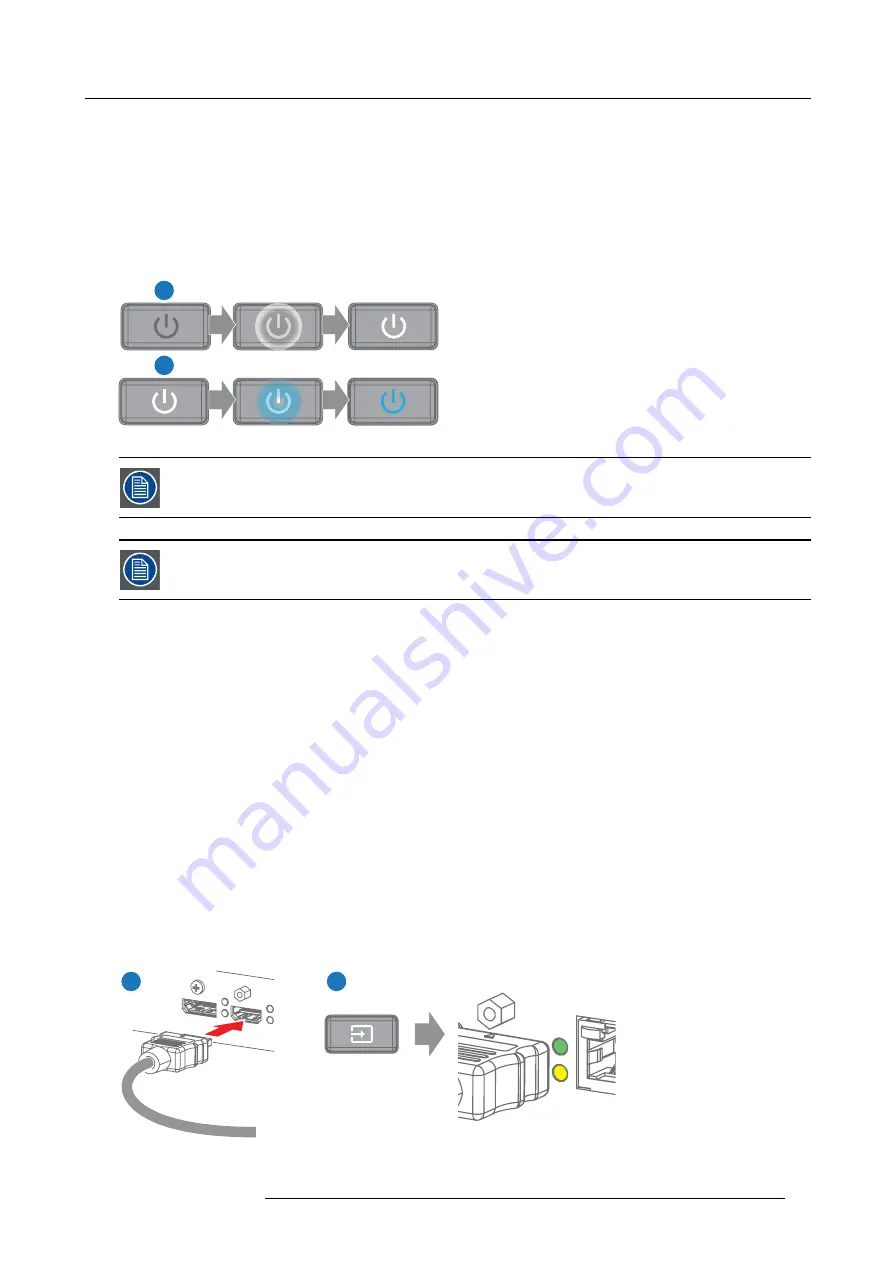
The projector starts up to standby mode. The
Power on/off
button will blink until standby mode is achieved. Once in standby
mode, the Power on/off button will be lit WHITE, but the display will be off.
2. Press the
Power on/off
button on the projector, or the
Power On
button on the remote control.
The projector will continue to power on mode. The
Power on/off
button will blink until the projector is ready. Once the projector
is ready, the Power button will be lit BLUE.
The start up screen is displayed on the touch panel and when fully started up, it changes to the overview screen.
1
2
Image 6-2
The current mains input voltage is indicated on the voltmeter just above the power switch.
The background image of the startup screen and info screens can be changed with Projector Toolset with an
installed HDX plug-in.
Status overview
Once the projector is started, press
Status
to get an overview of parameters such as :
•
Chosen source
•
Refresh rate
•
Current resolution
•
Device serial number and article number
•
Current Firmware version
•
Lamp runtime in hours
•
Current illumination (in percent)
•
Chosen communication method and IP address (if connected)
•
Warp status
•
Environmental temperature
Starting image projection
1. Make sure the available sources are connected to the appropriate input ports.
2. Press the
Input Selection
button on the keypad or on the remote control until:
-
the LED of the selected source lit up GREEN, and
-
the image of the selected source is projected.
1
2
Image 6-3
R5906070 HDX 4K 23/09/2016
49
Содержание HDX 4K
Страница 1: ...HDX 4K User guide R5906070 00 23 09 2016 ...
Страница 4: ......
Страница 24: ...2 Installation preparations 20 R5906070 HDX 4K 23 09 2016 ...
Страница 44: ...4 Lenses Lens selection 40 R5906070 HDX 4K 23 09 2016 ...
Страница 50: ...5 Input Communication 46 R5906070 HDX 4K 23 09 2016 ...
Страница 59: ...7 Graphic User Interface GUI Image 7 5 Test Pattern menu OFF button R5906070 HDX 4K 23 09 2016 55 ...
Страница 60: ...7 Graphic User Interface GUI 56 R5906070 HDX 4K 23 09 2016 ...
Страница 62: ...8 GUI Source 58 R5906070 HDX 4K 23 09 2016 ...
Страница 66: ...9 GUI Image 62 R5906070 HDX 4K 23 09 2016 ...
Страница 72: ...10 GUI Installation 68 R5906070 HDX 4K 23 09 2016 ...
Страница 78: ...12 Maintenance 74 R5906070 HDX 4K 23 09 2016 ...
Страница 90: ...13 Servicing 86 R5906070 HDX 4K 23 09 2016 ...
Страница 94: ...A Specifications 90 R5906070 HDX 4K 23 09 2016 ...


