


4. Getting Started
Important rules
If using the projector 24 h/day, please adhere to the following rules:
•
Make sure to temporary switch off the projector during 2 minutes at least once per 12 hours. The power down action will
automatically and invisibly trigger a grey test pattern running within the projector. Alternatively, if you do not want to shut down
the projector, you can choose to select the grey test pattern yourself within the normal “on” mode.
•
Apply moving video content as much as possible, with on average a level of 50% white (long-term use of extreme black or white
content could potentially cause burn in).
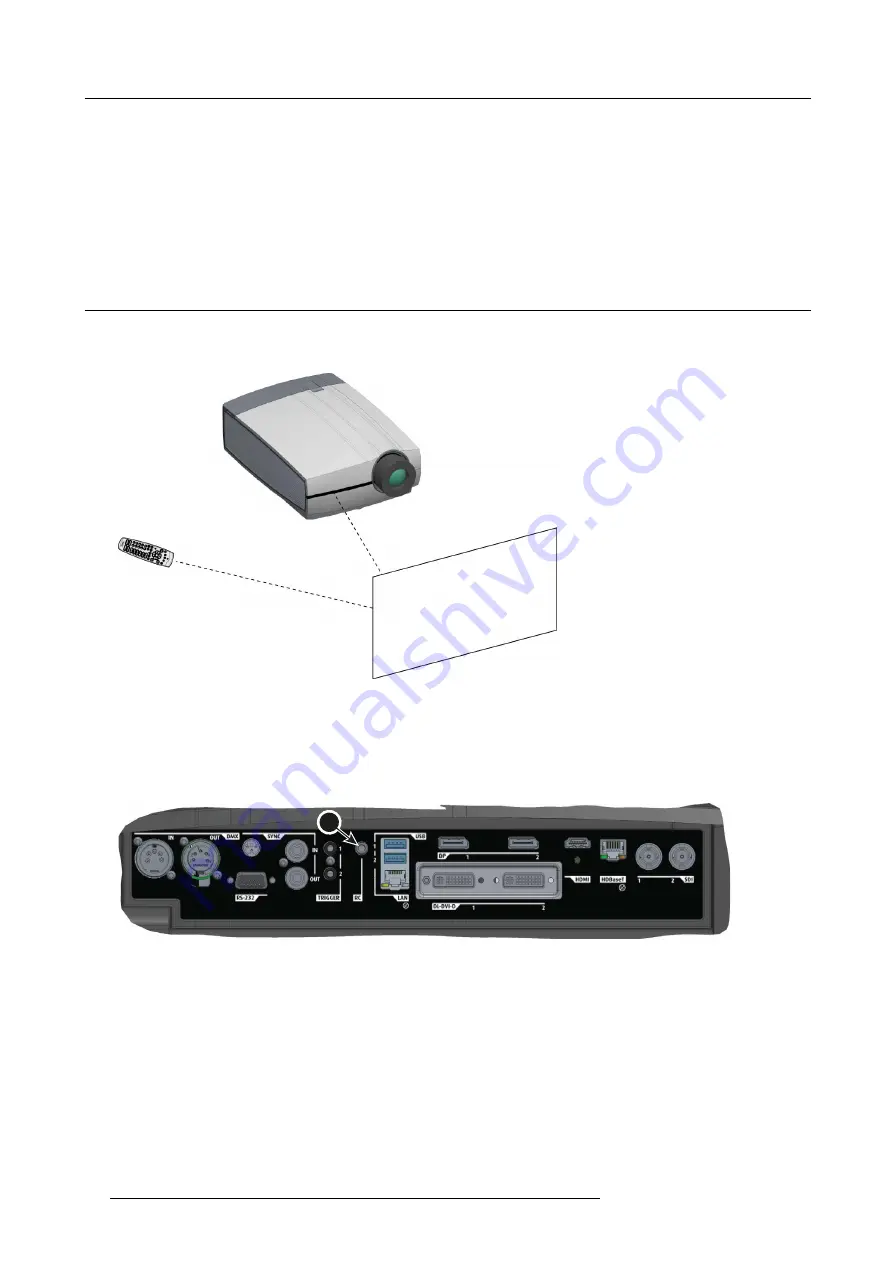
4.7
Using the RCU
Pointing to the re
fl
ective screen
1. Point the front of the RCU to the re
fl
ective screen surface.
Image 4-3
IR control via re
fl
ective screen
Hardwired to the mini jack input
1. Plug one end of the remote cable in the connector on the front side (3,5mm mini jack) of the RCU.
2. Plug the other end in the connector on the communication interface of the projector, labelled
Remote CTRL
(reference 1, im-
age 4-4).
1
Image 4-4
Note:
Plugging the remote control will switch the broadcast address of the remote control to the default value ’0’. This is the
only broadcast address that will work when hardwired. If you want to change the broadcast address after disconnecting
the remote control, see "Projector Address", page 29.
Pointing directly to the IR sensor
When using the wireless remote control, make sure you are within the effective operating distance (30m, 100ft in a straight line). The
remote control unit will not function properly if strong light strikes the sensor window or if there are obstacles between the remote
control unit and the projector IR sensor.
28
R5906852 F80 SERIES 21/09/2017
Содержание F80-4K7
Страница 1: ...F80 series User Manual R5906852 00 21 09 2017...
Страница 4: ......
Страница 16: ...1 Safety 12 R5906852 F80 SERIES 21 09 2017...
Страница 19: ...2 Remote Control Unit 1 Image 2 5 R5906852 F80 SERIES 21 09 2017 15...
Страница 20: ...2 Remote Control Unit 16 R5906852 F80 SERIES 21 09 2017...
Страница 26: ...3 Input Communication 22 R5906852 F80 SERIES 21 09 2017...
Страница 36: ...4 Getting Started 32 R5906852 F80 SERIES 21 09 2017...
Страница 40: ...5 Graphic User Interface GUI 36 R5906852 F80 SERIES 21 09 2017...
Страница 74: ...9 GUI System Settings 70 R5906852 F80 SERIES 21 09 2017...
Страница 76: ...10 Status menu 72 R5906852 F80 SERIES 21 09 2017...
Страница 78: ...11 Maintenance 74 R5906852 F80 SERIES 21 09 2017...


