2. Controls
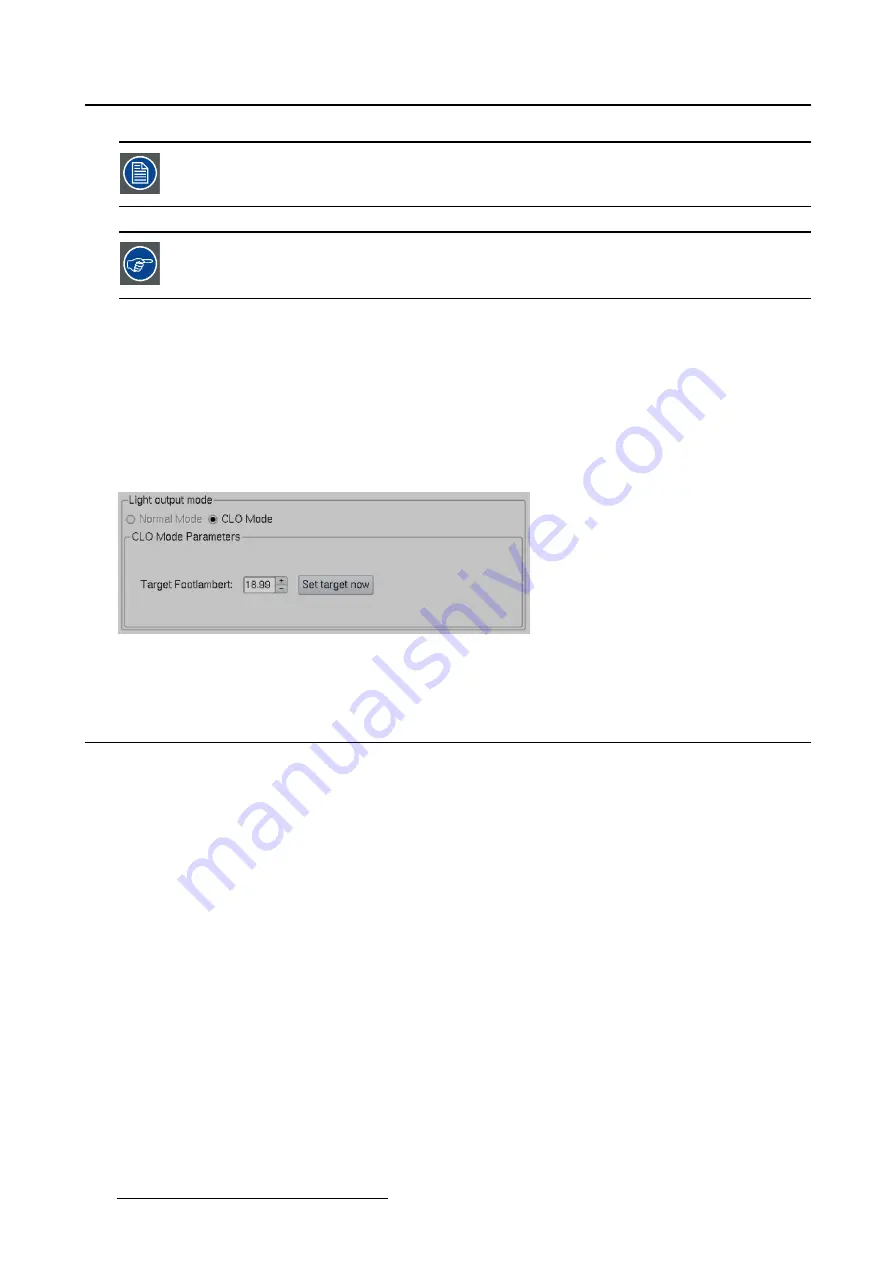
Target set up for CLO mode is lens dependent.
CLO mode is only available when a valid CLO key is installed.
How to setup
1. Click on the up down control of the spin box until the desired target value is reached. (image 2-19)
2. Click on
Set target now
.
The lamp power will change accordingly between maximum and minimum until the entered light output
is reached each time the lamp is switched off and is ignited again.
When the entered value is to high, the lamp power goes to its maximum. When the value is to low, the
lamp power goes to its minimum.
Image 2-19
CLO mode selected
2.4
Server
Overview
•
•
•
•
2.4.1
About Server control
Introduction
With server control, one can remotely take control of a server by using VNC. Version 3.3 of the VNC
protocol is used.
Once a connection is made, the Con
fi
guration and Control pane shows the current active screen of this
server in a maximized server control area of 640 x 480 pixels..
The operator has now the possibility to control the server via the touch panel. All functions available on
the server can be activated via the touch panel.
26
R59770488 COMMUNICATOR TOUCH PANEL 06/06/2012
Содержание DP2K Series
Страница 1: ...Communicator Touch Panel User guide For DP2K DP4K series R59770488 05 06 06 2012 ...
Страница 10: ...Table of contents Index 277 6 R59770488 COMMUNICATOR TOUCH PANEL 06 06 2012 ...
Страница 36: ...2 Controls 32 R59770488 COMMUNICATOR TOUCH PANEL 06 06 2012 ...
Страница 88: ...3 Configuration Image 3 57 Save lens data to macro 84 R59770488 COMMUNICATOR TOUCH PANEL 06 06 2012 ...
Страница 138: ...5 Installation Image 5 15 Reset lamp info used lamp 134 R59770488 COMMUNICATOR TOUCH PANEL 06 06 2012 ...
Страница 145: ...5 Installation Image 5 20 Save coordinates to file R59770488 COMMUNICATOR TOUCH PANEL 06 06 2012 141 ...
Страница 169: ...5 Installation Image 5 42 Basic cloning Image 5 43 R59770488 COMMUNICATOR TOUCH PANEL 06 06 2012 165 ...
Страница 170: ...5 Installation Image 5 44 Image 5 45 166 R59770488 COMMUNICATOR TOUCH PANEL 06 06 2012 ...
Страница 173: ...5 Installation Image 5 47 Clone individual preset R59770488 COMMUNICATOR TOUCH PANEL 06 06 2012 169 ...
Страница 174: ...5 Installation Image 5 48 Pointed files Image 5 49 Save to zip file 170 R59770488 COMMUNICATOR TOUCH PANEL 06 06 2012 ...
Страница 176: ...5 Installation Image 5 50 Clone typical file type 172 R59770488 COMMUNICATOR TOUCH PANEL 06 06 2012 ...
Страница 180: ...5 Installation Image 5 54 Cloning TI board 176 R59770488 COMMUNICATOR TOUCH PANEL 06 06 2012 ...
Страница 182: ...5 Installation Image 5 56 Cloning Barco controller files 178 R59770488 COMMUNICATOR TOUCH PANEL 06 06 2012 ...
Страница 184: ...5 Installation Image 5 58 Restore clone file 180 R59770488 COMMUNICATOR TOUCH PANEL 06 06 2012 ...
Страница 201: ...5 Installation Image 5 76 Image orientation R59770488 COMMUNICATOR TOUCH PANEL 06 06 2012 197 ...
Страница 202: ...5 Installation 198 R59770488 COMMUNICATOR TOUCH PANEL 06 06 2012 ...
Страница 207: ...6 Maintenance Image 6 5 Launch DC update companion R59770488 COMMUNICATOR TOUCH PANEL 06 06 2012 203 ...
Страница 210: ...6 Maintenance Image 6 8 Barco release notes Image 6 9 IP selection 206 R59770488 COMMUNICATOR TOUCH PANEL 06 06 2012 ...
Страница 213: ...6 Maintenance Image 6 11 ICP software update R59770488 COMMUNICATOR TOUCH PANEL 06 06 2012 209 ...
Страница 214: ...6 Maintenance Image 6 12 IP selection 210 R59770488 COMMUNICATOR TOUCH PANEL 06 06 2012 ...
Страница 217: ...6 Maintenance Image 6 15 IP selection Image 6 16 Startup update R59770488 COMMUNICATOR TOUCH PANEL 06 06 2012 213 ...
Страница 239: ...7 Touch panel Image 7 17 R59770488 COMMUNICATOR TOUCH PANEL 06 06 2012 235 ...
Страница 245: ...7 Touch panel Image 7 23 Edit color palette R59770488 COMMUNICATOR TOUCH PANEL 06 06 2012 241 ...
Страница 274: ...8 Macro editor 270 R59770488 COMMUNICATOR TOUCH PANEL 06 06 2012 ...
Страница 280: ...A Source settings 276 R59770488 COMMUNICATOR TOUCH PANEL 06 06 2012 ...


