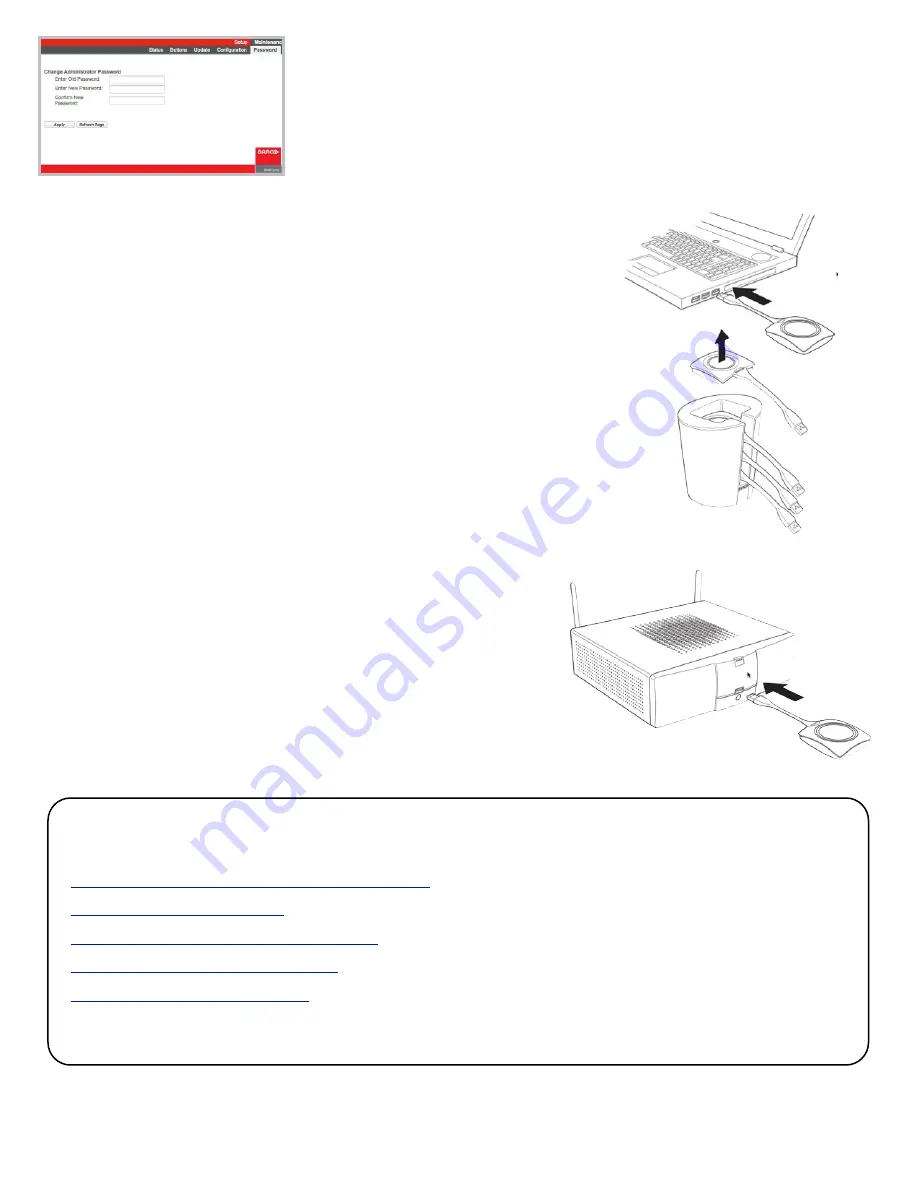
Step 6 - Testing the installation
Test each button
For details see: User Guide R5900001 - Getting Started -> Basic Use
Also see the ClickShare Quick Start User Guide
Take each button in turn and plug it into your laptop.
Launch the ClickShare Software from the button
Make sure the Button is operating properly and broadcasts the computer screen to the display.
Put the tested Buttons in the Tray.
Step 7 - Pairing the Button to the Base Unit if needed
If a button does not seem to be paired to the Base Unit, plug the button into the USB port on the
front of the Base Unit.
Pairing is automatic. A progress window will appear on the display as the Button is checked,
updated if needed and paired with the Base Unit. The progress window will confirm when the Button
is ready.
Test the newly paired Button using your laptop.
If you have multiple laptops available, test with more than one.
That completes the installation.
Maintenance Tab
The Maintenance Tab provides a great deal of information on the system and its
performance.
For purposes of setting up the system, we will only access one tab under this menu,
Password.
Maintenance Tab -> Password
You may wish to change the admin login password from the default “admin”.
Be sure to make a note of the new password.
Related Downloads
Wi-Fi and Security Considerations for ClickShare
- (189
KB)
ClickShare Installation Guide
- (English - 3.99
MB)
ClickShare Rack Mount Installation Guide
- (English - 356
KB)
ClickShare Button Installation Guide
- (English - 405
KB)
ClickShare IT & Facilities Guide
- (English - 1.41
MB)


