background image

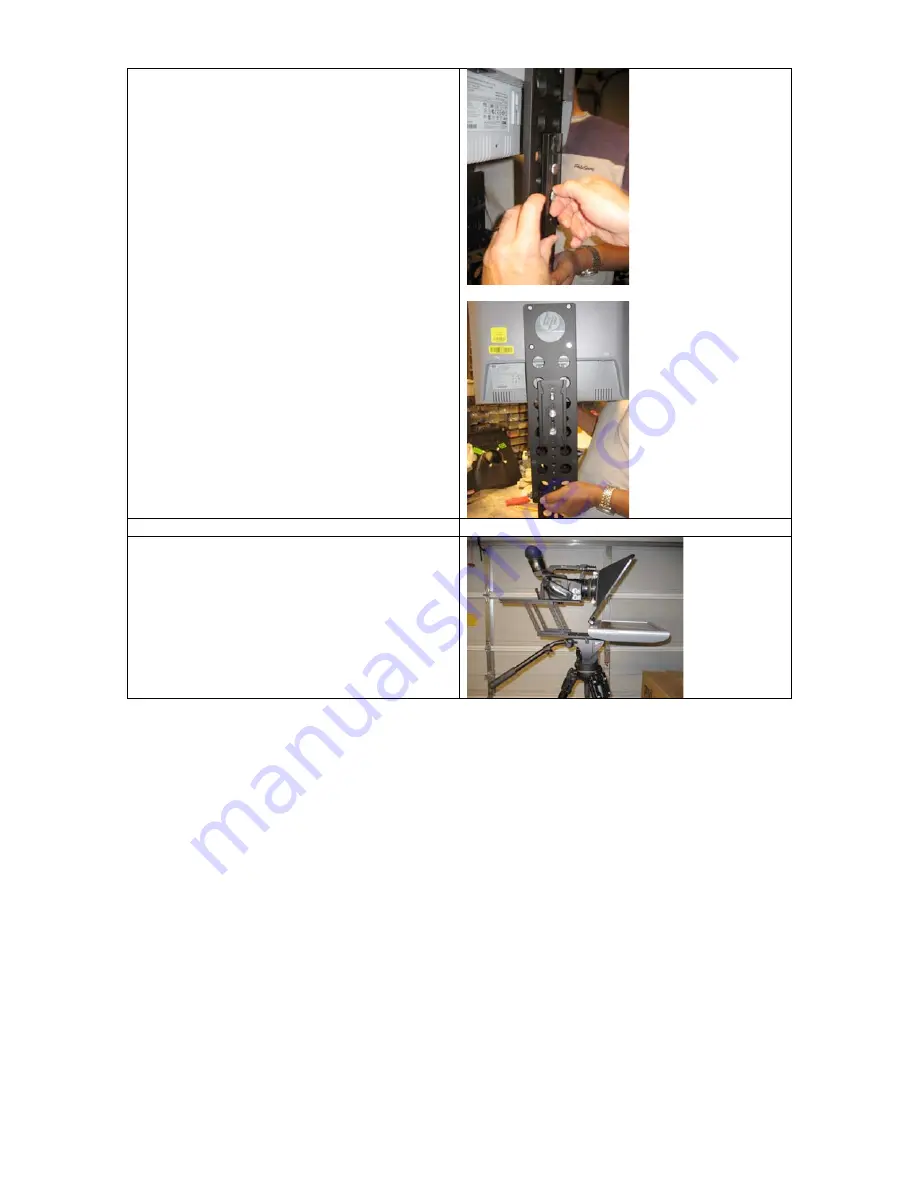
11. Now that you know where your balance 
point is, you can now attach the quick release 
plate of your tripod to your LCD Mount.  


12. Put the LCD Mount set-up on your Tripod.  


13. You’re now set and ready to go!.  


Thank you very much for using BarberTech Video Products!  

We appreciate your business and  

We look forward to working with you in the future. 


Содержание EZ Prompter LCD Mount

Страница 1: ...he EZ Prompter LCD Mount with the LCD Monitor you will have items A D plus e 1 LCD Monitor with accessories power cord etc The EZ Prompter LCD Mount is one unit It will arrive to you already assembled This means that there will be two plates of different lengths sitting on top of another The EZ Prompter LCD Mount will arrive in a collapsed position which is essential for protecting the mount when ...

Страница 2: ... raise the plates apart from each other 2 Tighten one of the allen screw so your set up will be stable 3 Using a screwdriver and the 4 Philips Screws b provided attach the LCD Monitor to the bottom of the LCD Mount e 4 This is how your set up will look like 5 Using the thumb screw provided c attach your camera to the LCD Mount ...

Страница 3: ...Mount so you EZ Prompter has the appropriate height and distance from your monitor 8 This is how your set up will look like 9 Line up your EZ Prompter to your LCD monitor The middle of the LCD Monitor should reflect in the middle of the lens 10 Tilt the unit and put a pen under it This is how you will find the balance point Move the unit back and forth until you find the balance point ...

Страница 4: ...he quick release plate of your tripod to your LCD Mount 12 Put the LCD Mount set up on your Tripod 13 You re now set and ready to go Thank you very much for using BarberTech Video Products We appreciate your business and We look forward to working with you in the future ...

Отзывы: