BPI-R1 User Manual
http://www.banana-pi.com
http://www.sinovoip.com.cn
13
Step4: Set up your R1
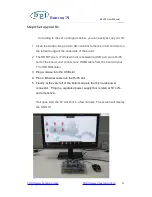
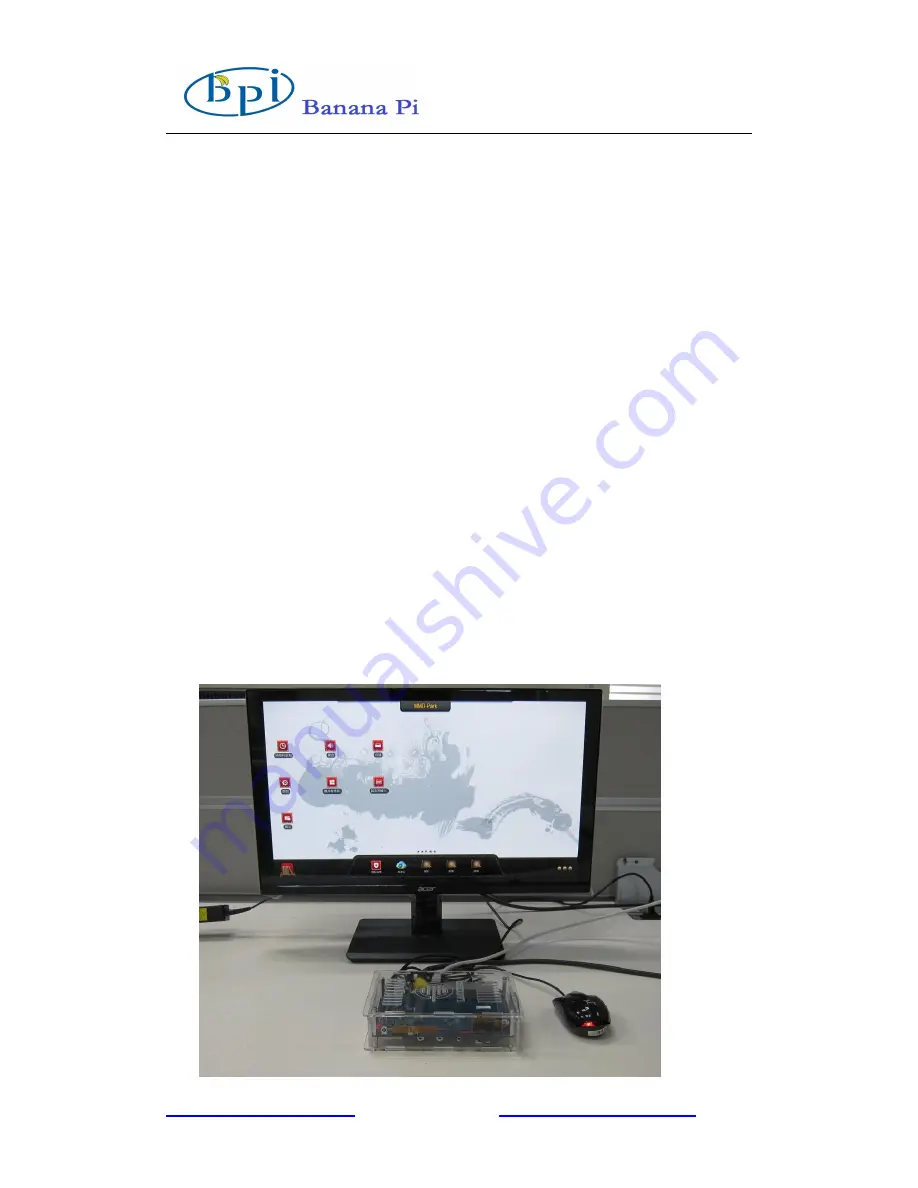
According to the set up diagram below, you can easily set up your R1.
1. Insert the written-image micro SD card that to the micro SD card slot on
the left side edge of the underside of the board.
2. The HDMI Type A (Full sized) port is between a USB port and a RJ45
port of the board. Just connect any HDMI cable from the board to your
TV or HDMI Monitor.
3. Plug a mouse into the USB slot.
4. Plug a Ethernet cable into the RJ45 slot.
5. Finally, at the very left of the bottom edge is the micro-usb power
connector. Plug in a regulated power supply that is rated at 5V ±2%
and at least 2A.
If all goes well, the R1 will boot in a few minutes. The screen will display
the OS GUI.
Содержание BPI-R1
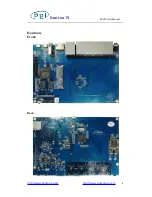
Страница 3: ...BPI R1 User Manual http www banana pi com http www sinovoip com cn 3 Hardware Front Back...
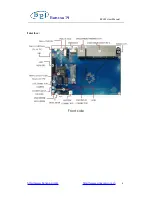
Страница 4: ...BPI R1 User Manual http www banana pi com http www sinovoip com cn 4 Interface Front side...
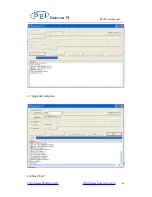
Страница 12: ...BPI R1 User Manual http www banana pi com http www sinovoip com cn 12 5 7 Upgraded complete 5 8 Press Exit...
Страница 15: ...BPI R1 User Manual http www banana pi com http www sinovoip com cn 15...

