3
MN905
SAFETY NOTICE Continued
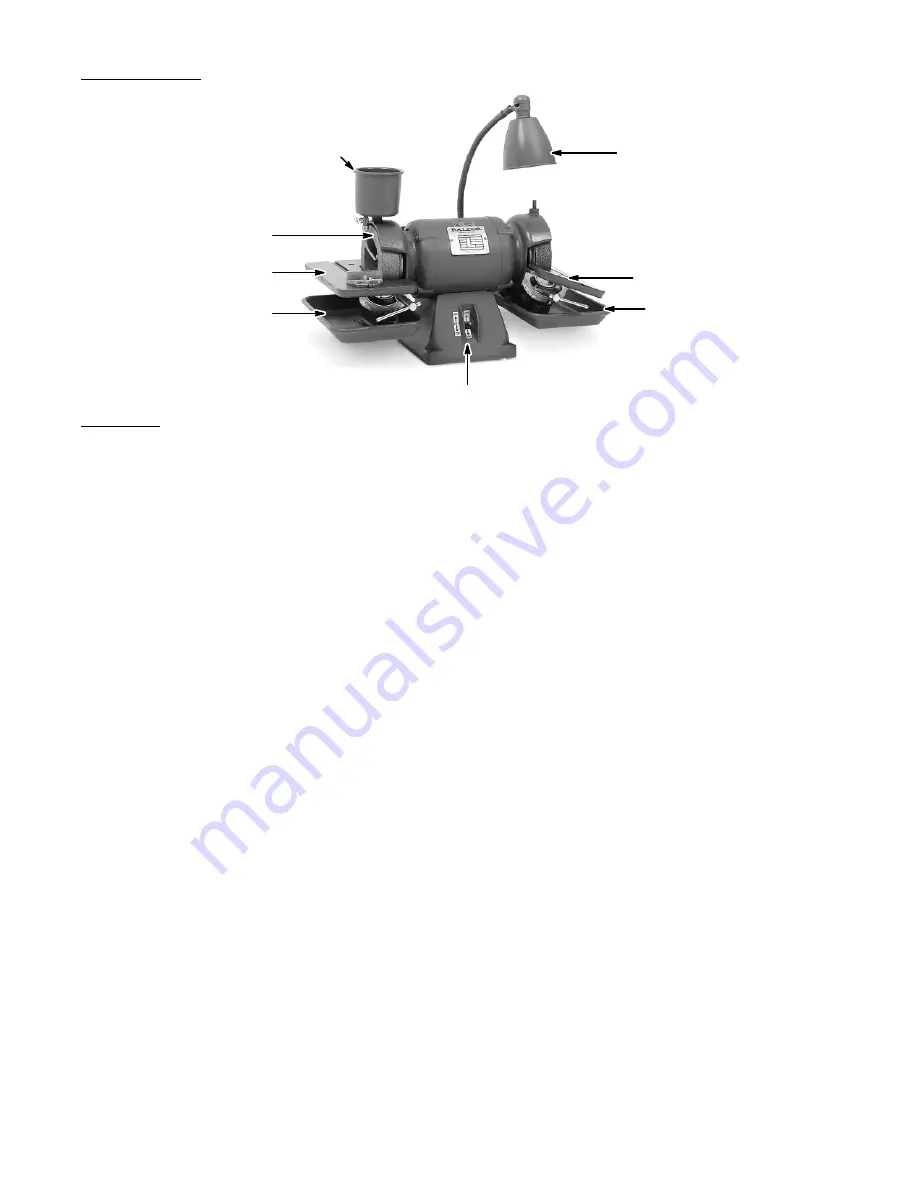
Table
Adjustable Lamp
Table
Water Tray
Water Pot
Water Tray
Rim Face
On-Off - Reversing Switch
Installation
When you receive your unit, there are several things you should do immediately.
1.
Observe the condition of the shipping container and report any damage immediately to
the commercial carrier that delivered the product.
2.
Verify that the part number you received is the same as the part number listed on your
purchase order.
WARNING:
When starting a grinder for the first time, or after installing a replacement grinding wheel,
it is most important that the operator stand aside for at least one minute of rotation at full
speed. This is the correct practice since grinding wheels can disintegrate if they have
received damage during shipping or handling.
3.
Mount grinder on solid bench. The grinder must be securely bolted to a rigid mounting
surface. If a pedestal is used, first bolt pedestal securely to floor and then bolt grinder to
pedestal.
4.
Check grinder nameplate to make certain the rating is correct for the power source,
voltage and frequency. See electrical and grounding instructions for electrical service
connection.
WARNING:
Never install a wheel that is damaged, such as a chip or crack on any surface. A damaged
wheel can disintegrate while rotating at a high RPM or when work is placed against the
wheel. This can severely harm the operator or others in the area.
5.
Inspect each Wheel
Carefully inspect the grinding wheels for damage. Never install a wheel that shows any
sign of damage such as a chip or crack on any surface. A damaged wheel can
disintegrate while rotating at a high RPM or when work is placed against the wheel. This
can severely harm the operator or others in the area.
Note: Baldor catalog items #500 and #510 are supplied with mushroom head machine screws. Baldor
catalog items #522 and #532 Diamond wheel grinders are supplied with both types of hardware.
WARNING:
Never install a wheel that is damaged, such as a chip or crack on any surface. A damaged
wheel can disintegrate while rotating at a high RPM or when work is placed against the
wheel. This can severely harm the operator or others in the area.
6.
Install the Grinding Wheels (see Figure 1).
a.
Plate Mounted Wheels
Remove the machine screws from the wheel flange. Attach the wheel to the wheel
flange using four 5/16-18 mushroom head machine screws.
b.
Diamond Wheels
Remove the machine screws from the wheel flange. Attach the wheel to the wheel
flange using four 1/4-20 flat head machine screws.


