background image


16 

16 

OPERATION 


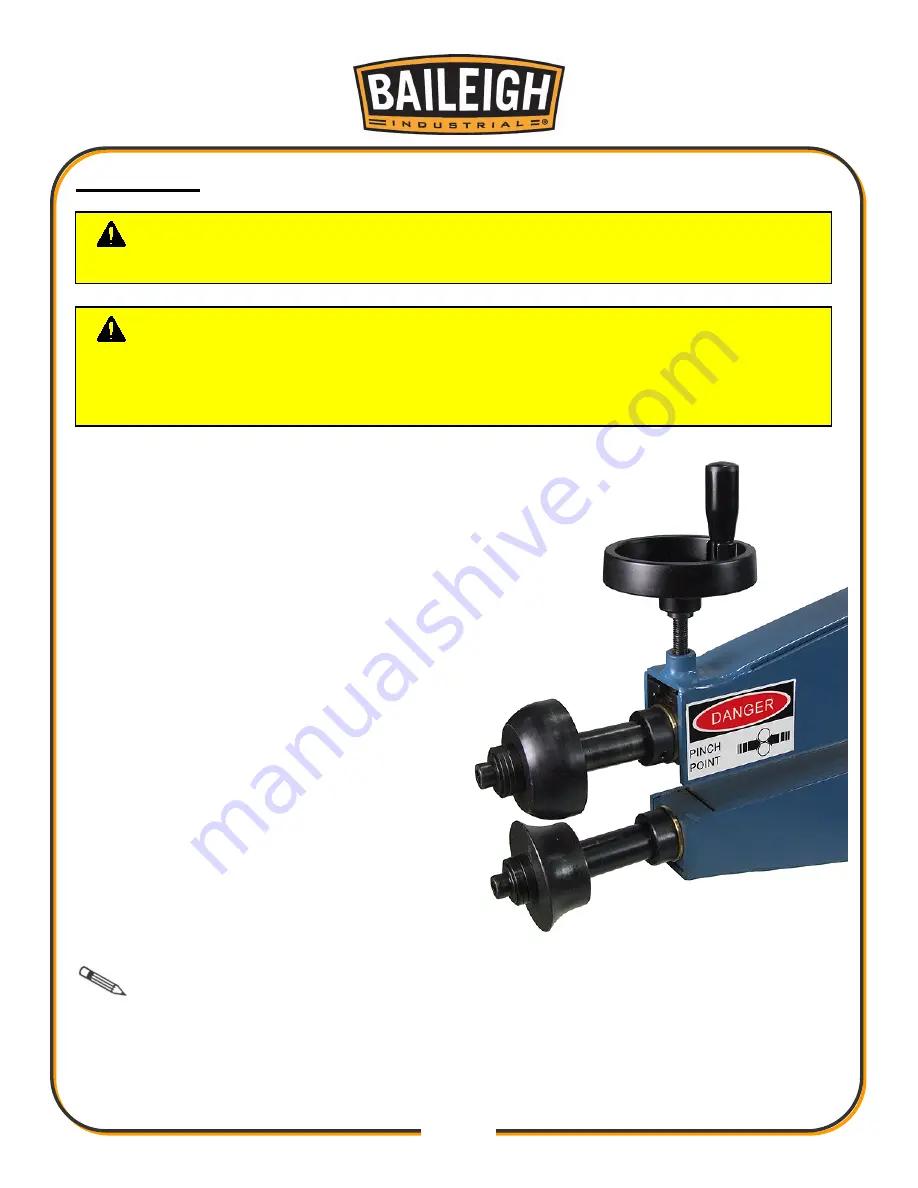
1.  Select and install the die set required for the 

desired bead type. 

2.  Use the handwheel to open the gap 

between the roll dies large enough to insert 

the material. Do not start with the rolls 

completely closed as you may find that the 

rolls are too close together and find it 

difficult to feed the material. 

3.  Set the depth gauge as desired to assist in 

positioning the material between the dies. 

This also assists in repeatability. 

4.  When the material is positioned as desired, 

closed the gap between the rolls to start to 

impress the rolls into the material. This step 

may require some experimentation to get 

the proper depth so it is recommended that 

you use a scrap piece of the same material 

you want to bead roll. 


Note:

 Most beading operations will need to be done in several steps, increasing 

the depth on each pass. Trying to bead too deep will flex the machine, so take your time with 

multiple passes. 


CAUTION: 

Always wear proper eye protection with side shields, safety 

footwear, and leather gloves to protect from burrs and sharp edges. 

CAUTION:

 Keep hands and fingers clear of the rolling dies. Be aware of 

how the material moves as it is being formed. Normally the operator should stand in 

front of the bead roller to avoid getting hit with the material as it is being formed. 

When handling large heavy materials make sure they are properly supported. 

Содержание BR-18M-24

Страница 1: ...C IS PROHIBITED Baileigh Industrial Holdings LLC Inc does not assume and hereby disclaims any liability for any damage or loss caused by an omission or error in this Operator s Manual resulting from a...

Страница 2: ...S 8 TECHNICAL SUPPORT 8 UNPACKING AND CHECKING CONTENTS 9 TRANSPORTING AND LIFTING 10 INSTALLATION 10 Anchoring the Machine 11 ASSEMBLY 12 GENERAL BEAD ROLLING 14 ROLLER INSTALLATION AND REMOVAL 14 OP...

Страница 3: ...n notice to Seller of any suspected defect in the Goods prior to the expiration of the warranty period The original end user must also obtain a RGA from Seller prior to returning any Goods to Seller f...

Страница 4: ...provided under this Agreement or at law or equity Attorney s Fees In the event legal action is necessary to recover monies due from Buyer or to enforce any provision of this Agreement Buyer shall be l...

Страница 5: ...Description of the functional parts of the machine Capacity charts Setup and start up instructions Machine operation Scheduled maintenance Parts lists GENERAL NOTES After receiving your equipment remo...

Страница 6: ...zardous situation which if not avoided will result in death or serious injury WARNING Indicates a hazardous situation which if not avoided could result in death or serious injury CAUTION Indicates a h...

Страница 7: ...es such as earmuffs or earplugs to protect against objectionable or uncomfortable loud noises BEWARE OF PINCH POINTS Keep hands and fingers away from the rolls when the machine is in operation BEWARE...

Страница 8: ...making any modifications or alterations to a Baileigh machine Modifications or alterations to a machine may pose a substantial risk of injury to the operator or others and may do substantial damage to...

Страница 9: ...reakage of eye protection 12 Do not overreach Maintain proper footing and balance at all times DO NOT reach over or across a running machine 13 Stay alert Watch what you are doing and use common sense...

Страница 10: ...ECHNICAL SUPPORT Our technical support department can be reached at 920 684 4990 and asking for the support desk for purchased machines Tech Support handles questions on machine setup schematics warra...

Страница 11: ...ge painted surfaces Follow manufacturer s label instructions when using any type of cleaning product After cleaning wipe unpainted metal surfaces with a light coating of quality oil or grease for prot...

Страница 12: ...er gently to the floor Level the machine so that all the supporting feet are taking the weight of the machine and no rocking is taking place INSTALLATION IMPORTANT Consider the following when looking...

Страница 13: ...certain that the floor is capable of supporting the weight of the machine work stock and the operator The floor should also be a level surface If the unit wobbles or rocks once in place be sure to el...

Страница 14: ...and solid location to allow for the assembly to be completed 2 Place the bead roller head onto the stand into the mounting channel with the roll shafts over the tapered side of the base 3 Gently pres...

Страница 15: ...securely 8 Remove the M10 x 40 socket head bolt E and clamping block from the material back stop and insert the back stop into the throat of the roller head 9 Position the material stop where desired...

Страница 16: ...the material to move and twist Use additional equipment such as back gauges tables and additional persons to support and secure materials as needed Take several passes Most beads will require several...

Страница 17: ...exactly the same or in any variation of positons based upon the spacer thickness combinations 6 Verify that the spacer and roll combination is thick enough to extend just longer than the shaft This w...

Страница 18: ...may require some experimentation to get the proper depth so it is recommended that you use a scrap piece of the same material you want to bead roll Note Most beading operations will need to be done i...

Страница 19: ...terial should have a smooth surface so it processes easily Dimensional properties of material must be consistent and not exceed the machine capacity values Chemical structure of material must be consi...

Страница 20: ...htened On a weekly basis clean the machine and the area around it Lubricate threaded components and sliding devices Apply rust inhibitive lubricant to all non painted surfaces The adjusting block shou...

Страница 21: ...19 19 PARTS DIAGRAM A...

Страница 22: ...20 20 PARTS DIAGRAM B...

Страница 23: ...dle Mount 1 18 BR18M 18 Handle 1 19 BR18M 19 Upper Shaft Front Block 1 20 BR18M 20 Nut 1 21 BR18M 21 Spring Roll Pin 1 22 BR18M 22 Copper Collar A 3 23 BR18M 23 Set Collar 2 24 BR18M 24 Upper Die 1 25...

Страница 24: ...Item Part No Description Qty 43 BR18M 43 Nut 4 44 BR18M 44 Stand Weldment 1 NOTES BAILEIGH INDUSTRIAL HOLDINGS LLC 1625 DUFEK DRIVE MANITOWOC WI 54220 PHONE 920 684 4990 FAX 920 684 3944 www baileigh...

Отзывы: