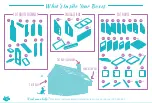
Pieces
Diagram
Pieces
Diagram
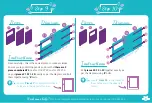
Now it’s time to assemble the roof. Study the diagram and
put roof
‘piece 31’
&
‘piece 32’
on. You will notice these
roof pieces have timber lugs on the underside, this is to
help you align them correctly.
Any small gaps along the top ridge line of the roof are OK,
as there is a roof cap coming in
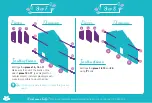
STEP 17
!
Instructions
31
32
31
32
A
A
A
A
A A
A
A
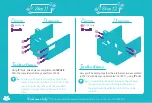
Roof
pieces 33
&
34
now get put on
and bolted together using
‘E’
bolts.
Then fasten with
‘A’
screws as per
diagram.
Instructions
33
34
E
E
E
E
A
A
A
A
34
33
11
Need some help?
or phone 1300 440 453
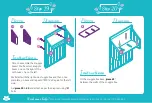
Note: the wooden
lugs sit outside of
the panel.
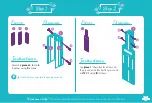
Step 15
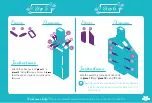
Step 16


