background image

26

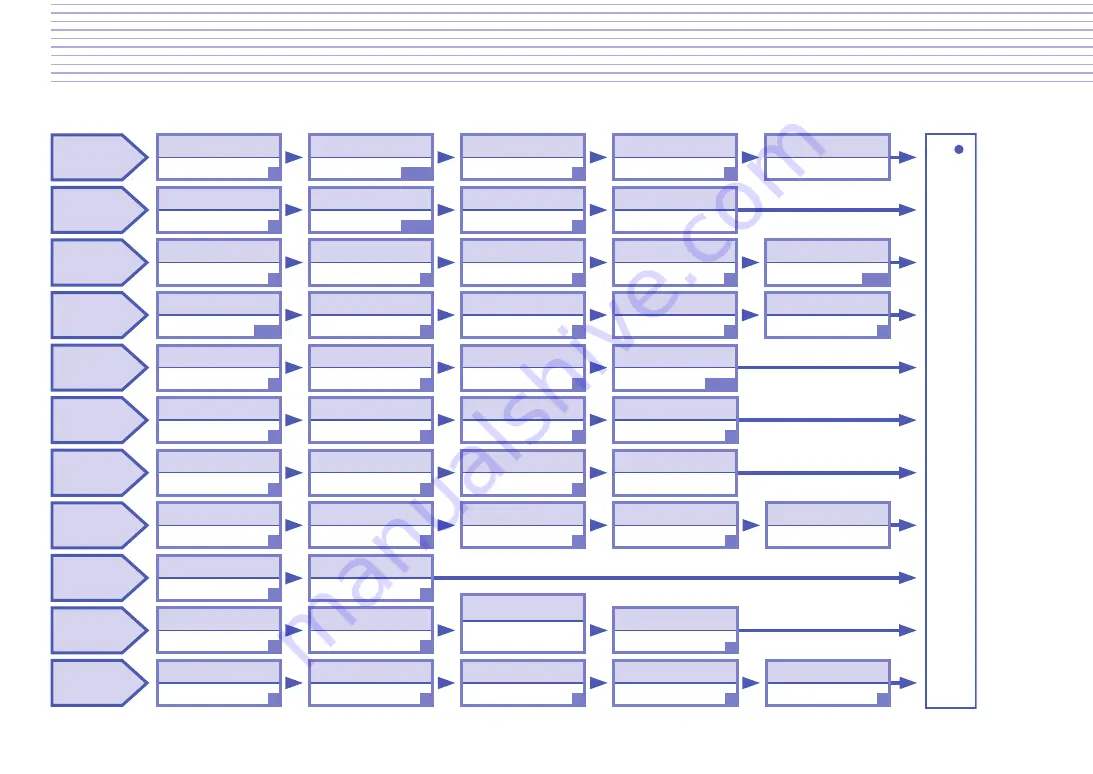
Trouble Shooting

Before taking your sewing machine in for service, check the following chart.


14-16.25

Thread 
Breakage

Upper threading is not 
threaded correctly.

Re-thread machine 
properly.

Thread is getting tangled.

Re-thread machine.

Clean bobbin case and under 

needle plate. Oil the machine.

Upper thread tension is 
too high.

Reduce tension.

Improper fabric/needle/
thread combination.

See chart on p.17 for the right 

needle to use with your 

fabric and thread.

Bobbin case may be scratched.

Remove needle plate and 
check bobbin case.

Bobbin Thread 
Breakage

Skipped 
Stitches

Fabric 
Puckers

Fabric Won’t Feed 
Properly or Irregular 
Stitches

Loop in 
Seam

Needle 
Breakage

Sewing Machine 
Doesn’t Run

Machine is 
Noisy

Automatic Needle 
Threader Doesn’t 
Work

Thread Cutter 
Doesn’t Work

Bobbin thread is not passing 
correctly from bobbin case.

Needle is not inserted 
correctly.

Wrong needle.

See chart on p.17 to choose the 

needle that best fits your 

fabric-thread combination.

Threading is incorrect.

Wrong needle for the fabric 
and thread you are using.

See chart on p.17 to choose the 

needle that best fits your 

fabric-thread combination.

Stitch length is too short.

Pressure of sewing foot is 
too weak.

Increase foot pressure.

Upper threading is 
incorrect.

Thread is not passing through 
bobbin case correctly.

Reset bobbin case.

Needle is not attached 
correctly.

Wrong needle.

Change to correct needle.

The power isn’t on.

Machine’s not plugged in.

Check to make sure the 
machine’s plugged in.

The area under the needle 
plate needs to be cleaned.

Needle is not in the 
highest position. 

Needle is not properly 
inserted.

Reinsert bobbin 
properly.

Bobbin tension is too high.

Reduce tension.

Bobbin case may be scratched.

Remove needle plate and 
check bobbin case.

Reinsert.

Machine is not threaded 
properly.

Re-thread machine.

Re-thread machine.

Needle is bent, or tip is 
dull.

Change needle.

Clean feed dog and bobbin 
case. Oil the machine.

Area under needle 
plate needs to be cleaned.

Upper thread tension is 
too high.

Reduce tension.

Reduce tension.

Bobbin tension is too high.

You’re sewing a lightweight fabric with 
feed dog in heavyweight position.

Adjust feed dog.

Sewing heavyweight fabric with 

feed dog in lightweight fabric 

position.

Adjust feed dog.

Re-thread machine. Clean needle 
plate and bobbin case.

Thread is getting tangled.

Adjust stitch length.

Re-thread machine 
properly.

Improper fabric/needle/
thread combination.

See chart on p.17 for the right 

needle to use with your 

fabric and thread.

You’re pushing or pulling 
the fabric.

Do not push or pull fabric.

Improper fabric/needle/
thread combination.

See chart on p.17 for the right 

needle to use with your 

fabric and thread.

Reattach.

Turn the power on.

The foot controller has 
come unplugged.

Reattach foot controller.

Clean feed dog and 
bobbin case.

Turn handwheel to 
raise needle.

Wrong needle for the 
thread you’re using.

See chart on p.17.

Hook of needle threader doesn’t 
pass through eye of needle.
Check to make sure the hook isn’t 
bent. Needle may need to be raised 
to the highest position.

Using the automatic needle 
threader incorrectly.

Check the use of the auto-
matic needle threader.

Reinsert. Set needle to highest 
position in chamber.

Wrong needle.

See chart on p.17 to choose the 

needle that best fits your 

fabric-thread combination.

Needle is bent, or tip is 
dull.

Change needle.

Area under needle plate 
needs to be cleaned.

Clean feed dog and 
bobbin case.

Upper threading is 
incorrect.

Re-thread machine.

If you still cannot find the problem, please take your sewing machine into your nearest 

authorized Baby Lock retailer for repair.

Thread is getting tangled.

Re-thread machine.

Clean bobbin case and 

under needle plate.

15

14

11

8

15

11

8

25

Machine is out of oil.

Oil the machine.

25

8

11

14-16

17

17

9

14

11

8

17

17

17

17

11

17

10

17

17

8

Machine is out of oil.

Clean and oil the 
machine.

Contact your authorized 
Baby Lock retailer.

25

The safety device has been 
activated.

11

17

25

17

25

16

15

10

14-16 

14-16.25

14-16.25

Upper thread does not run 
through the take-up spring. 

Pass thread through the 

take-up spring correctly. 

15

Содержание accomplish BL520B

Страница 1: ......

Страница 2: ......

Страница 3: ...e machine unattended WARNING To reduce the risk of burns fire electrical shock or personal injuries Always unplug the machine from the electrical outlet when making any adjustments mentioned in this i...

Страница 4: ...m the build up of lint dust and loose cloth Do not store objects on the foot controller Never drop or insert foreign objects in any opening Do not operate where aerosol spray products are being used o...

Страница 5: ...rence Guide when replacing or installing any assemblies the presser feet needle or other parts to assure correct installation For repair or adjustment 9 If the light unit is damaged it must be replace...

Страница 6: ...ensory or mental capabilities or lack of experience and knowledge if they have been given supervision or instruction concerning use of the appliance in a safe way and understand the hazards involved C...

Страница 7: ...ing the Needle 11 Changing the Feed Pin 11 Threading 1 12 Bobbin Winding 12 Bobbin Installation 14 Threading 2 15 Upper Threading 15 Using the Automatic Needle Threader 16 Using the Spool Net 16 Stitc...

Страница 8: ...6 051 11 Spool Cap XA2111 050 12 Rolled Hem Foot X57138 101 13 Zipper Foot 112797 001 14 Invisible Zipper Foot XC0093 001 15 1 4 Foot XA7258 001 16 Free Motion Quilting Foot XA7255 301 17 Walking Foot...

Страница 9: ...og Adjustment Knob Page 10 Knee Lifter Page 9 Bobbin Winder Page 12 Handwheel Page 8 Main Power Switch Page 8 Foot Controller Jack Page 8 Power Supply Jack Page 8 Spool Cone Holder Page 12 Spool Pin P...

Страница 10: ...andwheel Position needle using handwheel Always turn handwheel towards you CAUTION Be sure to keep the area under and around the needle clear Stitch Length Regulator Adjust desired stitch length using...

Страница 11: ...s the pressure indicator needle as the amount of pressure on the presser foot changes See also Feed Dog Adjustment Knob on page 10 See Thread Tension on page 17 Coordinate the color coding for proper...

Страница 12: ...tion when sewing stops will be random If the safety mechanism is activated for example if the thread becomes tangled the red lamp flashes Feed Dog Adjustment Knob Height of feed dog can be adjusted to...

Страница 13: ...r foot 2 and needle plate Lower presser foot and turn 3 handwheel until feed pin is in its highest position Insert small screwdriver 4 included as shown in diagram Note HLX5 needles should be used how...

Страница 14: ...3 triangular hole Pass thread through bobbin winding 4 thread guide as shown in drawing Run thread through top 5 thread notch 1 and turning the bobbin align bottom thread notch 2 of the bobbin with g...

Страница 15: ...seconds Once enough thread has wound itself around the bobbin to hold itself in place release the foot controller and trim the excess thread Cut thread and remove bobbin A Start winding the bobbin ag...

Страница 16: ...of the arrow 3 then cut the thread Quick Bobbin Thread Device This device cuts the bobbin thread end to an appropriate length after the bobbin has been replaced and holds it at that length Following t...

Страница 17: ...thread through all three holes of the thread guide If the thread still tangles or breaks run the thread through the holes backwards as shown in diagram CAUTION Turn off the power to the machine befor...

Страница 18: ...st position Turn the needle threader lever all the 4 way in the direction of 1 and when the hook extends from the needle hole pull the thread in the direction of 2 to catch it on the hook While holdin...

Страница 19: ...eams and thread breakage Upper Thread Lower Thread Right side of Fabric Upper Thread Lower Thread Right side of Fabric Wrong side of fabric Bobbin tension Proper When it is week Bobbin tension Proper...

Страница 20: ...eet Walking Foot For sewing or quilting on fabrics which stick or tend to slip Useful for sewing multiple layers as in quilting 1 4 Foot For quilt and patchwork piecing with 1 4 or 1 8 seam allowance...

Страница 21: ...sewing Finish sewing When changing sewing directions Backstitches 1 cm 1 cm Pin Feeding for hard to handle fabrics The feed pin passes up through all layers of fabric moving with the feed dog s motio...

Страница 22: ...e the threads come out Insert the edge so that it lies directly under the needle Lower the presser foot Pull gently on threads in left 6 hand while sewing the first 3 4 stitches to hold them in place...

Страница 23: ...below zipper stop Sew from below the base of the opening Divide the seam margin Fold 4 the seam margin with the overlap of the zipper position facing down 0 2 cm 1 16 inch on the outside of the mark A...

Страница 24: ...e teeth to prevent them from coming out of the groove and sew to the base of the opening When sewing with the teeth to the right the left side of the foot should line up with the left teeth of the zip...

Страница 25: ...driver 1 2 Note Do not press the foot controller all the way down Try to keep the sewing speed low 500 r p m or less The fabric may not feed properly if you sew at high speeds The feed dog for feeding...

Страница 26: ...Tighten the screw securely 1 with a screwdriver since it might otherwise loosen due to vibration a Installation Adjustment Turn adjustment screws as arrow images suggest to set the position of the Se...

Страница 27: ...ean Please use a soft dry cloth to wipe off light dirt and dust If sewing machine is very dirty wipe with a cloth soaked in warm water or in warm water containing a neutral detergent Then wipe off any...

Страница 28: ...plate needs to be cleaned Upper thread tension is too high Reduce tension Reduce tension Bobbin tension is too high You re sewing a lightweight fabric with feed dog in heavyweight position Adjust fee...

Страница 29: ...ide of Fabric Upper threading is not threaded correctly Re thread machine properly Bobbin case may be scratched Remove needle plate and check bobbin case If you still cannot find the problem please ta...

Страница 30: ...AVERTISSEMENT Pour r duire les risques de br lure d incendie d lectrocution ou de blessures D branchez toujours la machine de la prise lectrique lorsque vous proc dez des r glages mentionn s dans ce m...

Страница 31: ...commande Ne placez aucun objet sur la p dale N ins rez ou ne laissez tomber aucun corps tranger dans les ouvertures Ne faites pas fonctionner la machine en cas d utilisation d a rosols pulv risations...

Страница 32: ...et ne doivent donc jamais tre utilis s Pour une installation correcte consultez toujours le manuel d instructions pour remplacer ou installer tout ensemble de pi ces le pied de biche l aiguille ou tou...

Страница 33: ...liser cet appareil s ils sont encadr s ou s ils ont re u des instructions leur permettant de se servir de l appareil en toute s curit et de comprendre les risques encourus Les enfants ne doivent pas j...

Страница 34: ...rgot d entra nement 38 Enfilage 1 39 Remplissage de la canette 39 Installation de la canette 41 Enfilage 2 42 Mise en place du fil sup rieur 42 Utilisation de l enfileur automatique 43 Utilisation du...

Страница 35: ...nette 5 100376 051 11 Capuchon de bobine XA2111 050 12 Pied pour ourlet rouleaut X57138 101 13 Pied pour fermeture glissi re 112797 001 14 Pied pour fermeture glissi re invisible XC0093 001 15 Pied 1...

Страница 36: ...nement Page 37 Levier au genou Page 36 D vidoir Page 39 Molette Page 35 Prise de p dale Page 35 Porte bobine Page 39 Levier du pied de biche Page 36 Poign e Orifices de ventilation Bouton de ciseaux...

Страница 37: ...ur de point Levier de point arri re Pour coudre en marche arri re abaisser le levier de point arri re Abaisser en continu et au maximum le levier pour coudre en marche arri re Lorsque le s lecteur de...

Страница 38: ...ed de biche change Voir galement Bouton de r glage des griffes d entra nement page 37 Voir Tension des fils la page 44 Coordonner le code de couleur pour obtenir un r glage correct de la pression du p...

Страница 39: ...nch par exemple si le fil est emm l le voyant rouge clignote Bouton de r glage des griffes d entra nement Il est possible de r gler la hauteur de la griffe d entra nement en fonction du poids du tissu...

Страница 40: ...aque aiguille Abaisserlepied de bicheettournerlamolettejusqu ceque 3 l ergotd entra nementsoit lapositiondelevagemaximale Ins rer le petit tournevis fourni 4 comme indiqu sur le sch me Remarque Utilis...

Страница 41: ...la canette comme illustr sur le sch ma Faire passer le fil dans 5 l encoche sup rieure 1 puis tourner la canette de fa on aligner l encoche inf rieure 2 de la canette sur la tige de guidage de l arbr...

Страница 42: ...Quand il s est enroul suffisamment de fil sur la canette pour que le fil reste en place rel cher la p dale et couper l exc dent de fil Couper le fil et enlever la canette A Recommencez bobiner la can...

Страница 43: ...che 3 puis couper le fil Dispositif de remont e rapide du fil de la canette Ce dispositif coupe le fil de la canette une longueur appropri e apr s le remplacement de la canette et le garde cette long...

Страница 44: ...re passer le fil dans les trois orifices du guide fils Si le fil s emm le ou se casse toujours faire passer le fil dans les orifices l envers comme indiqu sur le sch ma ATTENTION Mettez la machine hor...

Страница 45: ...um Tourner le levier de l enfileur 4 fond dans le sens 1 et lorsque le crochet passe par l orifice de l aiguille tirer le fil dans le sens 2 pour l attraper sur le crochet Tenir doucement le fil et re...

Страница 46: ...te pour augmenter la tension du fil pour r duire la tension de la canette R gler le fil sup rieur pour qu il corresponde au fil de la canette pour r duire la tension de la canette pour r duire la tens...

Страница 47: ...ment Entra ne le tissu fin ou pais pour viter le froncage Tr s utile pour le quilting courtepointe Pied 1 4 Pour la couture de quilting courtepointe et de patchwork avec un d placement de 1 4 pouce et...

Страница 48: ...itionn en haut sur les griffes d entra nement loignez vos mains de l ergot d entra nement Entra nement par ergot pour les tissus difficiles manipuler L ergot d entra nement remonte de fa on traverser...

Страница 49: ...e bord de fa on qu il se trouve juste sous l aiguille Abaisser le pied de biche Tirer d licatement sur les fils de 6 la main gauche pendant que l on coud les 3 ou 4 premiers points de fa on qu ils res...

Страница 50: ...NTION Veiller ce que l aiguille ne heurte pas la section m tallique de la fermeture glissi re pendant la couture L aiguille pourrait se casser et provoquer des blessures Aligner l ourlet repli l enver...

Страница 51: ...e du pied de biche les guider pour viter qu elles ne sortent de la rainure puis coudre jusqu la base de l ouverture Si l on effectue la couture avec les dents de la fermeture sur la droite le c t gauc...

Страница 52: ...ond sur la p dale Essayer de conserver une vitesse de couture lente 500 t mn ou moins Le tissu risque de ne pas tre entra n correctement si la vitesse de couture est trop lev e Les griffes d entra nem...

Страница 53: ...la vis avec un tournevis 1 sinon elle pourrait se desserrer en raison des vibrations a Installation R glage Tourner les vis de r glage comme sugg r par les fl ches du sch ma pour r gler la position d...

Страница 54: ...ne coudre constamment propre Enlever la salet l g re et la poussi re avec un chiffon doux et sec Si la machine est tr s sale l essuyer avec un chiffon tremp dans de l eau ti de ou de l eau ti de conte...

Страница 55: ...R duire la tension R duire la tension La tension de la canette est excessive R gler les griffes d entra nement Couture d un tissu lourd avec les griffes d entra nement sur la position de tissu l ger...

Страница 56: ...p rieur n est pas bien enfil R enfiler la machine correctement Retirer la plaque aiguille et v rifier le bo tier de canette La tension du fil sup rieur est trop faible Augmentez la tension 38 42 38 44...

Страница 57: ......

Страница 58: ......

Страница 59: ......

Страница 60: ...English French 884 T78 Printed in Taiwan XH3170 001...

Отзывы: