


Azure Imaging System User Manual
Page 14
3.7 Imaging Workflow for Custom Image
Use this to select every aspect of your imaging protocol.
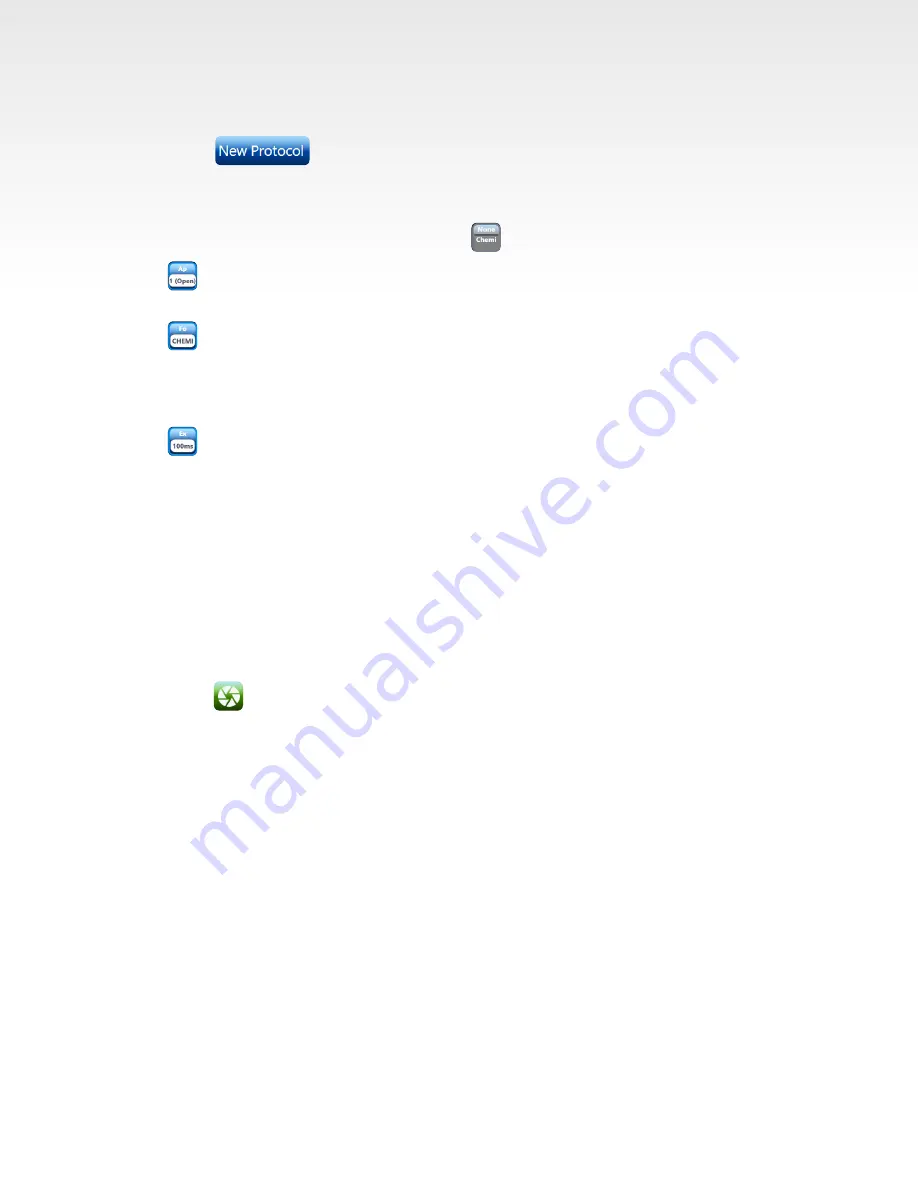
1. Select
to name the image you plan to capture, or to add this image to an
existing protocol.
2. Sensitivity – see Section 3.2 for details.
3. Choose Excitation and Emission Filters with as well as which channel you want to use.
4. Select camera aperture size. We recommend a wider aperture for chemiluminescence and a
mid-level aperture for RGB and NIR. The most narrow aperture is best for UV applications.
5. Select camera focus.
The focus value in custom defaults to the focus value of the filter you select. You can then manually
move the slider to select a focus value around the default setting.
Note: For Azure 200, the focus does not need to be adjusted for the UV table or black tray.
6. Select Exposure type. See Section 3.2 for a detailed explanation of the exposure types.
7. Add Dye – add another set of options from numbers 3-6 above (e.g. Excitation/emission/channel,
aperture, focus, and exposure times). Can add up to four for the four channels (red, green, blue, and
greyscale).
8. Pick the name of the dye you are imaging. Note, if your dye does not appear on the list, contact Azure
Technical Support.
9. Marker – system will acquire a white light image of your protein marker/ladder.
10. Delete Protocol – select if you do not want to save or continue to use this protocol.
11. Save Protocol – select to use this protocol again.
12. Preview – take a sample image before image capture.
13. Select to capture the image.
14. Select your preferences and then save.


