Mech5
Create a New Profile
Click “New” from the Profiles Settings interface to create a new Profile. Type a name in the “Save
as” pop-up window and click “Save.” Please note that the file name will also be used as the Profile
name. This profile will be saved in the “AZiO” folder within the “Documents” folder.
After saving, the software will return to the Profile Settings window. The newly added Profile will
appear in the Profile list. Tick the “Active” checkbox on the left to active it and “apply” to save the
settings without exiting. To finish the setup and return to the main interface, click the “OK” button.
Load an Existing Profile
To load a previously created or downloaded profile, click “Load” and select the file from the pop-
up window. The software will automatically return to the Profile Settings window. To activate it,
please tick the checkbox next to the respective Profile name.
Delete a Profile
Unwanted Profiles can be deleted in the Profile Settings window by selecting it and clicking on
“Delete”. Click “OK” or “Apply.” This operation will only delete the Profile data from this software,
it will not delete the physical saved file of the Profile. To delete the save file, please use Windows
Explorer and go to the “AZiO” folder within the “Documents” folder.
MACRO SETTINGS
Macro functions allow players to create
short, long and complex command se-
quences for their applications and games.
This section will illustrate how to create or
edit a Macro function. After which, please
see the next section for assigning keys to
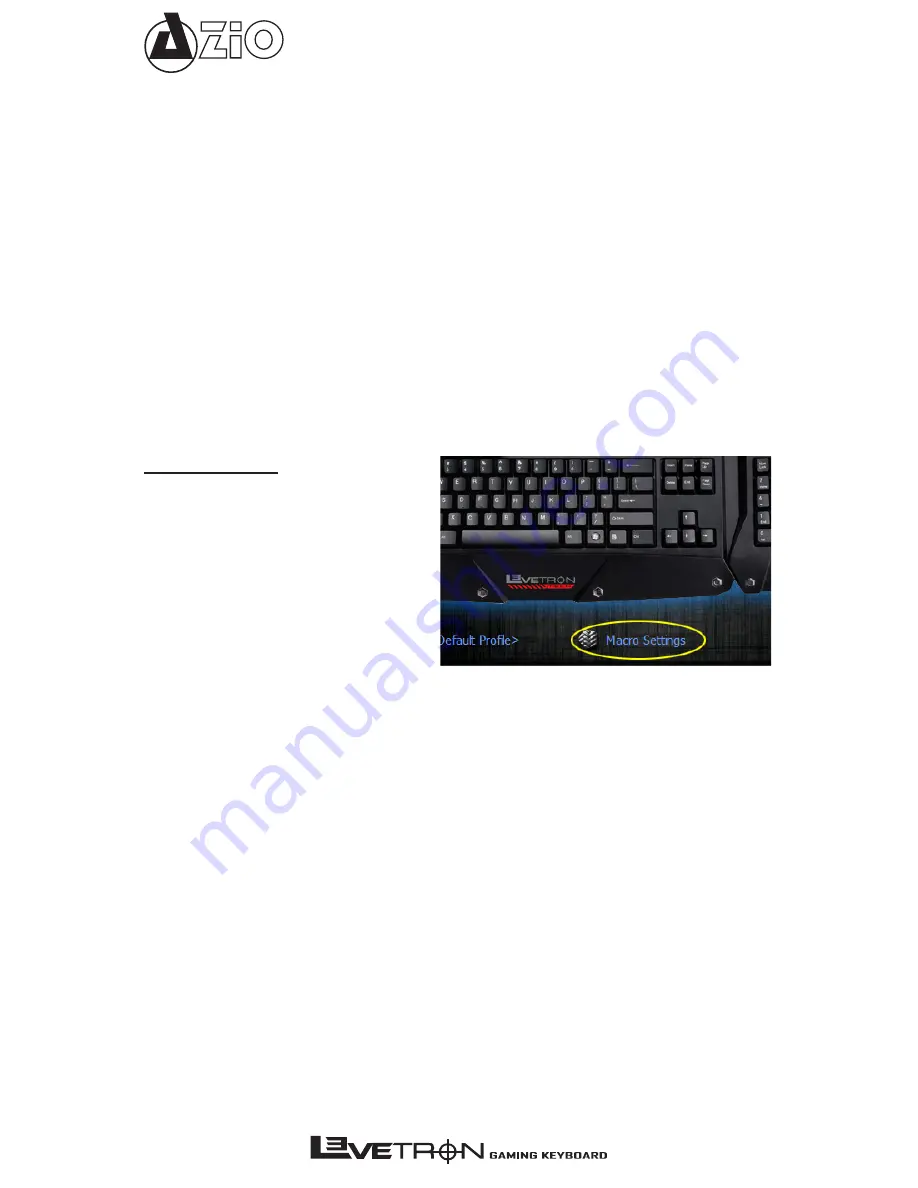
the Macros created here. For now, click on
“Macro Settings” to enter the Macro settings
interface.
Creating a new Macro function:
1. Start by clicking on “New”.
2. Enter a name or description for this Macro function and press Enter.
3. Ticking the “Record interval time” checkbox will record the Macro string in the same timing
sequence each key is pressed or released. The delay is calculated in milliseconds and can
be manually entered or edited after the Macro string is created. If left unchecked, the software
will assign it a default value of 1ms delay between each key actions. Please note that
1,000ms is equal to 1 second.
4. Click on “Record” to start entering the Macro string.
5. When completed, click on “Stop Record” and “Apply” to apply the changes or “Cancel” to
cancel the changes.
Editing an existing Macro function:
Please refer to the diagram on the next page.
1. In the top section, select the Macro to be edited.
2. On the bottom section, double-click on the portion of the Macro string to be modified. For
example, double-click on the Delay value, or Action value to make changes.
3. Clicking on “Delete” will delete that line and clicking on “Clear” will clear all strings of that
Macro.
4. Clicking on “Record” will allow you to add more commands to the Macro.
5. To move a specific string of the Macro up or down, highlight the respective string and use the
navigation buttons to the right.
6. Click on Ok, Cancel, or Apply when completed.
Содержание L3Vetron
Страница 1: ...Mech5...
Страница 12: ...Mech5...


