


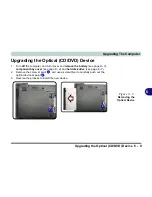


Upgrading The Computer
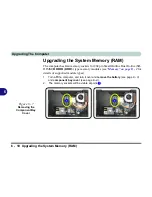
Upgrading the System Memory (RAM) 6 - 11
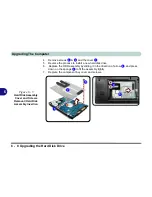
6
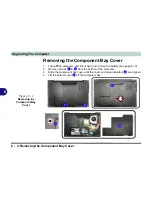
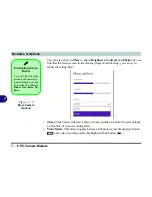
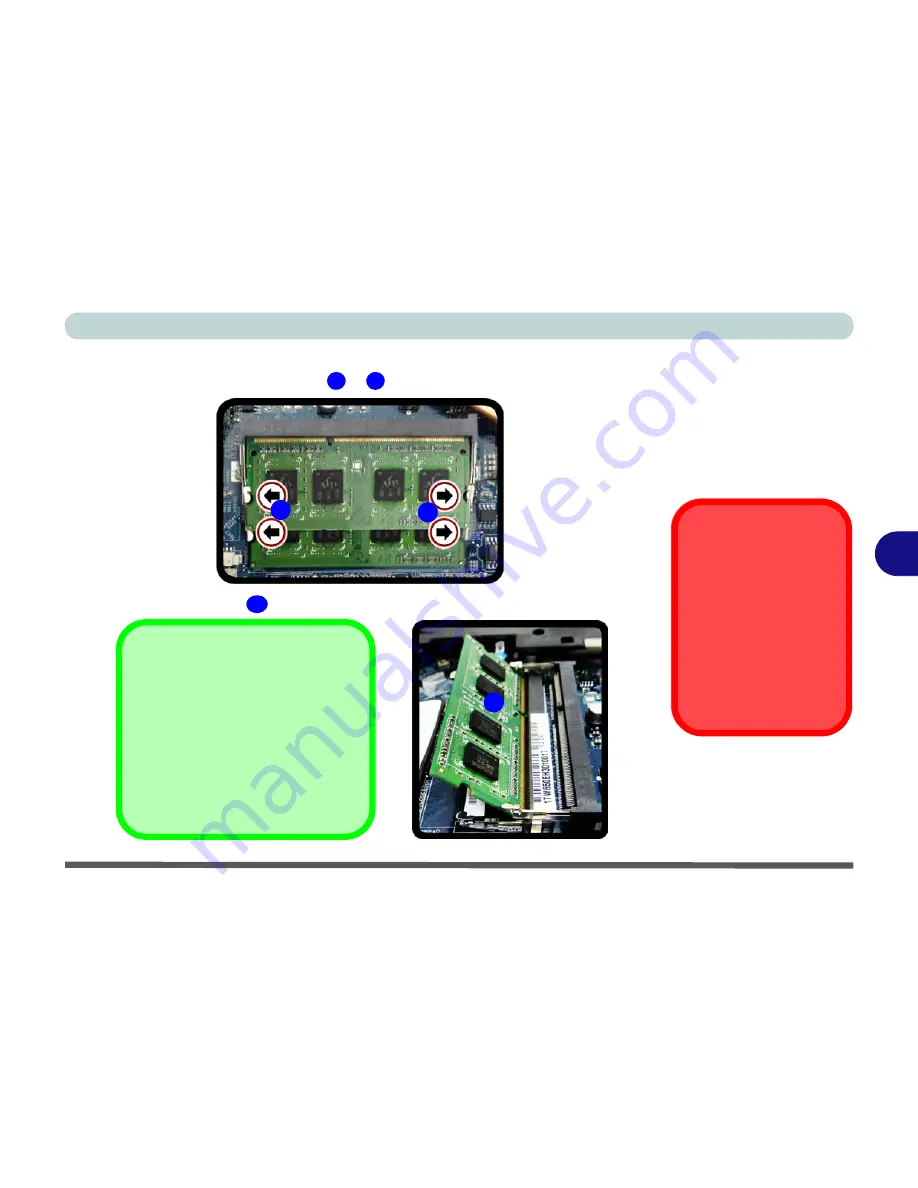
3.
Gently pull the two release latches on the sides of the memory socket in the
direction indicated by the arrows (
&
)
in
Figure 6 - 8
.
4.
The RAM module will
pop-up, and you can remove it.
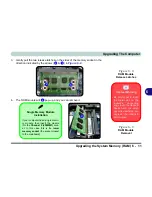
Figure 6 - 8
RAM Module
Release Latches
Contact Warning
Be careful not to touch
the metal pins on the
module’s connecting
edge. Even the cleanest
hands have oils which
can attract particles, and
degrade the module’s
performance.
Figure 6 - 9
RAM Module
Removal
2
3
2
3
4
4
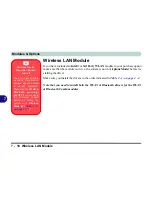
Single Memory Module
Installation
If your computer has a single memo-
ry module, then insert the module
into the
Channel 0 (JDIMM1)
sock-
et. In this case this is the
lower
memory socket
(the socket closest
to the mainboard).
Содержание 15L14
Страница 1: ...V13 2 00...
Страница 2: ......
Страница 30: ...XXVIII Preface...
Страница 66: ...Quick Start Guide 1 36 1...
Страница 130: ...BIOS Utilities 5 16 5...
Страница 143: ...Upgrading The Computer Upgrading the System Memory RAM 6 13 6...
Страница 144: ...Upgrading The Computer 6 14 Upgrading the System Memory RAM 6...
Страница 194: ...Modules Options 7 50 7...
Страница 208: ...Troubleshooting 8 14 8...
Страница 212: ...Interface Ports Jacks A 4 A...
Страница 256: ...Specifications D 6 D...