AXIS M4216-LV Dome Camera
The device interface
-
Maximum
: Enter the maximum bitrate.
•
Variable
: Select to allow the bitrate to vary based on the level of activity in the scene. More activity requires more
bandwidth. We recommend this option for most situations.
Orientation
Rotate
: Rotate the image to match your requirements.
Mirror
: Turn on to mirror the image.
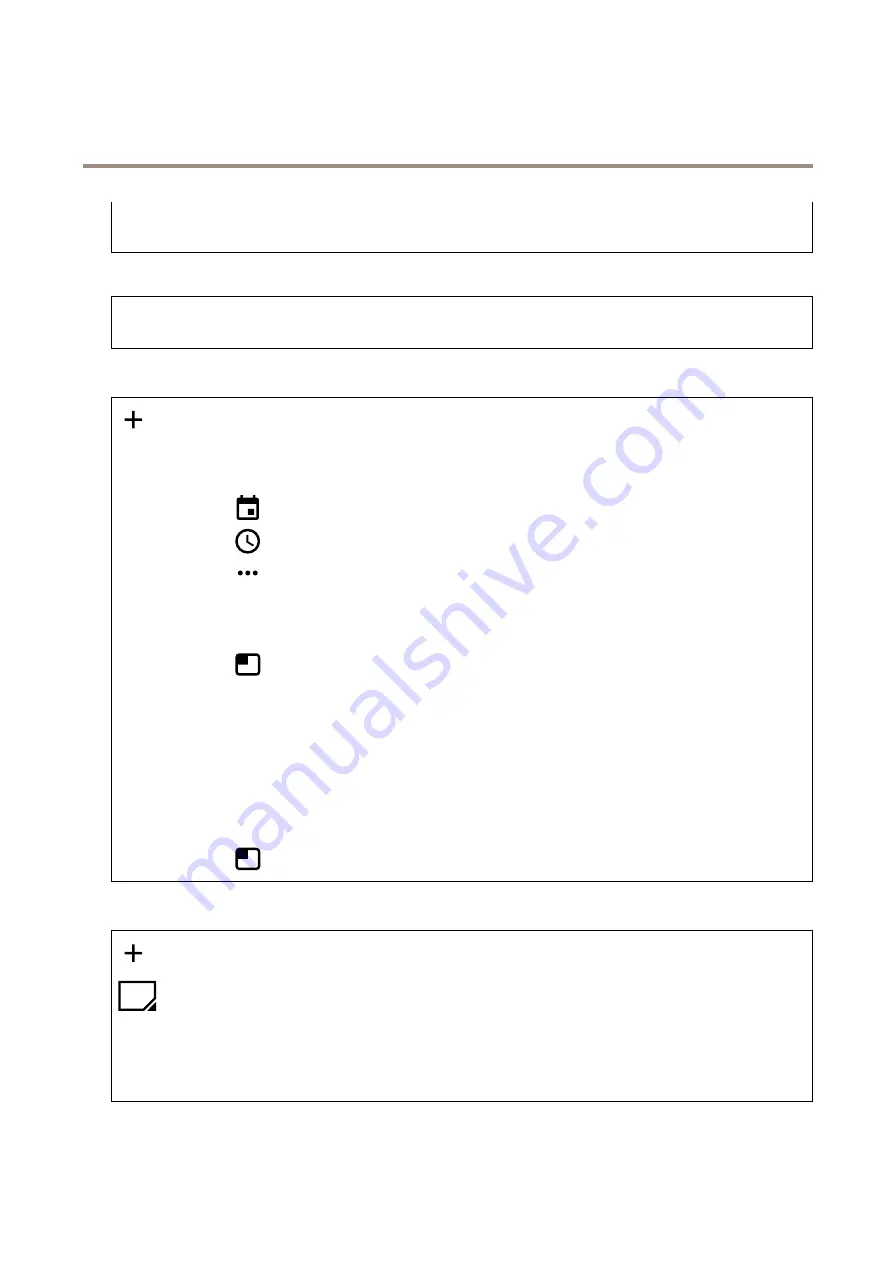
Overlays
: Click to add an overlay. Select the type of overlay from the dropdown list:
•
Text
: Select to show a text that is integrated in the live view image and visible in all views, recordings and snapshots.
You can enter your own text, and you can also include pre-configured modifiers to automatically show for example
time, date, frame rate.
-
: Click to add the date modifier
%F
to show yyyy-mm-dd.
-
: Click to add the time modifier
%X
to show hh:mm:ss (24-hour clock).
-
: Click to select any of the modifiers shown in the list to add them to the text box. For example,
%a
shows the day of the week.
-
Size
: Select the desired font size.
-
Appearance
: Select the text color and background color, for example, white text on a black background
(default).
-
: Select the position of the overlay in the image.
•
Image
: Select to show a static image superimposed over the video stream. You can use .bmp, .png, .jpeg, or .svg files.
To upload an image, click
Images
. Before you upload an image, you can choose to:
-
Scale with resolution
: Select to automatically scale the overlay image to fit the video resolution.
-
Use transparency
: Select and enter the RGB hexadecimal value for that color. Use the format RRGGBB.
Examples of hexadecimal values: FFFFFF for white, 000000 for black, FF00000 for red, 6633FF for blue, and
669900 for green. Only for .bmp images.
•
Streaming indicator
: Select to show an animation superimposed over the video stream. The animation indicates
that the video stream is live, even if the scene doesn’t contain any motion.
-
Appearance
: Select the animation color and background color, for example, red animation on a transparent
background (default).
-
Size
: Select the desired font size.
-
: Select the position of the overlay in the image.
View areas
: Click to create a view area.
Click the view area to access settings.
Name
: Enter a name for the view area. The maximum length is 64 characters.
Aspect ratio
: Select desired aspect ratio. The resolution adjusts automatically.
PTZ
: Turn on to use pan, tilt, and zoom functionality in the view area.
23


