


14
GSM FWP
PG130/131N
7 Contacts
Contacts
can be used to store contact’s name and contact’s phone numbers,
home number, email address, office number and associate sound. You can
store up to 200 entries to phone memory.
In standby screen, press
<Menu> KEY
, Press
<Volume - +> KEY
scroll to
Contacts
item
and
press
<OK> KEY.
7.1 Search for a Contact
You can search a contact by name or number
1)
In
Contacts
menu, Scroll to
Search
via
<Volume - +> KEY
, press
<OK>
KEY
.
2)
Select
Name
or
Number
, press
<OK> KEY
to input the Name or
Number for search,
3)
Press
<OK> KEY
to search or Press
<#>
KEY change input method,
press
OK
to start search.
7.2 Add a New Contact
7.2.1 Add a New Contact from the Menu
1)
In
Contacts
menu, Scroll to
New
via
<Volume - +> KEY
, press
<OK>
KEY
, then you can choose the contact store to SIM or to Phone(if in the
save to
options you choose
Ask on saving
),
2)
Scroll to Name via
<Volume - +> KEY
, press
<OK> KEY
to input the
name, and then press
<OK> KEY
when done.
You can press
<Clear>KEY
to delete a character.
3)
Scroll to Number via
<Volume - +> KEY
, input the phone number, and then press
<OK>
KEY
,select
Done
4)
Scroll to this item you need to add to input or edit.
5)
Then Press
<OK> KEY
to finish adding a contact, press
<Clear> KEY
select
Done
, press
<OK> KEY
to save the contact.
NOTE
: Press
“0”KEY
to select add a
“
blank space
”,
and
“#” key to change
input method.
7.2.2 Add a New Contact in Standby Mode
1)
In standby screen, after inputting the phone number, press
<OK> KEY
to
save the number directly.
2)
Save the number to SIM card or to Phone. If you select
To Phone
,
press
<OK> KEY
, and press
<OK> KEY
again to edit the name
3)
When done editing the name (press “#” key to change input method),
press
<OK> KEY
, press
<Clear> key
to the next option: Save.
4)
Select
Save
, and press
<OK> KEY
5)
And press
<Clear>KEY
,
<OK> KEY
to save the contact.
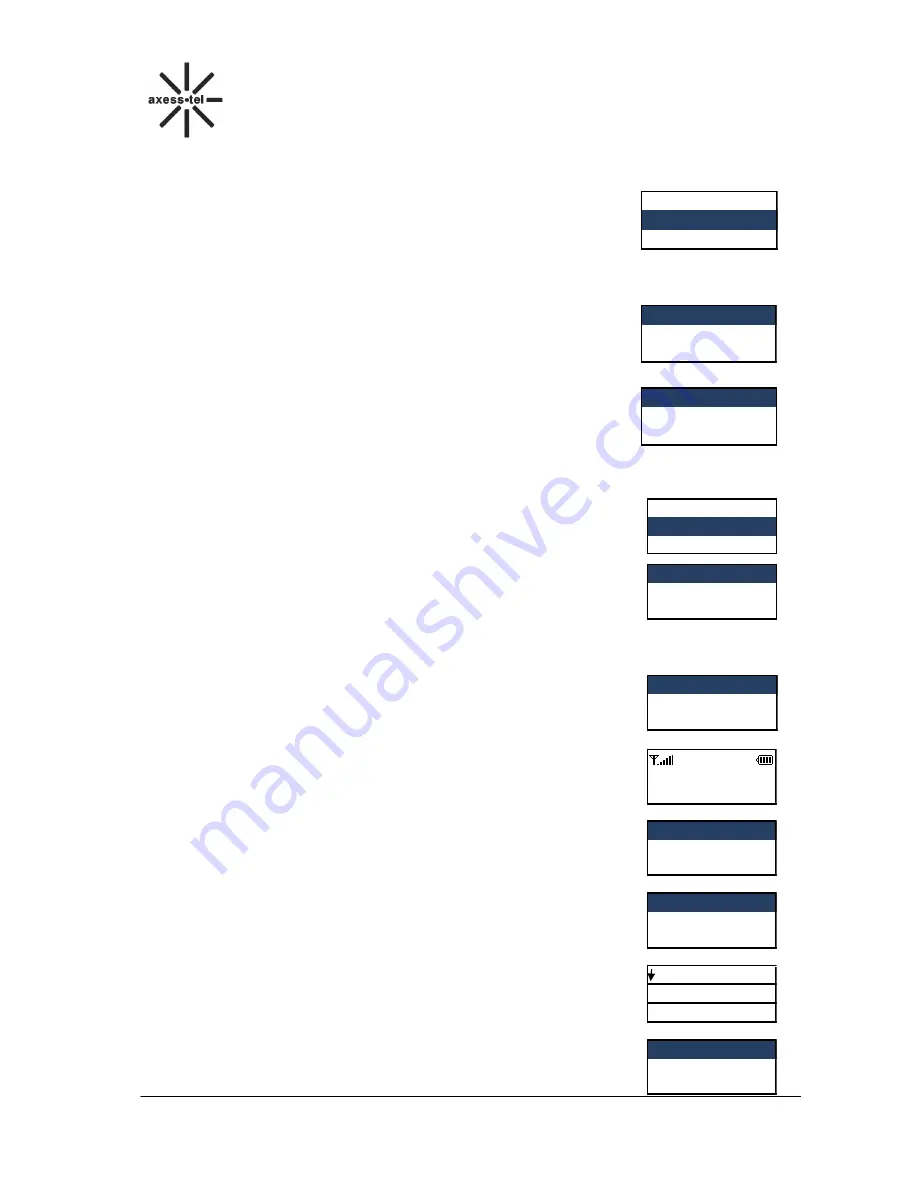
Back
OK
2 Contacts
1 Call log
Back
OK
1 Search
2 New
Back
OK
1 Name
2 Number
Back
OK
1 Search
2 New
Back
OK
2 To Phone
1 To SIM
Back
Edit
1 Name
2 Number
123456789
Back Save
Back
OK
Edit
OK
Back
OK
ABC 3/14
AAA
1 Done
2 Input method
1 To SIM
2 To Phone
1 Name
2 123456789
Содержание GSM PG130
Страница 1: ...Axesstel Fixed Wireless Phone GSM PG130 131N User Manual...
Страница 32: ......


