AVUE
:
A
dvanced
V
ideo S
u
rv
e
illance 1180 MIRALOMA WAY STE C, SUNNYVALE, CA 94085
www.avueinc.com
PHONE: (408) 481-9355, FAX: (408) 481-9366, [email protected]
7. Cloud Camera Settings
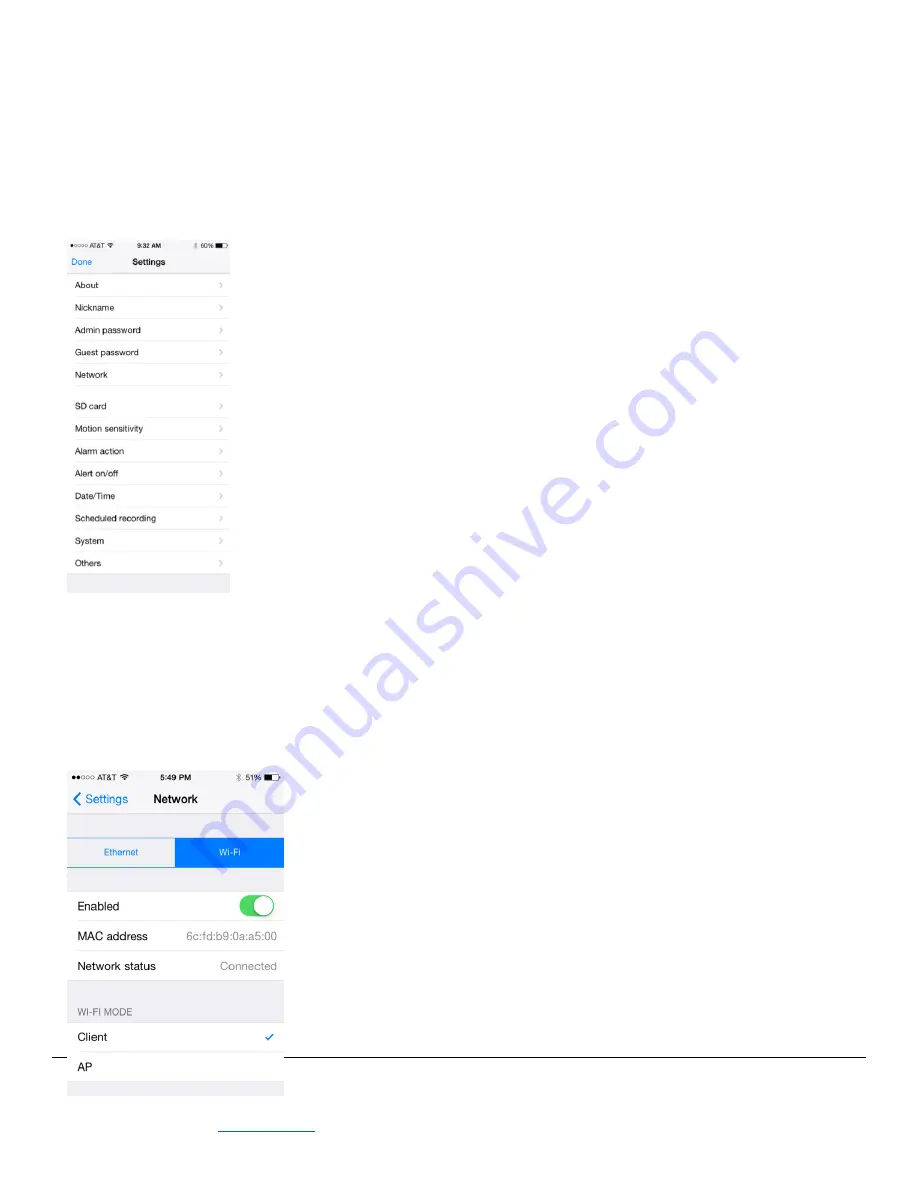
Each camera has its own settings. Activate it with a long press on the preview image in the Camera List
panel. A popup lists available options. Select Settings from there. Various options are managed from
from this screen.
7.1 About
This screen has details on model number, software version, and camera device
unique ID.
7.2 Name
In this screen, you may provide a nickname for your camera. By default, the Device
ID will be used in the Camera List.
7.3 Admin & Guest Password
Admin Password screen will allow you change the password given that you know
the current password.
To allow other users access to the camera without the ability to make system wide
settings, it is recommended that you create a guest password.
NOTE:
Admin and Guest password can also be change from the Camera List menu.
For password recovery, follow the “Forgot password” link from Login Screen.
7.4 Network
Ethernet and WiFi network options are enabled or disabled from this screen.
You may change IP address from one assigned by router using DHCP to a
static IP address you assign.
WiFi access point is set here. Network status indicates that the camera is
able to connect using the given access point and password. STATE 1
indicator on the camera will blink green three times every three seconds
when it is connected. Otherwise, it will blink red.


