Avtech DGC5645 Скачать руководство пользователя страница 6


CAMERA PARAMETERS 

This camera series has its own configuration menu.   

Note: 

The camera can’t be accessed to change configurations when the video mode is switched to CVBS.


Note: 

The access path is taking our HD CCTV recorder as an example. If you’re using other brand’s recorder, 
please refer to its own user manual to know how to access the camera parameters.


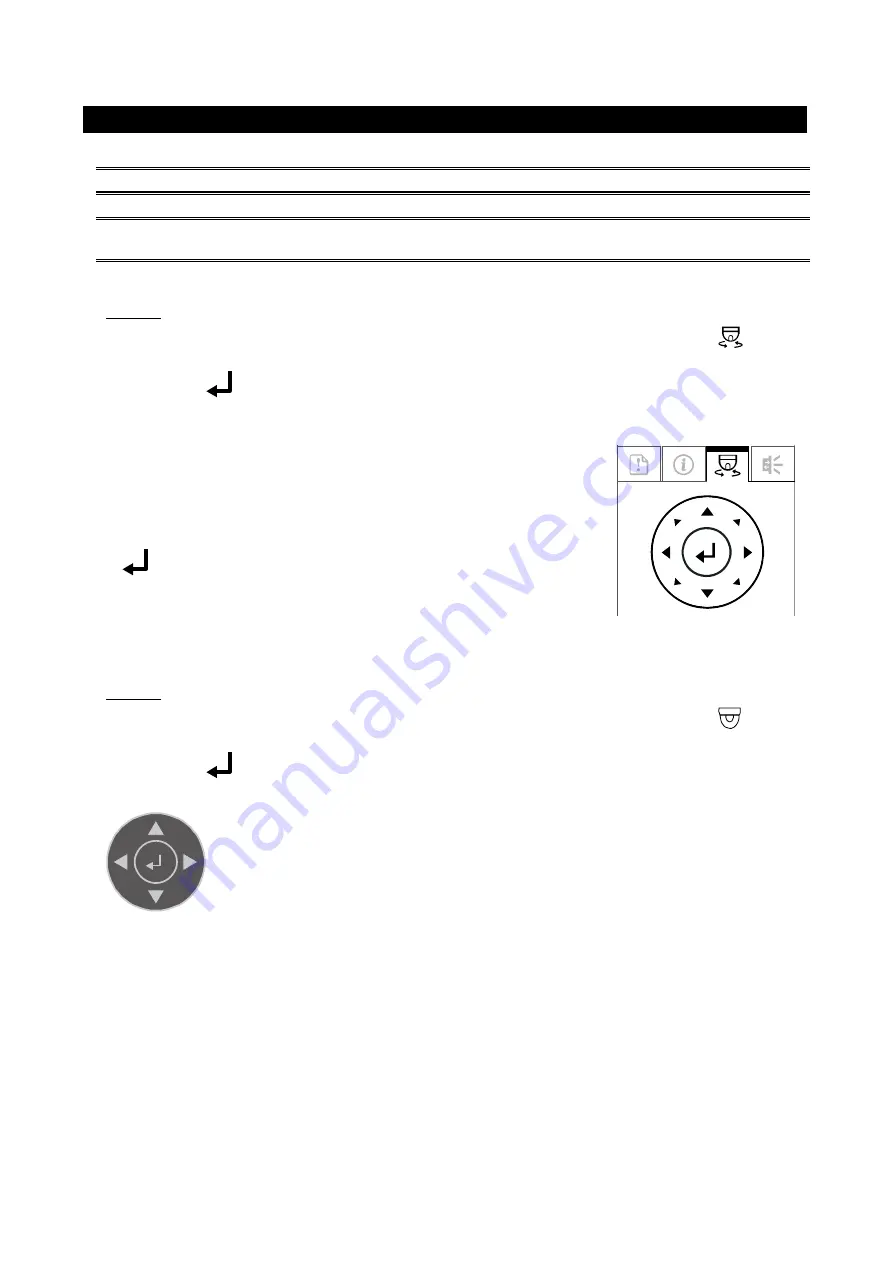
Based on the recorder type you have, on the live view: 

Type 1 

Click twice on the channel that this camera is connected to show in full screen, and click on 

 on the 

right side to display the PTZ control panel.   

Then, click on 

  (Enter) on the PTZ control panel to show the configuration menu of this camera, and 

use the arrow keypad to choose between each option.   

When the camera menu is entered, use keypad to move between and 

change those configurations. 


▲▼


Move between selections. 

◄►


Change settings. 


Call the camera parameters menu or enter the 

currently-selected item. 


Type 2 

Click twice on the channel that this camera is connected to show in full screen, and click on 

 on the 

bottom left of the channel to show the PTZ control panel. 

Then, click on 

  (Enter) on the PTZ control panel to show the configuration menu of this camera, and 

use the arrow keypad to choose between each option. 


 / 


Move among sub-menus. 

 / 


Change settings. 


Call the camera parameters menu or enter the currently-selected item. 


Содержание DGC5645

Страница 1: ...tric shock to persons This exclamation point within an equilateral triangle is intended to alert the user to the presence of important operating and maintenance servicing instructions in the literatur...

Страница 2: ...D ON S N Ratio More than 48dB AGC OFF Shutter Speed AUTO 1 25 30 sec 1 50 000 sec Lens f3 6mm F1 8 motorized f2 8 12mm F1 4 F2 8 Lens Angle 96 Horizontal 50 Vertical 116 Diagonal Wide 113 5 Horizontal...

Страница 3: ...d loosen the screw as indicated below to loosen the joint lock of the bracket Note for lock and for unlock Step2 Locate where to install this camera and fasten the bracket to the ceiling or wall Then...

Страница 4: ...CONNECTION 1 DC12V Input Terminal Connect the power terminal of the camera to a DC 12V regulated power supply Note Please use the correct power adaptor DC12V regulated to operate this unit The power t...

Страница 5: ...ick twice on the channel that this camera is connected to show in full screen and click on on the right side to display the PTZ control panel Type 2 Click twice on the channel that this camera is conn...

Страница 6: ...n click on Enter on the PTZ control panel to show the configuration menu of this camera and use the arrow keypad to choose between each option When the camera menu is entered use keypad to move betwee...

Страница 7: ...W WDR OFF ON Digital WDR AWB MODE ATW MWB Manually adjust the white balance parameters by modifying R B gain parameters DAY NIGHT MODE EXT Use the external light sensor we added in the camera to detec...

Отзывы: