


14
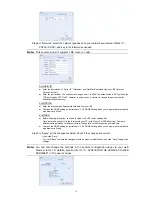
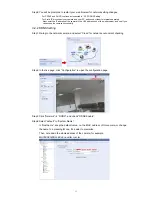
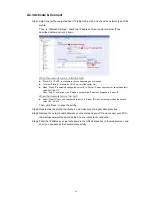
Step6: In “Date and Time”, check if the date and time setting are correct and modify if
necessary.
Step7: Skip “Network” and click “Next” to “Wireless”.
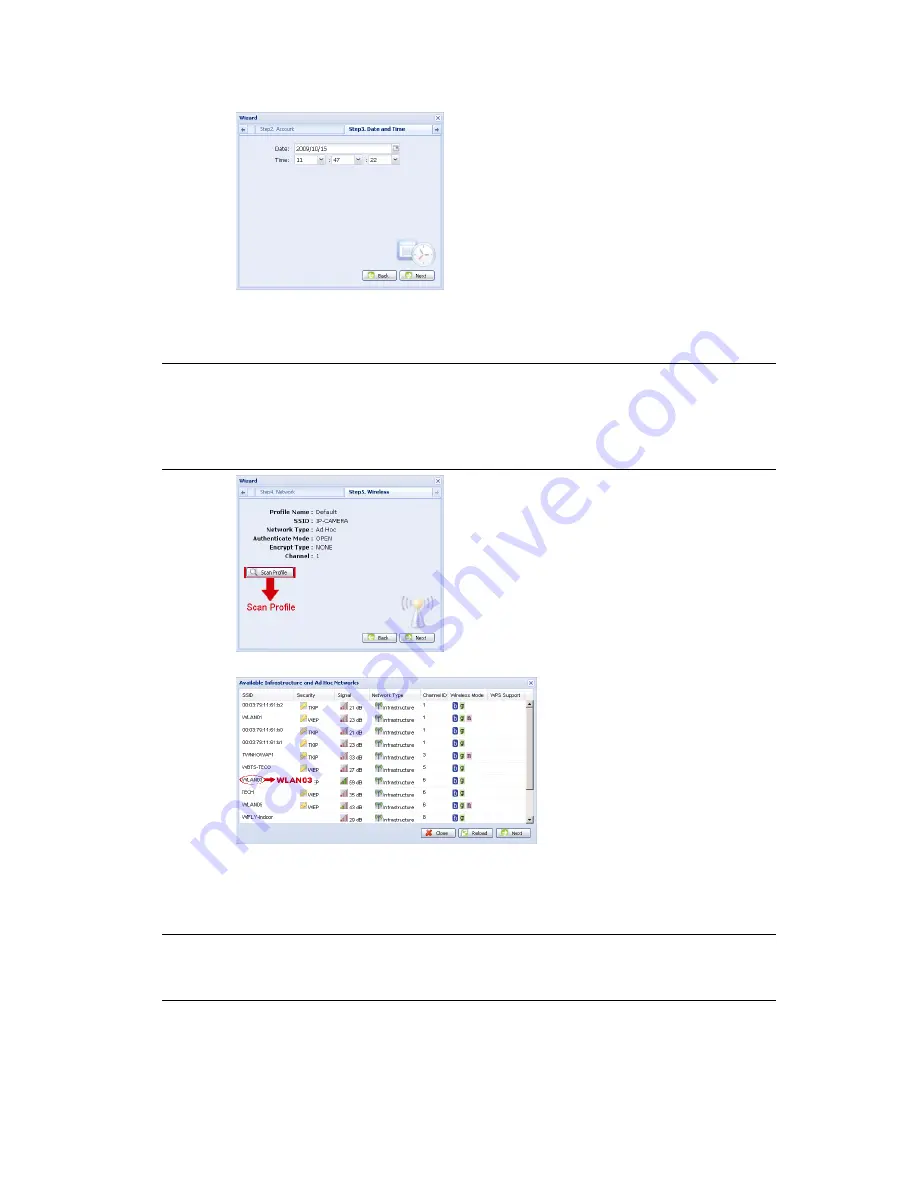
In “Wireless”, click “Scan Profile” to search all available wireless access points / routers,
and double-click the one your camera is intended to configure for.
Note:
This method is available only when the signal strength of the wireless access point
/ router your camera is intended to configure for is not too weak, and it’s set to
open for searching.
If this method is not working, please close the wizard and manually add the
wireless profile as described in “A2.2 Manually” at page 19.
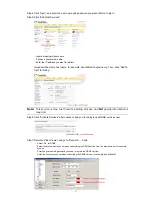
Step8: In “Apply”, all the changes are listed. Check if the changes are correct.
‧
If yes, click “Save”.
‧
If no, click “Back” to where the changes should be made for modification, and click “Save” to apply the
settings.
Note:
You can also change the settings in the system configuration page via your web
browser later. For details, please refer to “5. ACCESSING THE CAMERA VIA WEB
BROWSER” in the user manual.


