


1.Network Setting
To set up the network setting of the Video Web Server. Check with your network administrator or Internet Service
Provider.
2.IP Get Method
The default setting is Static IP.
3.I/O Port Setting
—
refer to APPENDIX#1
Set up video input device. It supports our brand 1CH DVR, 4CH DQR, 4CH, 9CH, 16CH DMR, Multiplexer, and camera.
4.Device ID
—
refer to APPENDIX#1
Set up the device ID number for remote controlling (It should be the same as the device setting).
5.Enable ALARM/DURATION
To set up the alarm function and the alarm duration time. There are 9 different time settings: 10 second, 20 second, 30
second, 1 minute, 2 minutes, 3 minutes, 5 minutes, 10 minutes, 15 minutes.
6.Mail Setting
—
refer to APPENDIX#2
When the alarm is triggered, the video server will capture the instant picture and e-mail the captured image to the
assigned recipients. The image quality can be selected as QCIF(112*112 pixels), CIF and VGA.
7.Account Management
To set up the user
’
s account and password ( Max 100 accounts ) and authority.
8.Firmware Upgrade
To upgrade the firmware. Click the
“
Select File
”
and select
“
upgrade program
”
from PC
;
Click
“
Auto Upgrade
”
to
download firmware from FTP site and save it in the Flash memory of Video Web Server.
9.System Utility
To set up the maximum number of on-line users and the bandwidth.
10.Apply
After any change of setting, press
“
apply
”
to refresh the data in the Video Web Server.
11.Reboot
Press this button to restart Video Web Server.
En
glis
h
11
KEY LOCK
ROUTER SETTING
Dynamic IP setting
The following settings vary from different routers. Please read the instruction of your router thoroughly.
Step 1: Connect PC and Router
Step 2: Set up IP address
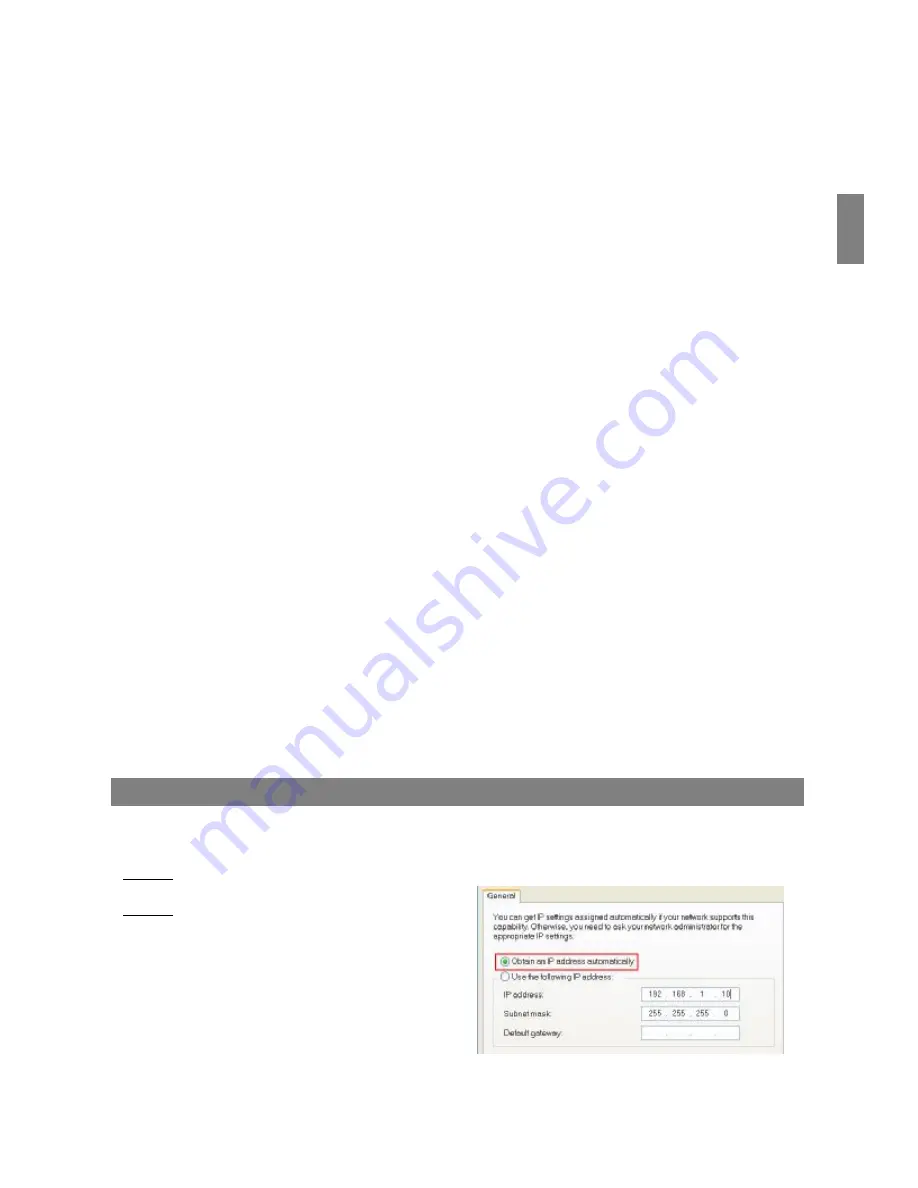
Please refer to page 6. Click
“
INTERNET
PROTOCAL (TCP/IP)
”
and choose
“
content
”
to set up the IP address. Then please choose
“
Obtain an IP address automatically
”


