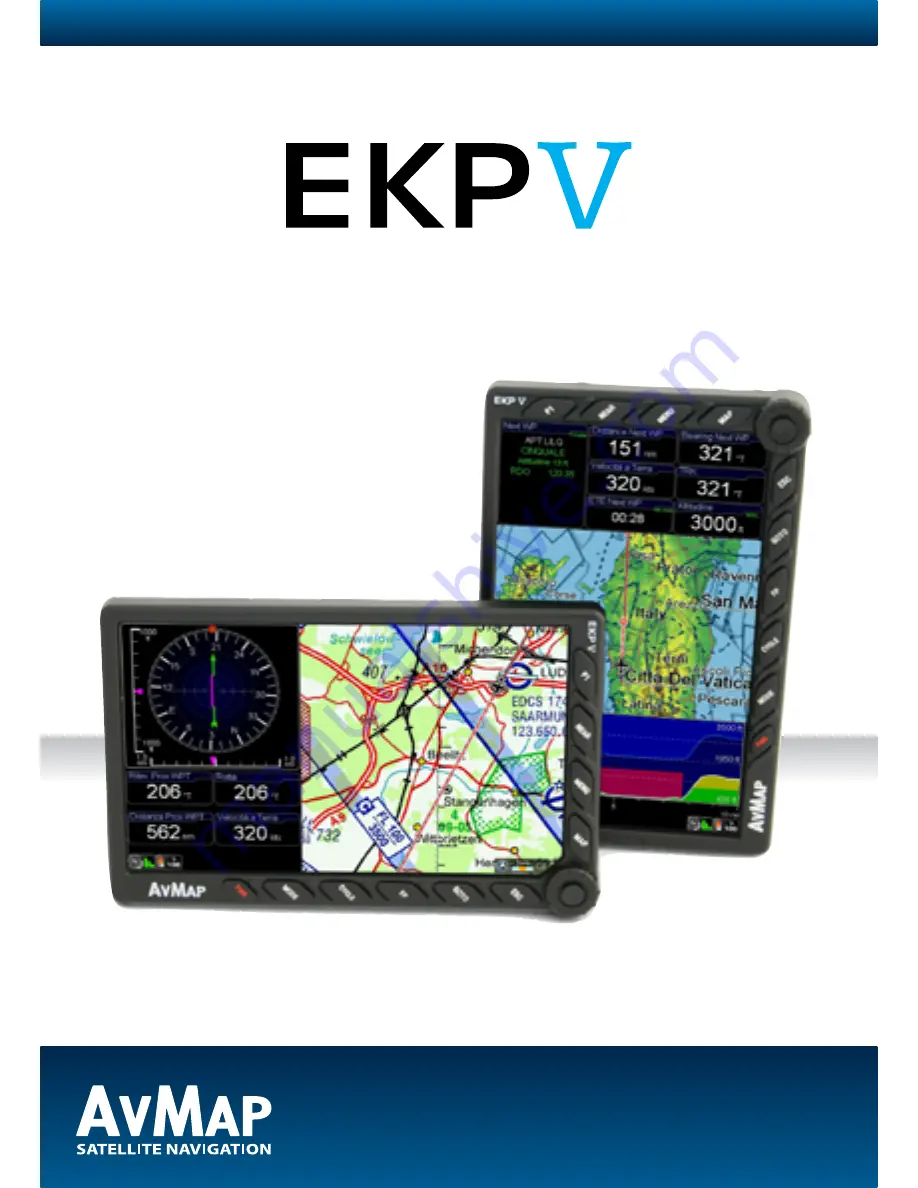
USER MANUAL
Aeronautical Navigator
Your Journey, Our Technology
Update Software version
v1.11.95R
Страница 1: ...USER MANUAL Aeronautical Navigator Your Journey Our Technology Update Software version v1 11 95R ...
Страница 2: ......
Страница 3: ... GoTo Direct Navigation 14 I Cursor 14 II Airport Search 14 III Other objects 16 10 Tracks 16 11 Flight Plan 17 I How to create delete or reverse a FP 18 II How to assign a name to a FP 18 III How to add delete and show on map a Waypoint 18 IV How to change the WP order in a FP 19 V How to activate and navigate a FP 19 VI How to change the WP INFO visualized in the WP List Area 19 VII How to show ...
Страница 4: ...level always above 10 III Warning The electronic cartography displayed by the EKP V is not certified for use for VFR or IFR flights The EKP aeronautical GPS navigator is meant as an aid to VFR navigation and is not a substitute for official PUBLICATIONS NOTAM BRIEFINGS and AERONAUTICAL CHARTS that must be in any case carefully consulted before and during any flight The information provided by the ...
Страница 5: ...otate the GPS antenna to the maximum sky visibility position 6 Connect EKP V to a power source 10 35 V DC for battery charging 6 1 Connect the cigar lighter cable with the label face up to the EKP V side connector or 6 2 Connect the USB cable to the wall charger 7 The PWR button light is flickering when the unit is in battery charging mode V Powering Up the unit The EKP V can be powered up both ru...
Страница 6: ...r needs to keep the PWR button pressed for more then 3 seconds When the navigator is in STANDBY pressing PWR button it is possible to resume the unit After 8 hours of inactivity the unit will power off autonomously 2 Initial Settings When you power on EKP V for the first time you need to choose some basic settings in order to start to use the device Language When you power on the device you need t...
Страница 7: ...ose American Local time difference You need to set the difference between the time of the country where you are using the EKP V and the UTC time To set this difference 1 Push the joystick to enter in the menu 2 Scroll the joystick up or down to increase or decrease this difference 3 Push the joystick to confirm and exit Display orientation You can choose between vertical orientation and horizontal...
Страница 8: ...entation Threedifferentconfigurations can be selected by the user Track Up Leg Up and North Up The Menu view is made by different pages and contains data and settings How to operate in the Map view Move the joystick to move the cursor on the map Push the joystick to open the cursor menu The wheel or knob controls the ZOOM level on the map How to operate in the Menu view The Main Menu bar is availa...
Страница 9: ...tton to open the main menu In the top menu bar it is possible to choose between Map Setup to change the visualization of information and objects on the map Navigation Setup to change the navigation parameters Database to operate on the database of aeronautical objects and personal data Tools to operate on specific function as weather checklist etc Profiles to create and manage different user setti...
Страница 10: ...ton during the navigation the customized menu will be opened and using it you will able to access to all your favorite functions If you set up only one function for this button F1 will allow you to access directly to it without opening a menu window 7 Map Setup The Map Setup menu is the first menu available in the top menu bar of the main menu page In this menu it is possible to optimise the map d...
Страница 11: ... separation between the aircraft and the land elevation to highlight the dangerous land elevations allowing the map to be more easily and readily interpreted To enable TAWS function Land Elevation needs to be enabled in objects TAWS has two settings 500 feet Separation and 1000 feet Separation The colour shading is based on Obstacle Clearance Height OCH In case of 1000 feet SEP setting all terrain...
Страница 12: ...nder the current fix position Auto Zoom The Auto Zoom mode is used to keep the fix position and destination Target visible on the map The map is scrolled and zoomed automatically to keep the best view possible When this mode is active the cursor is hidden To activate Auto Zoom mode press ESC in Moving Map Auto Zoom requires a position fix and an active destination point If a destination point is n...
Страница 13: ...uttering caused by too many objects it is possible to select which objects are shown on the map and which are hidden When using the menu Selective Display it is possible to pre define the visualization of different objects on different Zoom levels 8 Explore the Map I PAN mode If the GPS signal is available the icon of the aircraft is shown on the map When moving the Joystick the cursor will appear...
Страница 14: ...y Flight Display if the AvMap A2 ADAHRS module is connected to the EKP V or Navigation mode to display the moving map The EFB page provides quick information on the departure airport and the destination airport of the active flight plan like airport information and airport Approach Plates 9 GoTo Direct Navigation Direct navigation to an object can be activated selecting the GOTO button The menu pe...
Страница 15: ...ear The Virtual keyboard helps you to write names and addresses on the EKP V menu s and appears on the display every time you need to enter or modify a name address or search for an Airport In the round circle you can select the different characters by scrolling the wheel selector In the center of the circle a windows shows the selected characters and the number of results found Below the circle a...
Страница 16: ... selected to be able to insert faster the characters for its result Choose a name for a user profile In the main menu select Profiles and select the profile you would like to change the name to by scrolling the joystick or wheel selector Push the joystick select Edit name a push the joystick to confirm Now you enter the virtual keyboard page 1 Use the Cancel button to delete the characters of the ...
Страница 17: ...r by which the track appears on the map The track can be in three different status recording phase identified by a green dot visible on the map eye shaped icon and hidden on the map eye shaped with a red cross icon You can finish the recording pushing the joystick on the option Stop recording Pushing the joystick on the track name you have access to several options Edit the name Edit the track col...
Страница 18: ...ected FP WP List Area containing the list of the WP of the selected FP VP Area not selectable containing the info of the Vertical Profile along the FP To move from FP Tab Area to WP List Area move DOWN the Joystick vice versa move LEFT the Joystick or press ESC I How to create delete or reverse a FP To create a FP select Add FP in the FP Tab Area The virtual keyboard is visualized write the desire...
Страница 19: ...he FP Tab Area and choose the option Activate Deactivate A green icon is shown in the FP Information Area of the active FP VI How to change the WP INFO visualized in the WP List Area In the WP List Area there are three information fields per each WP By default setting the info fields are Bearing Distance and ETA Estimated Time of Arrival To change the content of the info fields select a FP in the ...
Страница 20: ...Approach Plates on EKP V are represented by Airport Diagrams Instrument Approach Procedure IAP Charts and VisualApproach Procedures VAP Charts With these Approach Plates the EKP V can be used as a digital booklet to substitute the paper charts see example The images are Geo referenced meaning that during flight your actual position is visualized on the chart image It is possible to visualize an Ap...
Страница 21: ...ption page 5 Select Full Info 6 In the Airport Menu Scroll with the joystick or the wheel selector down to the options bar and select PLATES From MAP button When the selected destination is an Airport it is possible to visualize theApproach Plates of this airport pushing the MAP button Once one AP is selected from the list pushing MAP button the same AP will be shown If the final destination is ch...
Страница 22: ...opilot XM weather Traffic EFIS Video In Com B port mode EKP V has one USB input connection on the cigarette lighter power cable to connect one external device When used with the Cockpit Docking Station it is possible to connect several external devices to the EKP V through the Cockpit Docking Station The Cockpit Docking Station has 2 serial input COM A and COM B and 4 USB input For more details on...
Страница 23: ...pilot and turning on the NMEA output Connection Interface The autopilot can be connected to COM A COM B of the Cockpit Docking Station through serial connection When connected to the USB port the EKP V USB Serial converter cable needs to be used For connection instructions through the Cockpit Docking Station see the EKP V Cockpit Docking Station Installation Guide included in the EKP V Docking Sta...
Страница 24: ...urning ON the DATA RECEPTION and confirming the connection interface to USB Make sure the Weather is enabled in Presentation setup in the MAP SETUP menu If Weather is not enabled in the presentation setup the unit may still receive the XM signal but it will not be displayed on the map Traffic EKP V is compatible with ZAON XRX traffic receiver To enable the traffic feature connect the traffic recei...
Страница 25: ...allows you to select the horizontal detection range The available option range are 6 NM radius 3 NM radius and 1 5 NM radius To increase accuracy different airframe types have different characteristics that effect the antenna reception pattern of the ZOAN XRX Select the Aircraft type of your aircraft to get the best performance of ZOAN XRX For more information on Aircraft Type set up check the ZOA...
Страница 26: ...ation contrast brightness and hue phase to personal requisition The Video can also be activated selecting this option for the F1 button COM B port mode You can choose to use COM B port in serial mode by default or button mode By default COM B port is set in serial mode for NMEA interfaces The button mode is a special function developed for professional use to switch the display brighthness in one ...
Страница 27: ...ings to use your device in a very customized way You can create several profiles this possibility is very useful if the same device is used in different configurations or if it is used by several users every pilot can save his personal profile You need to access the User Profile menu from the main menu In the page you can see all the user profiles available in the device with their name and creati...
Страница 28: ...h the joystick to select OK Push the joystick to confirm and go back to the profiles menu Copy a profile In order to copy a profile 1 Select the profile by using the joystick 2 Push the joystick to confirm 3 Choose Copy option 4 The virtual keyboard is opened Insert the profile name Scroll down with the joystick to select OK Push the joystick to confirm and go back to the profiles menu Delete a pr...
Страница 29: ...ent position to the destination magnetic or true GGA GPS position time fix quality number of satellites used height of antenna HDOP Horizontal Dilution of Precision differential reference information and age GSA GPS receiver operating mode satellites used in the navigation solution reported by the GGA sentence GSV Number of satellites in view satellite numbers elevation azimuth and SNR value RMB D...
Страница 30: ...www avmap it www avmap us ÑMQEK5AM0AE090TÓ MQEK5AM0AE090 ...