IP POWER 9258 USER MANUAL
VER. 5.01
- 21 -
-
Receiver
: no longer than 50 English letters. Please use blank space to separate two
receiver
’s e-mail address. After you have finished this setting, you will receive the email to inform
you the IP address of the IP Power 9258 every time you enter the webpage.
-
Subject
: the subject of the mail to be no more than 50 English letters.
-
Message
: please type the content of the mail here, it cannot be left empty.
After you have finished all of the above settings, click
“
SAVE
“and your settings will be saved.
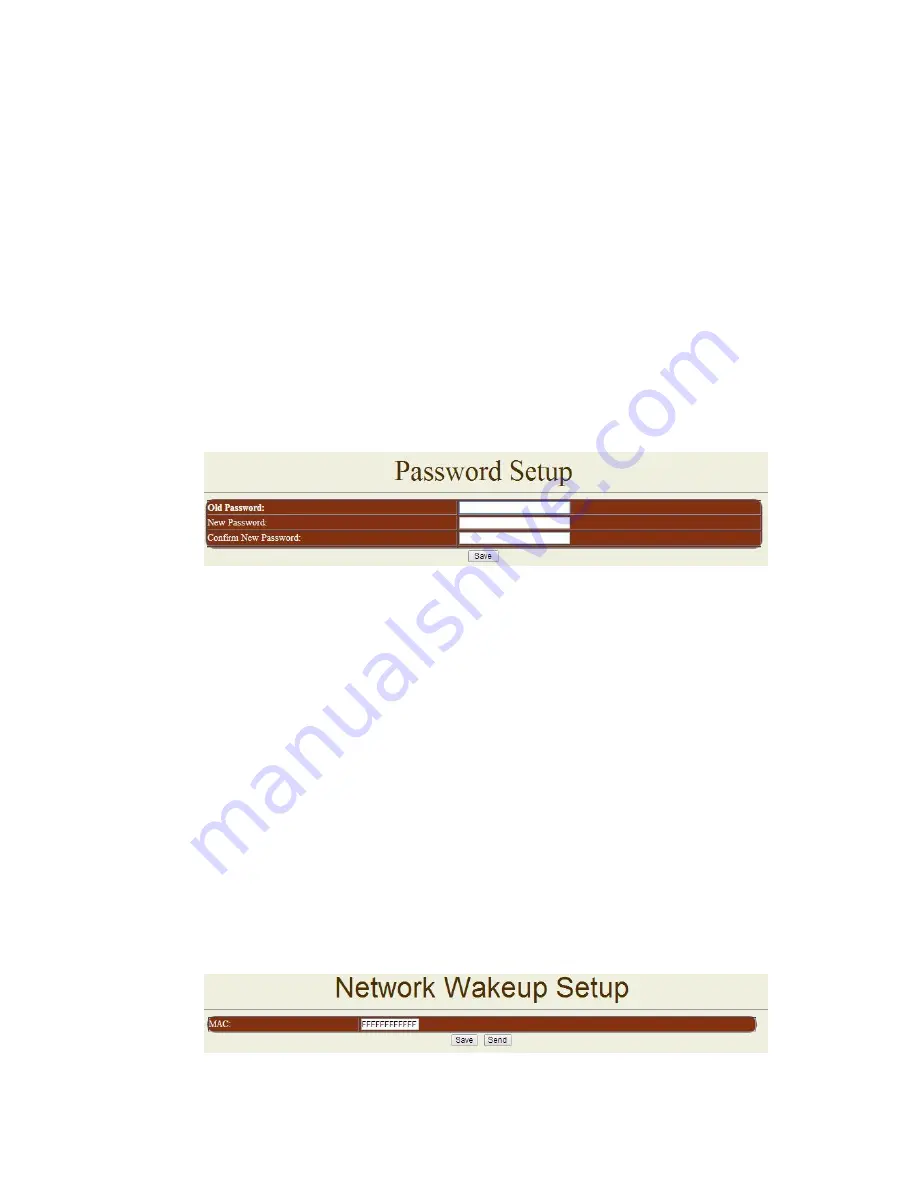
D. Password :
Click the
“
Change password
“button on the left to enter the password change page.
User can change it into any password (not longer than 8 bit), then click
apply
button to save the
change. To change the password you will need to type in the Old Password first, then enter the
new password and finally confirm the new password.
Note :
If forget the password ,
Use username
" super user " when log in webpage and
then click "OK " turn power off for few second and then turn ON power . 9258 will to
set back to default password.
(There is space between super and user.)
E. Wake on LAN (WOL):
Remote Wake up PC by MAC address in Ethernet (LAN)
Use Network port (RJ45), you can wake PC on WAN by PC `s MAC address.
Wake on LAN (WOL) premise:
(1) First the main board needs to have Wake on LAN support. There must be a port to connect to
your network card. If the motherboard supports WOL
,
will need to enable this function in the
BIOS setting.
(2) Your network card must also
support “WOL”, remember to connect your connect cable to
Main board or the network card cannot send the
“power on” message to your motherboard.
After both the motherboard and network card have been setup, you can use WOL function by
following the steps below:
Step 1: Log in 92
58 web page and go to “Network Wakeup”
Step 2: Type in yo
ur MAC address then press “send” – the PC will be power ON.


