2.
NVR4 Standard:
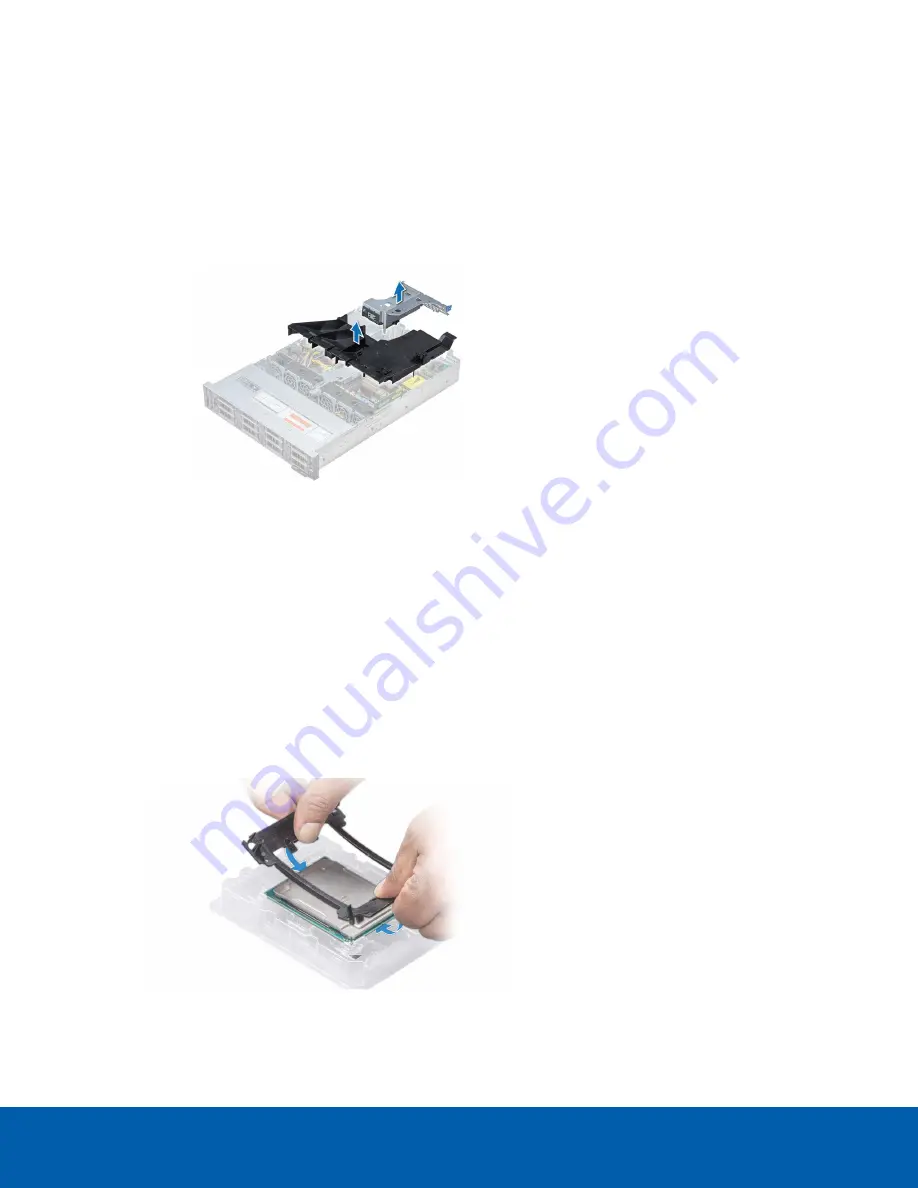
If you are installing the CPU on a Standard recorder, remove the black cooling
shroud in the middle of the recorder and the butterfly riser slot that is positioned over the second
CPU slot.
a. Use a phillips #2 screwdriver to loosen the screw that is securing the butterfly riser slot.
b. Lift the butterfly riser slot out and set it aside.
c. Hold the cooling shroud by the two tabs marked in blue.
d. Lift the cooling shroud out of the recorder and set it aside.
3. Remove the CPU cap immediately over the second CPU slot. Press the 2 blue clips to remove the cap.
4. Unpack the CPU from the kit and peel off the protective layer of plastic on the bottom.
Be careful not to touch the thermal paste that is pre-applied to the bottom of the CPU.
5. Place the processor in the processor tray.
NOTE:
Ensure that the pin 1 indicator on the processor tray is aligned with the pin 1 indicator on the
processor.
6. Flex the outer edges of the processor bracket and ensure that the processor is locked into the clips
on the bracket.
NOTE:
Ensure that the pin 1 indicator on the bracket is aligned with the pin 1 indicator on the
processor before placing the bracket.
2. Installing the CPU
5


