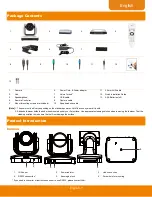
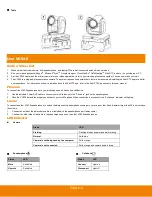


English-3
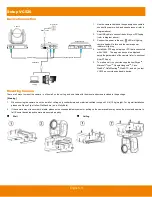
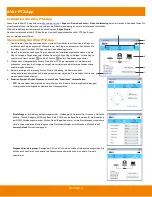
Setup VC520
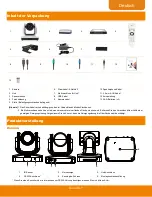
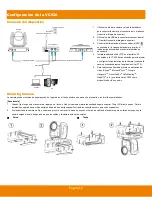
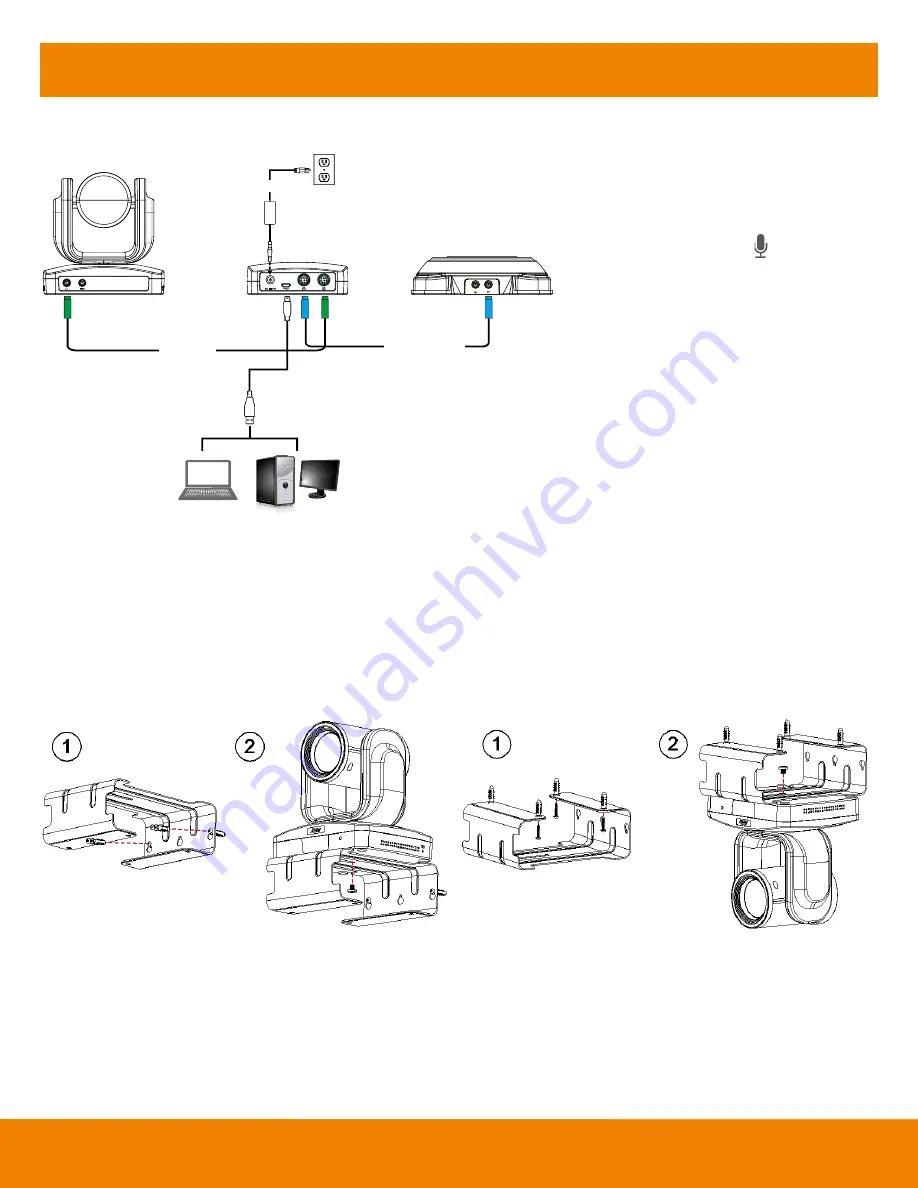
Device Connection
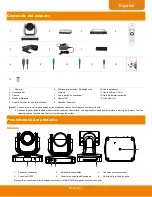
DC
12V
Camera cable
Speakerphone cable
Power cable
Wall outlet
Camera
Hub
Speakerphone
USB cable
Laptop
PC
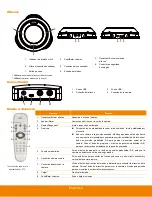
Mounting Camera
There are 3 ways to mount the camera
– on the wall, on the ceiling, and on a table with the mount and screws included in the package.
[Warning]
1.
When securing the camera mount on a wall or celling, only use hardware and materials certified to support 22 lb (10 kg) weight. For dry wall installation,
please use Sleeve-Type Hollow Wall Anchors (a.k.a. Molly Bolts).
2.
If the camera mount is secured to a table, please note excessive table movement or pulling on the camera cables may cause the mount and camera to
fall. Ensure the cables and camera are secured properly.
Wall
Ceiling
1.
Use the camera cable and the speakerphone cable to
connect the camera, hub, and speakerphone (refer to
diagram above).
2.
Use USB cable to connect the hub to your PC/laptop
(refer to diagram above).
3.
Connect the power to the hub;
LED will light up,
camera head will rotate, and the camera power
indictor will light up.
4.
Install AVer PTZ app on laptop or PC that is connected
with VC520. The app can be used to adjust and
setup the parameters of the camera (refer to section of
AVer PTZ app)
5.
To make a call, run your video application (Skype
TM
,
Microsoft
®
Lync
TM
, Google Hangouts
TM
, Cisco
WebEx
®
, GoToMeeting
TM
, WebRTC, and etc.), select
VC520 as your video and audio device.