background image

www.avenview.com 


1.7


Panel Description 


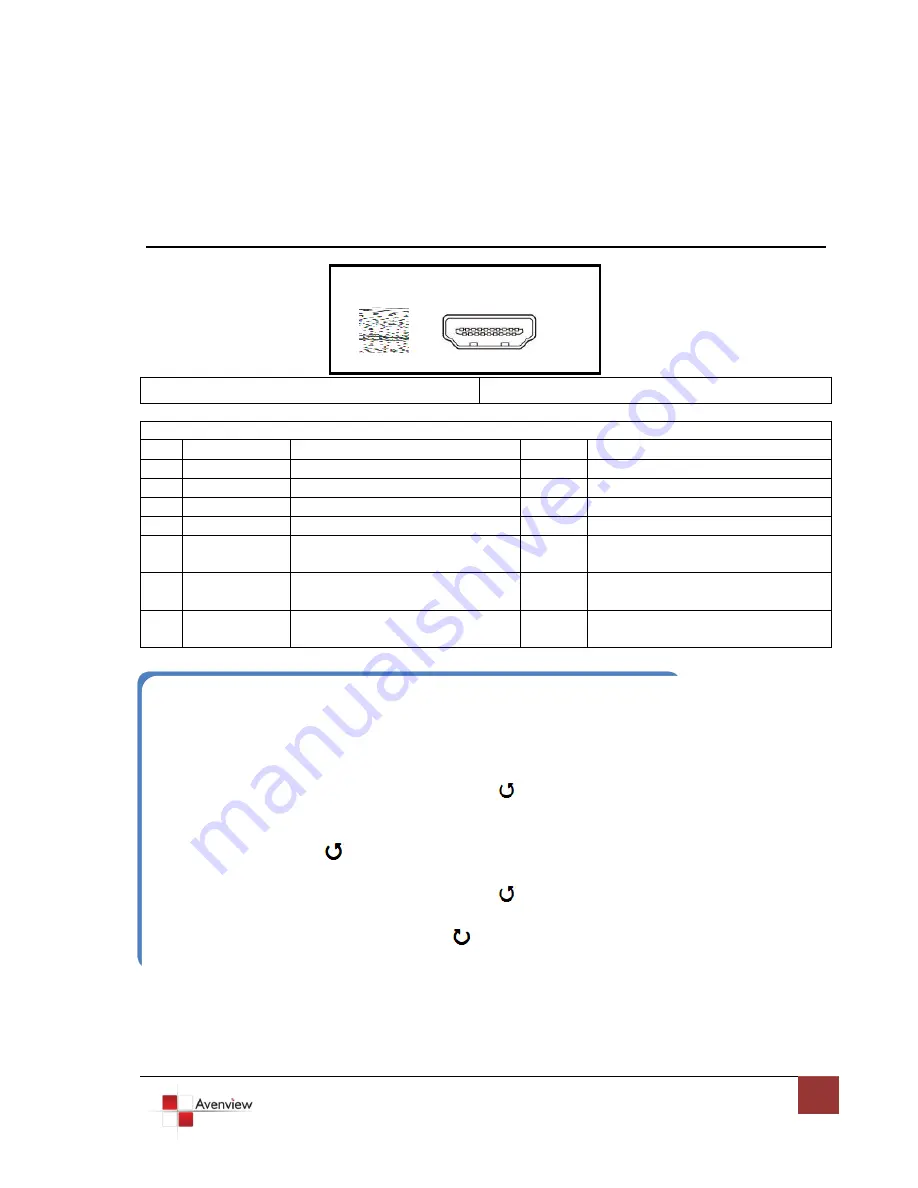
FRONT PANEL (Transmitter, HDMI-C5-3-S) 


1.


Rotary Switch 

2.


HDMI Input 


Rotary Mode SWITCH 

VIDEO 

Supports up to HDMI 1.3 Output 

AUDIO 

Supports up to 7.1 Channel Output 

VIDEO 

Supports up to HDMI 1.3 Output 

AUDIO 

Locks to Stereo Audio Output 

VIDEO 

Locks to HDMI 1.2 Output 

AUDIO 

Supports up to 7.1 Channel Output 

VIDEO 

Locks to HDMI 1.2 Output 

AUDIO 

Locks to Stereo Audio Output 

VIDEO 

DVI Display Mode 

AUDIO 

No Audio Output 

Safe Mode 

Uses default EDID with video 
supports up to 1080p 

AUDIO 

Stereo Audio 

Default Mode 

Uses default EDID with video 
supported up to 1080p 

AUDIO 

7.1 Channel 

EDID Learning 
Mode 

Learns EDID from Display 


HDMI-IN 

Mode 

Note for EDID (Extended Display Identification Data) learning 
1. If you cannot get the audio/video output from the connected display from the first time setup. Please 
follow the instructions below to check if the extender is OK:   

Step 1


– Please set the rotary arrow on Transmitter at “

Mode 5

” for Safe Mode, and wait for the LED of the 

RJ-45 connector blinks for a couple seconds.   

Step 2


– Please turn the rotary arrow counterclockwise [

] from 

Mode 5 

to 

Mode 3

. If you can get   

audio/video from the display, you can stay tune at this setting for 720p or 1080i and stereo   
audio. If you need to get 720p/1080i with 7.1ch audio output, please turn the rotary arrow   

counterclockwise [

] from 

Mode 3 

to 

Mode 2

. For better audio/video output, please check   

Note#2. If you still cannot get the audio/video out normally, please go on the next step.   

Step 3


– Please turn the rotary arrow counterclockwise [

] from Mode 3 to Mode 7. Wait a few   

seconds until the LED of the RJ-45 connector dims and then lights again.   

Step 4


– Please turn the rotary arrow clockwise [

] from Mode 7 to Mode 1. You should have normal   

audio/video output. If not, please contact technical support.   


2. For desirable 1080p video output, please follow the instructions below:   

Step 1


– Please set the rotary arrow at “Mode 6” for Default Mode, and wait for the LED of the   

RJ-45 connector blinks for a couple of seconds.


Содержание HDMI-C5-3-R

Страница 1: ...iptions at any time without notice No license whether express implied or otherwise to any intellectual property rights is granted by this publication Except as set forth in Avenview Standard Terms and...

Страница 2: ...rds 3 1 2 Safety Instructions 3 1 3 Regulatory Notices Federal Communications Commission FCC 4 1 4 Introduction 4 1 5 Package Contents 5 1 6 Before Installation 5 1 7 Panel Description 6 1 8 Installat...

Страница 3: ...Safety Instructions The HDMI C5 3 SET HDMI 1 3 Extender over Signal CAT5 has been tested for conformance to safety regulations and requirements and has been certified for international use However lik...

Страница 4: ...T consists of Transmitter HDMI C5 3 S and Receiver HDMI C5 3 R The Transmitter HDMI C5 3 S captures the input HDMI DVI signals and carry the signals through one RJ 45 connector into one cost effective...

Страница 5: ...n Put the product in an even and stable location If the product falls down or drops it may cause an injury or malfunction Don t place the product in too high temperature over 50 C too low temperature...

Страница 6: ...is OK Step 1 Please set the rotary arrow on Transmitter at Mode 5 for Safe Mode and wait for the LED of the RJ 45 connector blinks for a couple seconds Step 2 Please turn the rotary arrow counterclock...

Страница 7: ...urn the rotary arrow clockwise from Mode 7 to Mode 0 1 You should have your desirable audio video output If not please follow the instruction in Note 1 3 To learn EDID from the HDMI display please fol...

Страница 8: ...5 3 R 1 Rotary Switch 2 HDMI Out REAR PANEL Receiver HDMI C5 3 R 1 5V 4A DC Power Connector 2 RJ45 In RJ45 OUT 5V DC HDMI OUT EQ EQ Adjust the 8 level equalization control knob to the received HDMI si...

Страница 9: ...wing these steps 1 Turn on HDMI C5 3 S 2 Turn the Mode of HDMI C5 3 S counterclockwise from 0 for surround sound or 1 for stereo to 7 3 Use a HDMI cable to connect HDMI C5 3 S the display better not c...

Страница 10: ...olutions 480i 480p 720p 1080i 1080p60 Resolution and Distance 8 bit Full HD 1080p 40meter 130feet CAT5e 50meter 165feet CAT6 HD 720p 1080i 50meter 165feet CAT5e 60meter 200feet CAT6 Audio Support Surr...

Страница 11: ...atory profits or for punitive incidental or consequential damages in connection with the furnishing performance or use of the Avenview hardware software or other products and documentation provided he...

Отзывы: