SM-1000.52
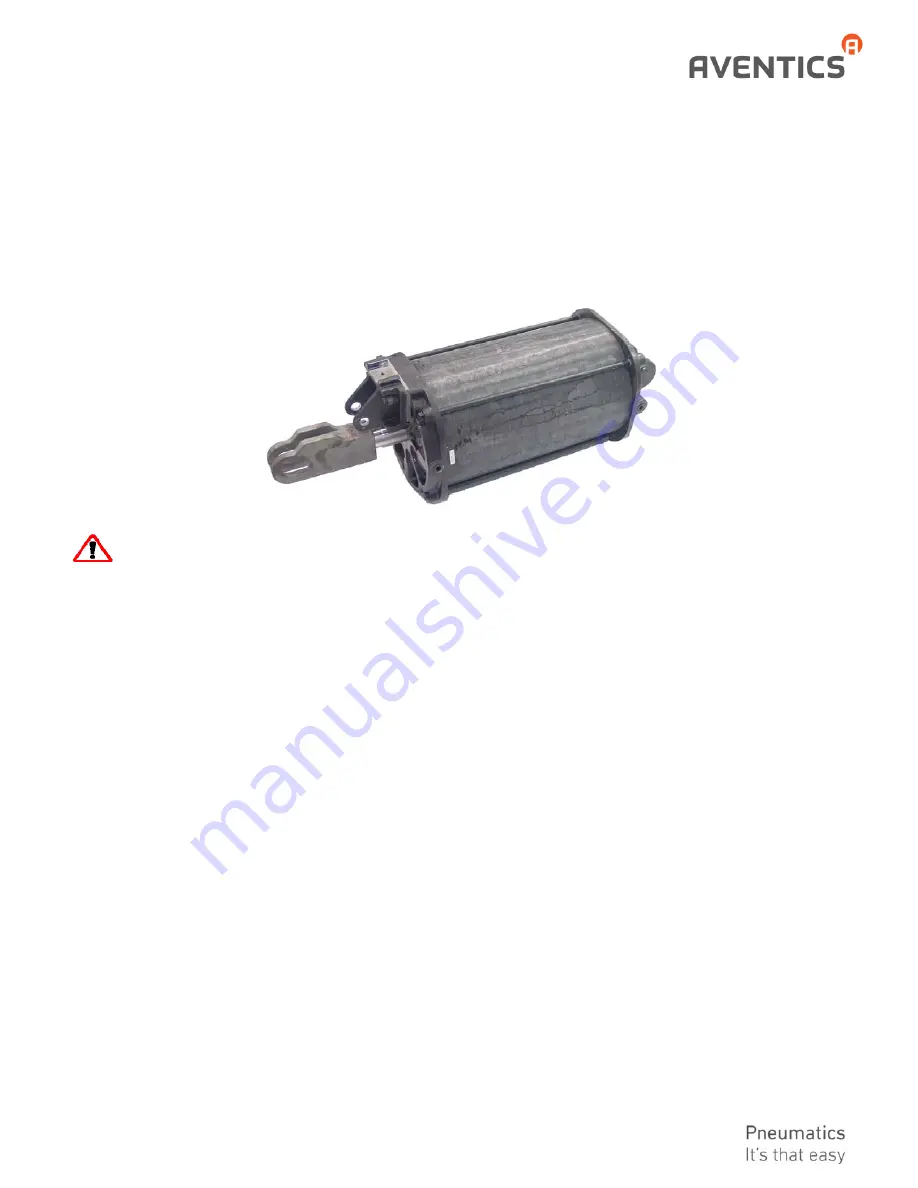
Pneuma c Cylinder
14” Bore X 18” Stroke
Part No. R434001244
(Formerly P
‐
188780
‐
00000)
SERVICE INFORMATION
WARNING: INSTALLATION AND
MOUNTING
The user of these devices must conform to all applicable
electrical, mechanical, piping and other codes in the
installation, operation or repair of these devices.
INSTALLATION!
Do not attempt to install, operate or
repair these devices without proper training in the
technique of working on pneumatic or hydraulic systems
and devices, unless under trained supervision.
Compressed air and hydraulic systems contain high
levels of stored energy. Do not attempt to connect,
disconnect or repair these products when a system is
under pressure. Always exhaust or drain the pressure
from a system before performing any service work.
Failure to do so can result in serious personal injury.
MOUNTING!
Devices should be mounted and
positioned in such a manner that they cannot be
accidentally operated.
INSTALLATION
Before
installing
this
cylinder,
all
air
lines
in
the
system
should
be
blown
clean
to
remove
any
moisture
or
loose
material.
Also,
the
area
in
which
the
cylinder
is
to
be
mounted
should
be
free
of
any
foreign
objects,
which
may
damage
the
cylinder
barrel.
To
further
ensure
a
long,
trouble
‐
free
service,
an
e
ffi
cient
air
fi
lter
should
be
installed
in
the
system’s
supply
line.
Start
the
installa on
by
removing
one
co er
pin
and
clevis
pin
from
the
clevis
on
the
cap
end
of
the
cylinder.
Set
the
cylinder
into
the
moun ng
posi on
with
the
cap
clevis
ma ng
with
the
moun ng
eye.
Reinstall
the
clevis
pin
through
the
clevis
lugs,
and
the
co er
pin
into
the
clevis
pin.
Spread
the
ends
of
each
co er
pin
so
that
they
will
not
fall
out.
You
can
now
connect
the
piston
rod
end
to
the
moun ng
bracket,
no ng
proper
alignment
to
eliminate
any
binding.
Remove
the
thread
protectors
from
each
pipe
port
in
the
head
and
cap;
connect
air
lines
from
the
direc onal
control
valve.
Use
pipe
dope
on
the
air
line
fi
ngs,
not
any
kind
of
tape.
Be
sure
no
foreign
ma er
enters
the
ports
or
air
lines
during
the
me
they
are
open.
If
the
cylinder
is
to
be
painted,
be
sure
that
the
piston
rod
is
covered,
the
ports
are
closed,
and
the
clevis
pin
is
covered
where
it
rides
in
the
clevis.
The
supply
air
and
atmospheric
(ambient)
condi on
must
be
maintained
within
a
temperature
range
of
–40°F
to
+225°
F.
OPERATION
When
the
cylinder
installa on
is
completed
correctly,
air
pressure
delivered
from
the
direc onal
valve
to
the
port
on
the
cap
end
of
the
cylinder
will
extend
the
piston
rod.
A
shi
of
the
valve
to
exhaust
that
air
and
to
apply
air
pressure
to
the
port
on
the
head
end
will
retract
the
piston
rod.
ADJUSTMENTS


