


3. Locate the
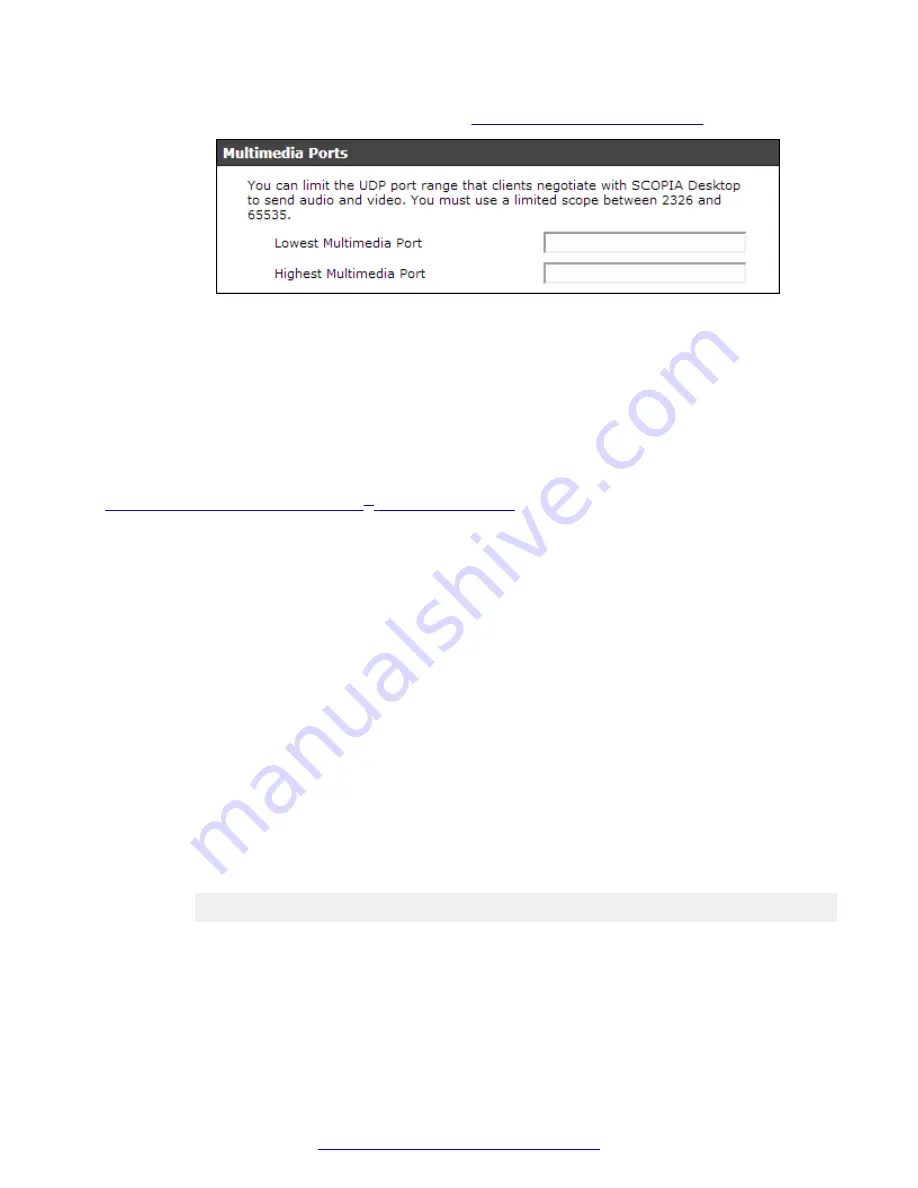
Multimedia Ports
Figure 7: Multimedia Ports Area
on page 19).
Figure 7: Multimedia Ports Area
4. Configure your port range (using any values between 2326 and 65535) by doing the
following:
a. Enter the base port value in the
Lowest Multimedia Port
field.
b. Enter the upper port value in the
Highest Multimedia Port
field.
5. Select
OK
or
Apply
.
Related Links
Limiting Port Ranges on the Scopia
Limiting the TCP Port Range for H.245/Q.931 on the Scopia
®
XT Desktop
server
About this task
The Scopia
®
XT Desktop server has designated ports 1024-65535 for TCP for H.245 and Q.931
signaling. To provide additional security for your firewall, you can limit this range.
For each conference, the Scopia
®
XT Desktop server uses 2 ports. In addition, add extra ports for:
• Add 2 ports for each participating Scopia
®
XT Desktop Client client.
• Add 1 port per conference when presenting using the content slider.
Procedure
1. Navigate to
<Scopia
®
XT Desktop install_dir>\ConfSrv
.
2. Edit the
config.val
file as follows:
a. Locate the text
1 system
.
b. At the bottom of that section, add two lines:
2 portFrom = <lowest range limit>
2 portTo = <highest range limit>
Where
<lowest range limit>
is the base port of your port range and
<highest
range limit>
is the upper value of your port range.
3. Access the Windows services and restart the
Scopia
®
XT Desktop - Conference Server
service.
Ports to Open on Avaya Scopia
®
XT Desktop
August 2015
Avaya Scopia
®
XT Desktop Server Installation Guide
19
Содержание Scopia XT Camera Switch
Страница 1: ...Avaya Scopia XT Desktop Server Installation Guide Release 8 3 3 Issue 1 August 2015...
Страница 2: ......