WLAN IP Telephony Handset Users Guide
NN40011-039 Issue 1.2 BCM Rls 6.0
37
Adjust Ringer Volume
You can increase or decrease the ringer volume of the WLAN Handset 2211
only. To adjust the ringer volume, press the
Up
or
Down
button while the
handset is ringing.
Adjust Speaker Volume
You can increase or decrease the speaker volume of the WLAN Handset.
To adjust the speaker volume, press the
Up
or
Down
button while in a call.
Silence the Ringer
You can silence (or mute) the WLAN Handset ringer.
To silence the ringer, press while the handset is ringing.
Feature and Function Menus
You can view the features and functions programmed in your system using
various menus, soft key features, and the Line (DN) features. You can access
some functions and features using one or more or the methods described in
this section.
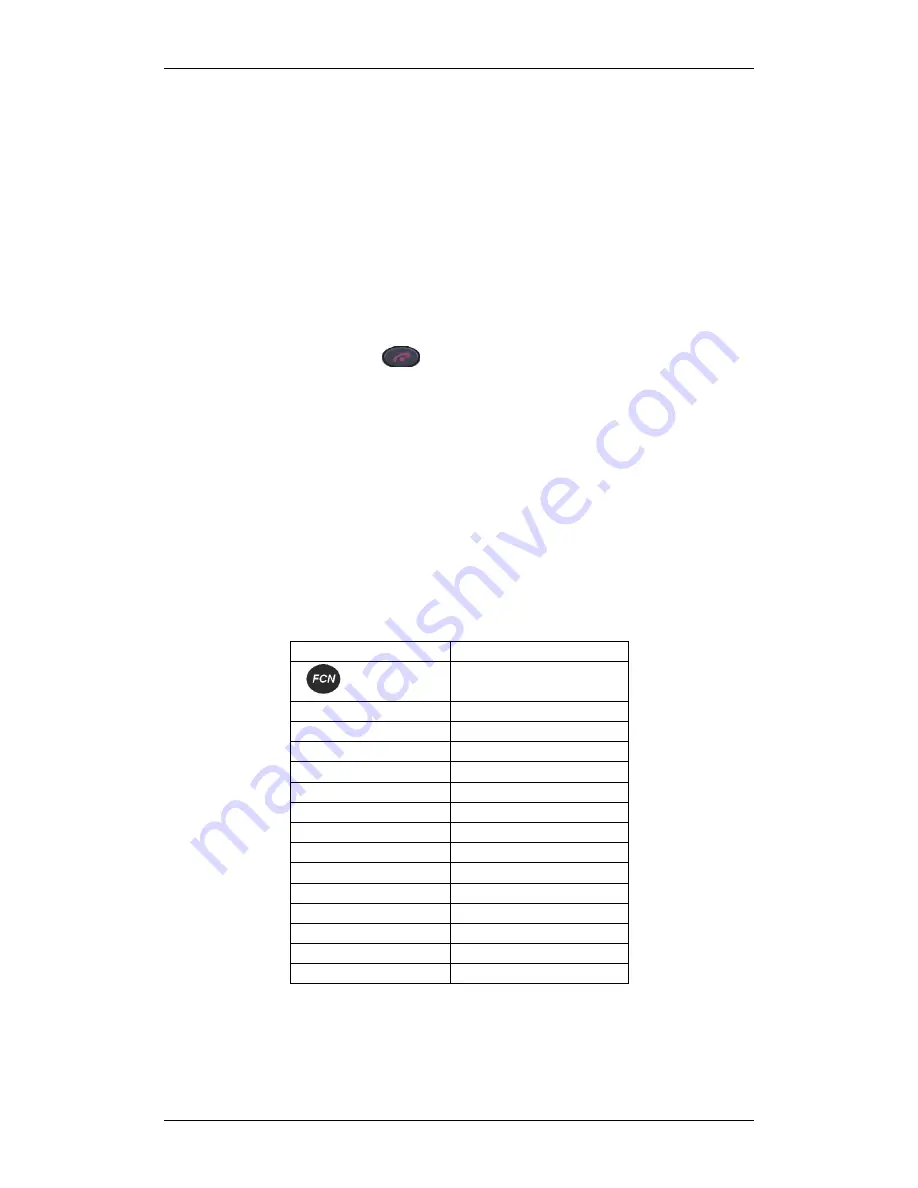
Feature and Function Keys
The following table lists the features and functions available on the WLAN
Handset, along with their key sequence.
Key Sequence
Feature / Function
FCN
+ 1
Mute
FCN
+ 2
Hold
FCN
+ 3
Goodbye
FCN
+ 4
Directory
FCN
+ 5
Inbox
FCN
+ 6
Outbox
FCN
+ 7
Quit
FCN
+ 8
Copy
LINE
+ 1
Intercom
LINE
+ 2
Intercom
LINE
+ 3
Page - General
LINE
+ 4
Last Number Redial
LINE
+ 5
Conference Call
LINE
+ 6
Call Forward