


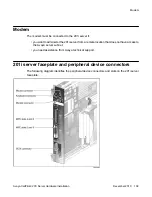


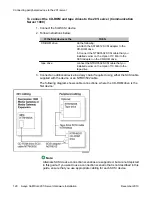

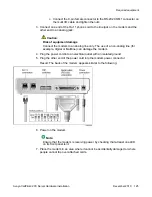


To connect the monitor, keyboard, and mouse
1. Connect the monitor to the 201i server faceplate using a DB-15 cable.
2. Connect the monitor power cord, and then power up the monitor.
3. Connect the keyboard and mouse to the 201i server faceplate using standard PS/
2 connectors.
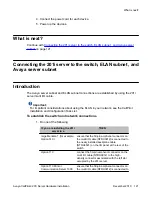
What is next?
Continue with
Connecting the CD-ROM and tape drives
on page 114.
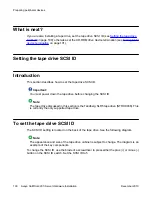
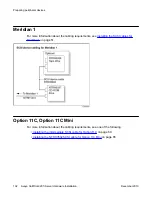
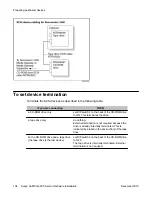
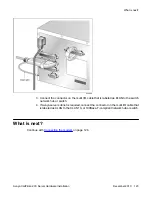
Connecting the CD-ROM and tape drives
Introduction
You can connect the CD-ROM, tape drive, or both to the intermediate SCSI cable that you
installed earlier.
Connecting peripheral devices to the 201i server
114 Avaya CallPilot
®
201i Server Hardware Installation
December 2010
Содержание CallPilot 201i
Страница 1: ...Avaya CallPilot 201i Server Hardware Installation 5 0 NN44200 301 01 03 December 2010 ...
Страница 8: ...8 Avaya CallPilot 201i Server Hardware Installation December 2010 ...
Страница 28: ...About the 201i server 28 Avaya CallPilot 201i Server Hardware Installation December 2010 ...
Страница 106: ...Preparing peripheral devices 106 Avaya CallPilot 201i Server Hardware Installation December 2010 ...
Страница 128: ...Connecting peripheral devices to the 201i server 128 Avaya CallPilot 201i Server Hardware Installation December 2010 ...