9
Avaya B169 Conference Phone
User Guide
GENERAL
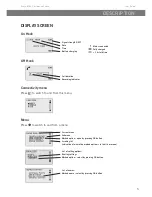
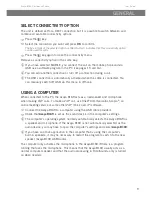
SELECT CONNECTIVITY OPTION
The unit is default set for a DECT connection but it is possible to switch between and
combine all available connectivity options.
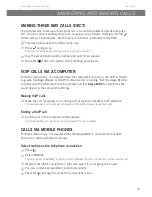
Press the key.
Select the connection you want and press
OK to confirm.
The box in front of the selected option is filled in which indicates that this connectivity option
can be used for calls.
Press the key again to close the connectivity menu.
Remove a connectivity option in the same way.
If you have selected MOBILE, you connect the call on the mobile phone and via
USB use a software program in the PC (see pages 15 and 16).
You can add another connection or turn off a connection during a call.
The USB connection is automatically activated when the cable is connected. You
can manually switch off USB via this menu in offhook.
USING A COMPUTER
When connected to the PC, the Avaya B169 acts as a loudspeaker and microphone
when making VoIP calls. To make a VoIP call, use OneX
®
Communicator, Scopia
®
, an
online meeting service or some other VoIP (Voice over IP) software.
Connect the Avaya B169 to a computer using the USB cable provided.
Check that
Avaya B169 is set as the sound device in the computer’s settings.
The computer’s operating system normally automatically selects the Avaya B169 as
a speaker and microphone. If the Avaya B169 is not automatically selected as the
audio device, you may have to open the computer’s settings and select
Avaya B169.
If you have an active application in the computer that is using the computer’s
built-in speakers, it may be necessary to restart the program to switch to the new
speaker (Avaya B169 USB Audio).
The computer only activates the microphone in the Avaya B169 if there is a program
running that uses the microphone. This means that the Avaya B169 usually acts as a
normal computer speaker and that the audio processing in OmniSound
®
only is turned
on when needed.


