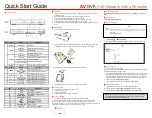
STEP 1 SET UP PORT FORWARDING
Configure port forwarding for the AV NVR HTTP port (
default 80
) and the streaming
port (
default 9877
) on your router/gateway.
STEP2 SET UP DDNS
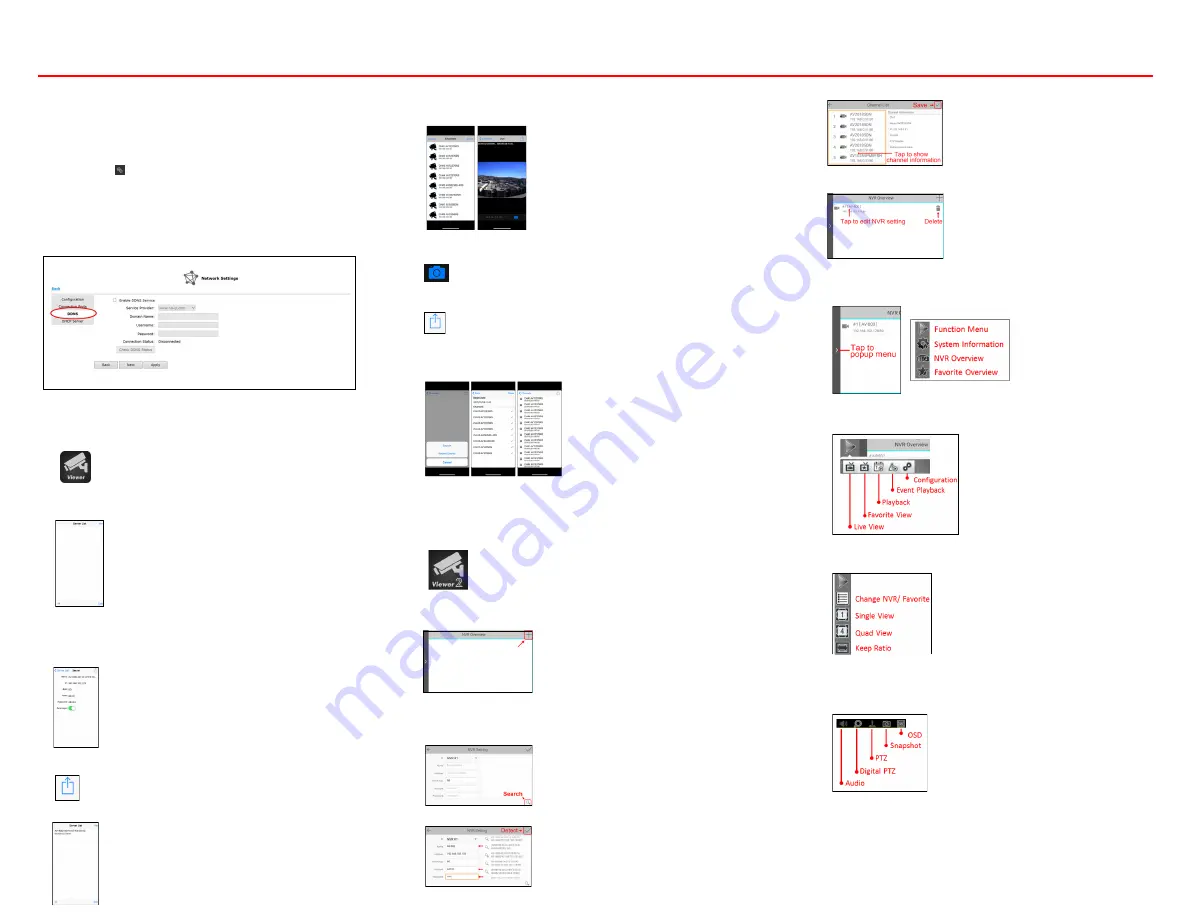
1.
Visit
Settings
> Network Settings > DDNS
2.
Service Provider
:
The AV NVR supports “DynDNS” or “No-IP” DDNS services.
For more information, please visit
www.dyndns.com
&
http://www.noip.com/
3.
Domain Name:
enter the domain name you registered with the DDNS service
4.
Username:
enter the username you registered with the DDNS service
5.
Password:
enter the password you registered with the DDNS service
SETP3 SET UP MOBILE APP (iOS. If using Android, please go to STEP 4.)
1. Download “NVR Viewer” from App Store
2. Run the APP, and ready to set up your AV NVR. You will see an empty Sever
3. Tap “
4. Specify your Name, IP address( or DDNS domain name), Port (HTTP port:
default 80), User Name and Password ( to access the NVR).
5. Tap the below icon to save the AV NVR info.
6. Now, you will see the AV NVR list on the Server List.
7. Tap the AV NVR on the Server List.
8. After connecting successfully, you will see the Channel List of the AV NVR
9. Tap the desired channel to see the live view.
10. Tap the below icon to save a snapshot.
11. Tap the below icon to do Keep Ratio, Audio, Playback, and Digital PTZ.
12. Tap “
Event
” on the Channel List page to search event.
13. Tap “
Search
” to search event manually, or tap “
Recent Events
” to search recent events
only.
14. Tap any event to start playback.
15. Tap “
Logout
” on Channel List to logout AV NVR and back to Server List.
STEP4 SET UP MOBILE APP (Android)
1. Download “NVR Viewer” from Google Play
2. Run the APP, and ready to set up the AV NVR. You will see an empty NVR Overview.
3. Tap “
+
” to add a NVR manually.
4. Specify your Name, IP address( or DDNS domain name), Port (HTTP port: default 80),
User Name and Password ( to access the AV NVR).
5. Or, tap “Search” to search AV NVR in LAN, and select a NVR from the search result.
6. Tap “Detect” to connect the NVR.
7. Tap “Save” to save this AV NVR to
NVR Overview
.
8. Now, you will see the AV NVR list on NVR Overview.
9. Tap
left-hand side bar
on the NVR Overview page, and you will see the icons for
Function Menu, System Information, NVR Overview, and Favorite Overview.
10. Tap “Function Menu”, and you will see the icons for Live View, Favorite View,
Playback, Event Playback, and Configuration.
11. In Live View or Favorite View, you can see the icons for Change NVR/ Favorite,
Single View, Quad View, and Keep Ratio.
12. You can change Channels/ Favorite by swiping the video from left to right.
13. Tap the video, and you will see the icons for Audio, Digital PTZ, PTZ, Snapshot,
and OSD.
NVR Mobile Viewer User Guide
AV
NVR
PoE Network Video Recorder


