Revised 6/16/00 • LGC
5
© 2000 Automated Logic Corporation
The first memory transfer to the LGC takes
longer than subsequent memory transfers.
1. Log in to SuperVision on a workstation
connected to the CMnet. You can also
connect directly to the gateway using the
Access Port; see “Communicating with the
Workstation” .
2. Navigate to the module driver and look at
the module status page in SuperVision to
make sure the gateway type and number
agree with the module.
• To view the module status page in
SuperVision v3.0, click Tools -
Troubleshooting - Module Status.
• To view the module status page in
SuperVision v2.6, press the Esc key,
type
MO ,,module address,15
and press Enter.
3. Transfer memory to the module.
• In SuperVision v3.0, click Tools -
Troubleshooting - Transfer Memory to
Module.
• In SuperVision v2.6, choose Download
Memory for This Module.
When the memory transfer is finished, check
the module status page again. Make sure the
FB List shows all the FBs you intended to
transfer.
Troubleshooting
Communicating with the Workstation
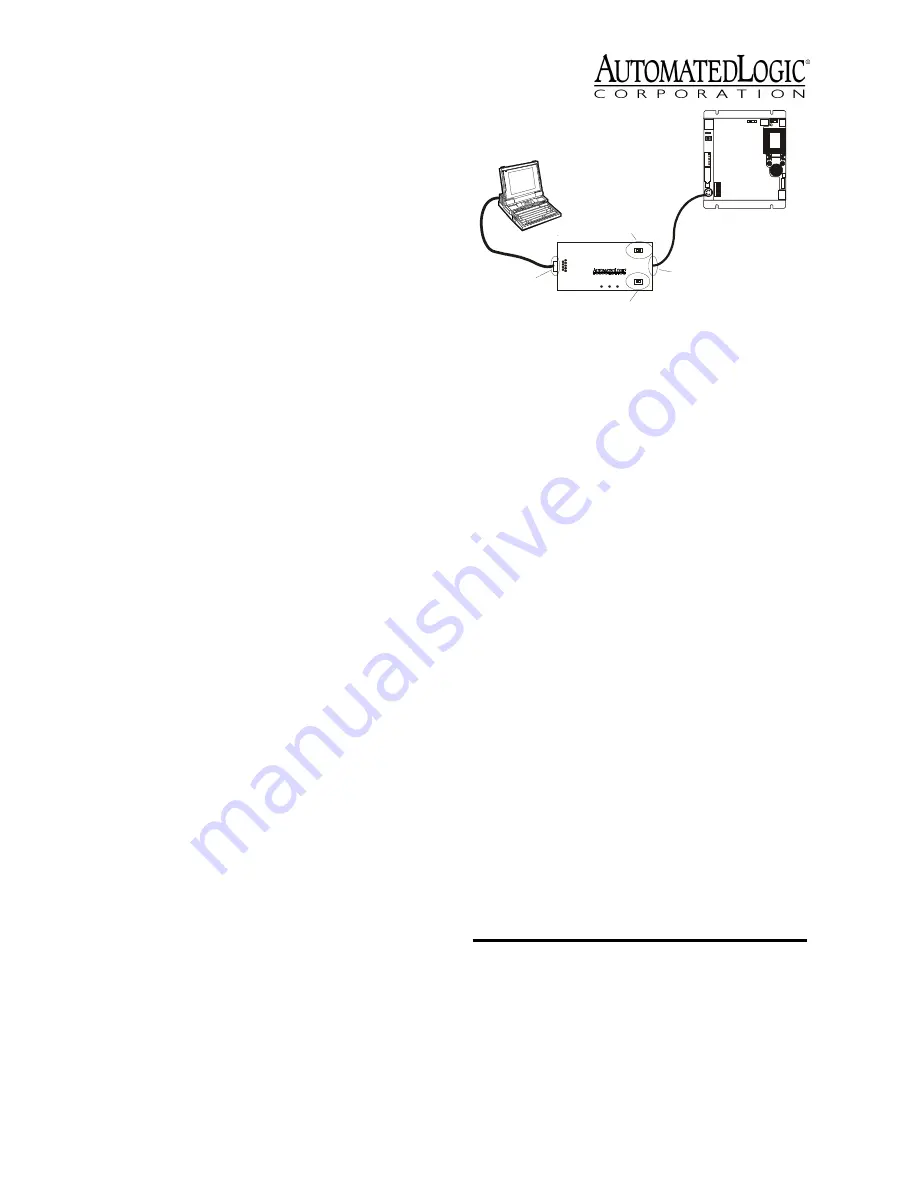
The LGC can connect to a workstation
through the Access port using an APT (see
Figure 4) or through the Console Ports. A
Console Port can connect directly to the
workstation’s serial port or to a modem,
through which you can dial the workstation.
The LGC’s Console Ports can communicate at
9600 bps or 38.4 kbps. The communication
speed for each Console Port is set individually
using the eight-position DIP switch. DIP
switch 1 sets the baud rate for Console Port 1
and switch 2 set the baud rate for Console
Port 2 (see Figure 3 on page 4). Use the wiring
diagrams in Figure 5 on page 6 to connect a
Console Port to a workstation or a modem.
Use the following procedure to connect the
Access Port to a workstation.
1. Connect the computer’s serial port to the
EIA-232 port of the APT using a standard
straight-through cable (see Figure 4).
2. Set the APT’s Mode Select switch.
• On an ARC156 CMnet, use the TTL
setting.
• On a legacy CMnet, use the 485 setting.
3. Connect the Access Port of the APT to the
Access Port of the module.
4. In SuperVision, define the connection type
using Table 1
Figure 4. Using the Access Port
Table 1. Connection Types
SuperVision
Version
Type of
CMnet
Gateway
Present?
Use Connection
Type
3.0
any
n/a
Access Port
2.6
ARC156
yes
Direct Connect
2.6
ARC156
no
Direct Network
2.6
legacy
n/a
Direct Network
9
R x
6
1
2 - T x o u t
3 - R x in
5 - G n d
1 ,6 , 8- + 1 0 V o r f lo a tin g
T x
+ 5 V
A P T
5
E x ec . 4 re l a y
Is o l ate
N e tw ork
M o d e S e le c t
TT L
4 8 5
A C C E S S
P O R T
EIA-232
Port
Mode Select
Switch
Exec. 4 relay
Switch
Access
Port
G ro un d
2 4 Va c
O pt io na l
S he il d
N e t -
N et +


