To adjust the scene playback
1
If the Animator window is not already open, select Tools
➤
Animator from the menu bar.
2
Select the desired scene in the Animator tree view.
3
Use the Loop, P.P., and Infinite check boxes to adjust the way the scene plays:
■
If you want the scene to play back continuously, select the Loop check box. When the animation reaches
the end, it will reset back to the start and run again.
■
If you want the scene to play in ping-pong mode, select the P.P. check box. When the animation reaches
the end, it will run backwards until it reaches the start. This will only happen once, unless you also select
the Loop check box.
■
If you want the scene to play indefinitely (that is, until the Stop
button is pressed), select the
Infinite check box. If this check box is clear, the scene will play until its end point is reached.
NOTE
Selecting this check box disables the Loop and P.P. check boxes.
4
If necessary, use the Active, Loop, and P.P. check boxes to adjust the playback of the individual scene
components.
NOTE
Only animations with the selected Active check box will play.
Add Interactivity
Quick Reference
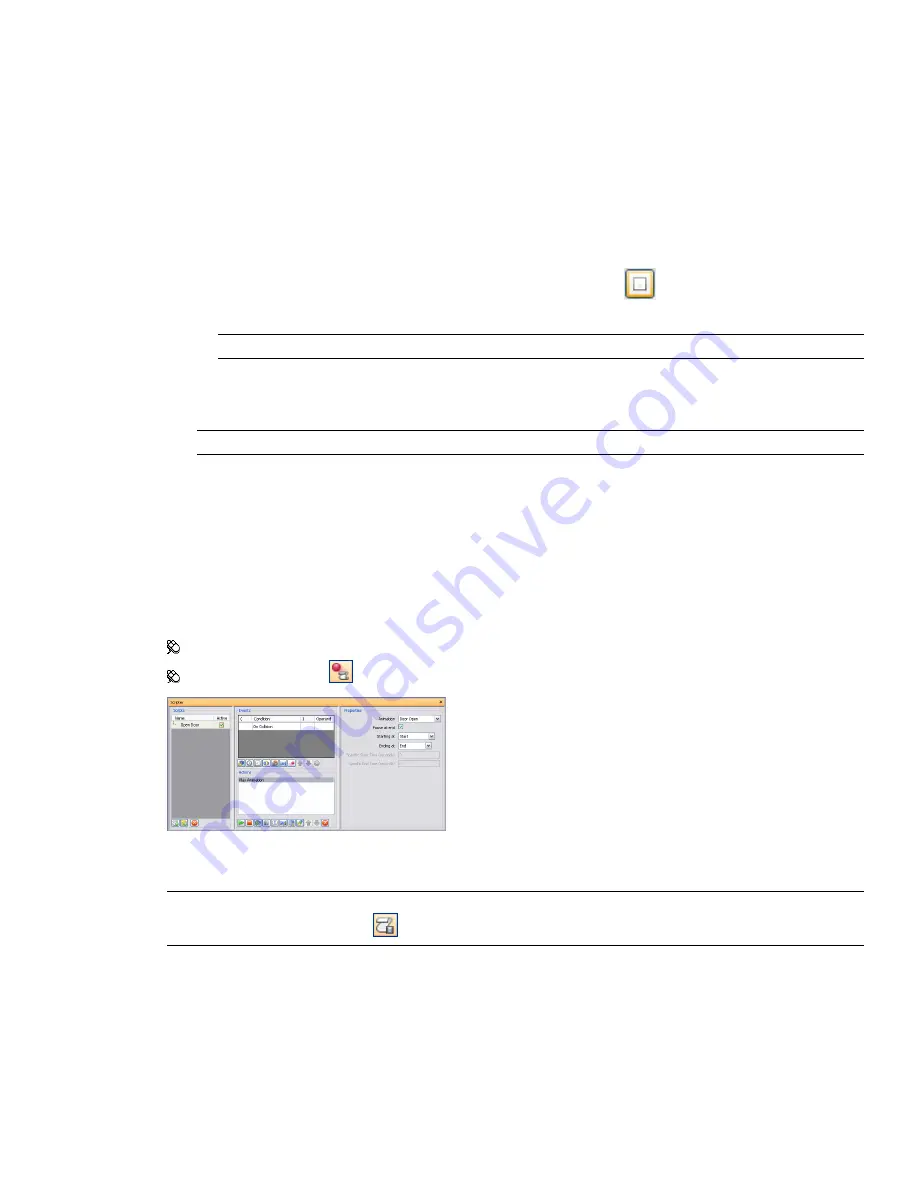
The Scripter window is a floating window that enables you to add interactivity to object animations in your
model.
Menu: Tools
➤
Scripter
Toolbar: The Scripter
button on the Workspace toolbar
The Scripter window contains the following components: the
, and
the
NOTE
If you can't use any of the controls in the Scripter window, it means that you are in interaction mode. To exit
the mode, click the Toggle Scripts
button on the Animation toolbar.
Work with Animation Scripts
A script is a collection of actions that you want to happen when certain event conditions are met.
To add interactivity to your model, you need to create at least one animation script.
294 | Chapter 13 Animate Objects
Содержание 507B1-90A211-1301 - NavisWorks Manage 2010
Страница 1: ...Autodesk Navisworks Manage 2010 User Guide March 2009 ...
Страница 12: ...xii Contents ...
Страница 14: ...2 Part 1 Welcome to Autodesk Navisworks Manage 2010 ...
Страница 64: ...52 Chapter 3 Installation ...
Страница 97: ...Get a Whole Project View 85 ...
Страница 98: ...86 Part 2 Get a Whole Project View ...
Страница 136: ...124 Chapter 5 Work with Files ...
Страница 178: ...To toggle ViewCube Click View Head Up Display ViewCube 166 Chapter 6 Explore Your Model ...
Страница 262: ...250 Chapter 9 Use Viewpoints and Sectioning Modes ...
Страница 270: ...258 Chapter 11 Work Within a Team ...
Страница 282: ...270 Chapter 12 Share Data ...
Страница 346: ...334 Chapter 14 Create Photorealistic Visualizations ...
Страница 460: ...448 Chapter 17 Autodesk Navisworks Reference ...
Страница 466: ...454 Glossary ...


