•i•••.
1:
[.I'( ••
t"'b2.
AA
#I:!M [":.
i:
I
I j!::(lloljlo}-1
Press the TOTAL button (C) repeatedly to
read day/week/month
records of the
specified mode.
1.Day- To memory today's records
2.Week-To memory this week's records up
to now.
3.Month-To memory total days records.
Upper display shows the number of days
calculated.
'&t.'~llt.'
itA
3
;1.,
iJ
¥f.1:a
I
1.Day-Press the RESET button (A) for two
seconds to reset trip/day records to zero.
2.Week-Press the RESET button for two
seconds to reset day/week records to
zero.
3.Month
a.Press the RESET button for two
seconds to reset day/week/month
records to zero.
b.On the first day of each month, resets
all records to zero to start new month's
program.
'·!ii
i.f~
@;I.I;J
~13i'
1.At 2:00am each day, the previous day's
records will auto reset to zero (but
display is still retained until 5 steps take).
2.At 2:00am each Sun, the last week's
records will auto reset to zero but still
remains on display. Walk 5 steps to start
new week's records.
'·Sli
("&["9 3&'3~.Ii
3~f.1·];,
1.To filter out random movements, the unit
remains in standby mode until five (5)
continuous steps are registered.
Only
then are the 5 steps calculated in, and an
Active indicator"
A ••appears on the
upper left of display.
2.When regular walk/run movement stops,
after 2 seconds the timer pauses and the
unit switches to standby status (Active
indicator
" A " disappears).
•i.'
[email protected] [.]~.
j:
I
€I R
3
.1'] ¢!I§i j
3;,
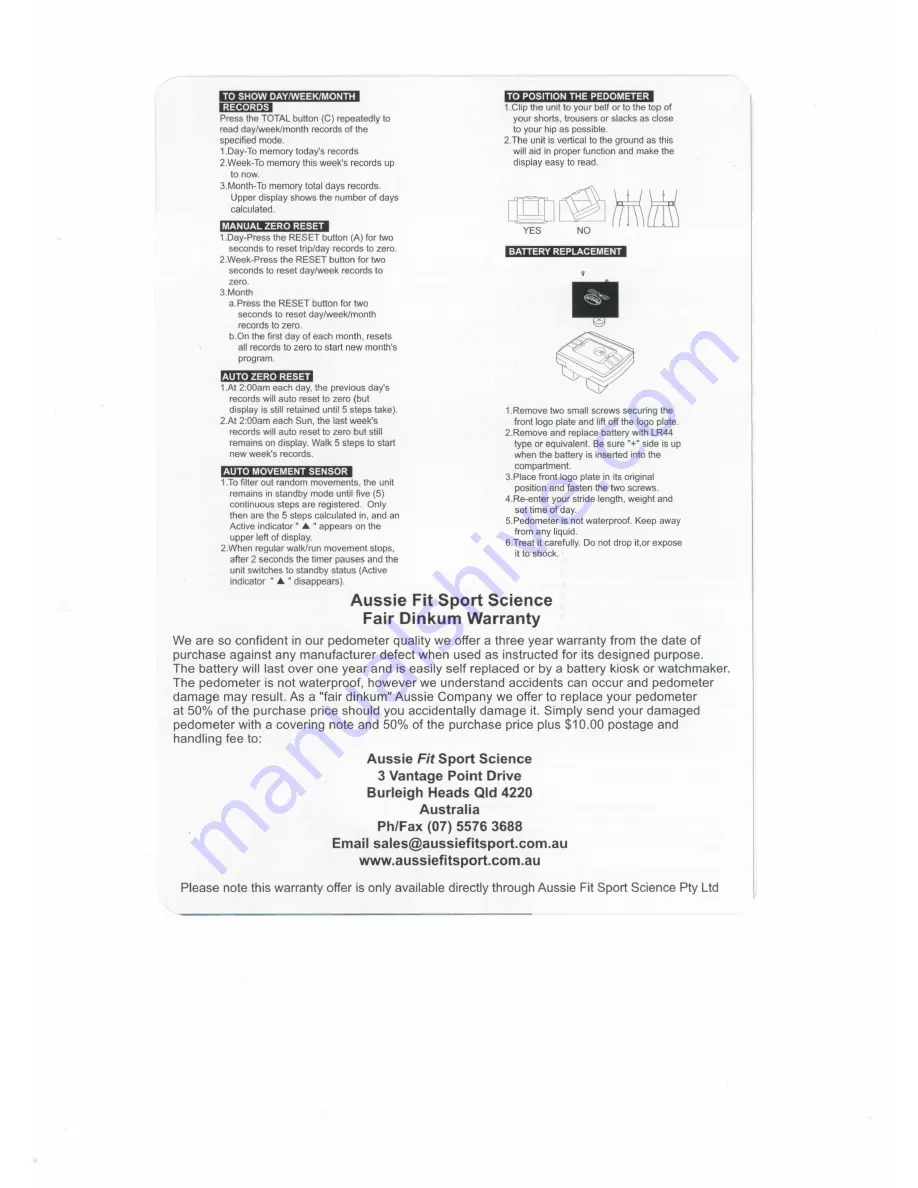
1.Clip the unit to your be If or to the top of
your shorts, trousers or slacks as close
to your hip as possible.
2.The unit is vertical to the ground as this
will aid in proper function and make the
display easy to read.
l:ti,iAA;V·;JAA@!·SdAA&lAA:·'
1.Remove two small screws securing the
front logo plate and lift oft the logo plate.
2.Remove and replace battery with LR44
type or equivalent. Be sure "+" side is up
when the battery is inserted into the
compartment.
3.Place front logo plate in its original
position and fasten the two screws.
4.Re-enter your stride length, weight and
set time of day.
5.Pedometer is not waterproof. Keep away
from any liquid.
6.Treat it carefully. Do not drop it,or expose
it to shock.
Aussie Fit Sport Science
Fair Dinkum Warranty
We are so confident
in our pedometer
quality we offer a three year warranty from the date of
purchase against any manufacturer
defect when used as instructed for its designed
purpose.
The battery will last over one year and is easily self replaced or by a battery kiosk or watchmaker.
The pedometer
is not waterproof,
however we understand
accidents
can occur and pedometer
damage may result. As a "fair dinkum" Aussie Company we offer to replace your pedometer
at 50% of the purchase
price should you accidentally
damage it. Simply send your damaged
pedometer
with a covering note and 50% of the purchase
price plus $10.00 postage and
handling fee to:
Aussie Fit Sport Science
3 Vantage Point Drive
Burleigh Heads Qld 4220
Australia
Ph/Fax (07) 5576 3688
www.aussiefitsport.com.au
Please note this warranty offer is only available directly through Aussie Fit Sport Science Pty Ltd


