8
User Guide
OPERATION
SETTING UP THE TUNER
Channel Setup
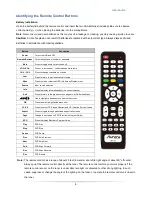
Press the “Power” button on the remote control to turn the tuner on. When powering on for the first time,
you will be prompted to scan and memorize all available channels from your RF input signal. To start this
process, press the “Menu” button on remote control to display the MENU banner.
Auto Scan
Depending upon the RF input signal, you will need to scan for either off air (antenna) or cable channels.
Off Air Scan
1.
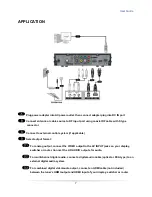
Press the “Menu” button on the remote control to display the OSD menu.
2. Press
to highlight
Channel
, and p
ress the “OK” button on the remote control. There are three sub-
menus are listed.
(1) Auto Scan
(2) Manual Scan
(3) IP Program
(4) Edit
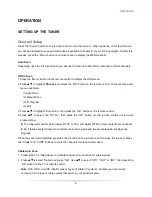
3. Press
to highlight “Auto Scan”, then press the “OK” button on the remote control.
4. Press
to select the “Off Air”, then press the “OK” button on the remote control to start auto-
programming.
The tuner will scan for both analog (NTSC or PAL) and digital (ATSC) off-air content from channel 2
to 69. It takes several minutes to complete the scanning process; the percentage bar displays the
progress.
When the scan had completed, press the “Exit” button on the remote control to leave this window. Press
the “CH
” and “CH
” buttons to verify the channels found and memorized.
Cable Auto Scan
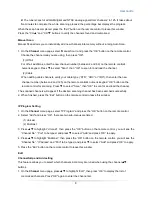
1. Follow steps 1~3 listed above to activate the Auto Scan function for cable signals.
2. Press
to select “Cable” and press “OK”. Use
to select “STD”, “HRC” or “IRC”, then press the
“OK” button on the TV or remote control.
Note
: STD, HRC, and IRC identify various types of cable TV systems. Contact your local cable
company for the
type of cable system that exists in your particular area.


