AURO
M401
Servicehotline: +49 (0) 1805 11 04 02
25
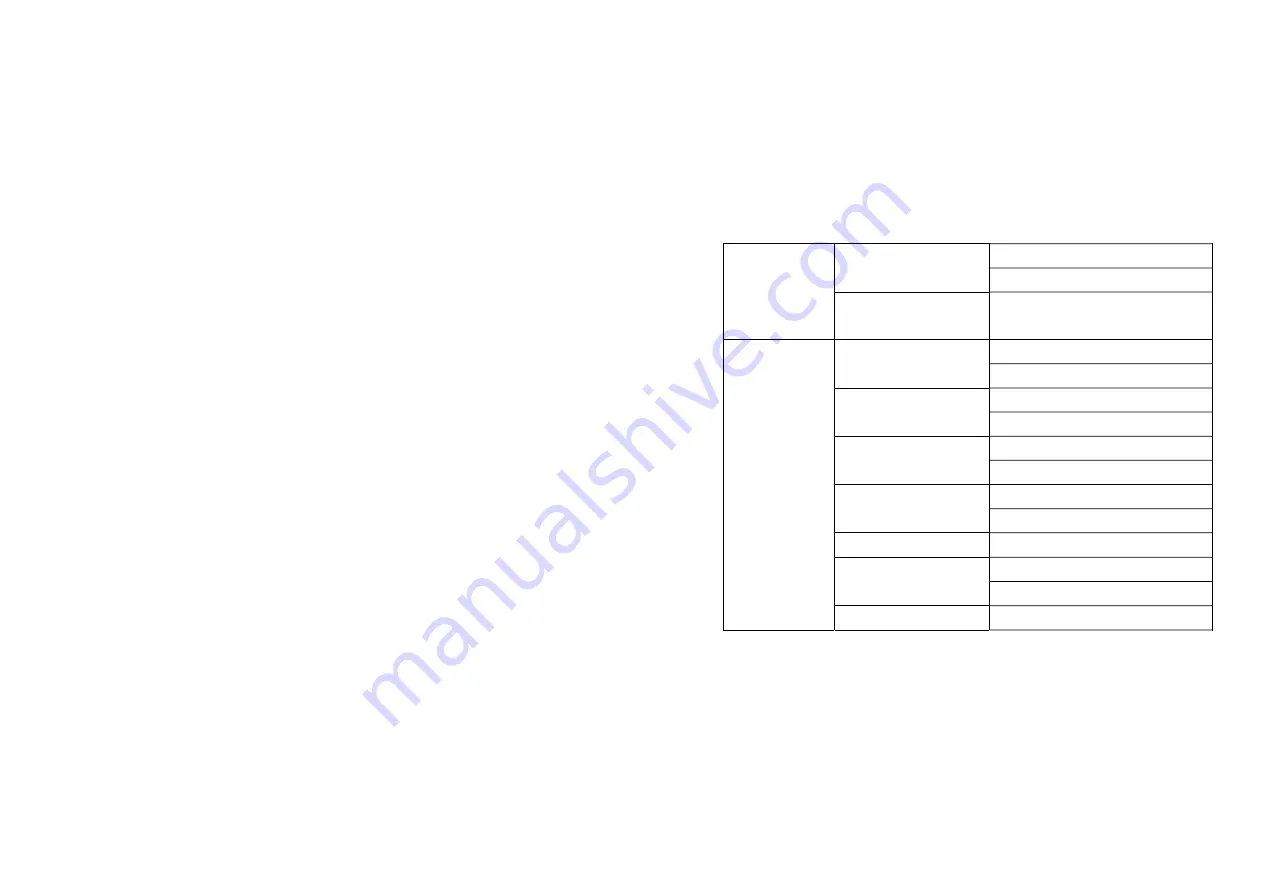
Automatic keypad lock
Change password
Restore factory
settings
Activate
General
Customise
Activate
Meeting
Customise
Activate
Outdoors
Customise
Activate
Indoors
Customise
Headset 1
Edit
Customise
Offline (flight mode)
2 Edit
Profiles
Silent


