background image

17

EN

CONTENTS

Safety Instructions 19

Overview 21

FM Radio 22

DAB-Radio 23

Stereo Phonograph Operation 25

BT Connection and Playback 26

Disposal Considerations 28

Dear Customer, 

Congratulations on purchasing this equipment. 

Please read this manual carefully and take care of 

the following hints to avoid damages. Any failure 

caused by ignoring the items and cautions men-

tioned in the instruction manual are not covered 

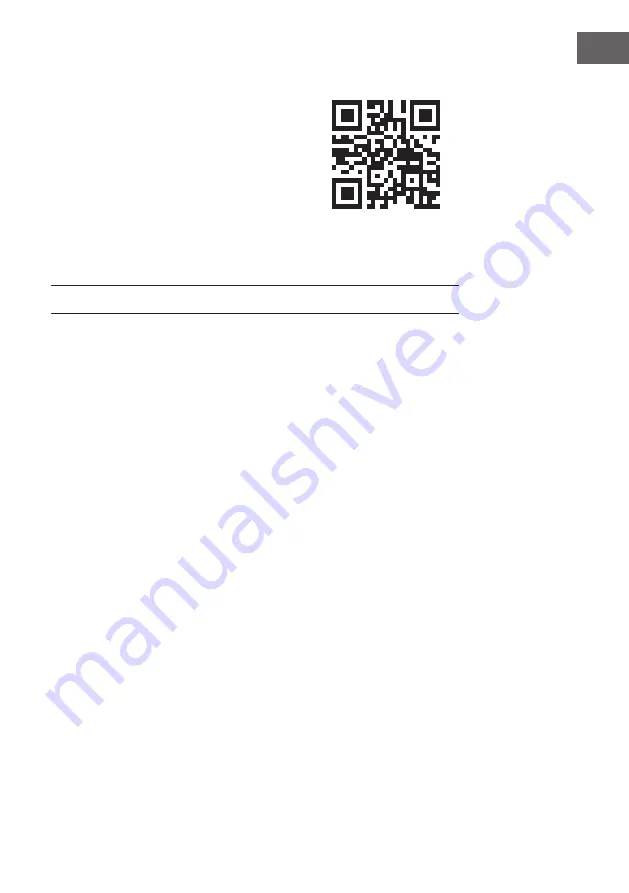
by our warranty and any liability. Scan the QR 

code to get access to the latest user manual and 

other information about the product.

Содержание TT-186 DAB

Страница 1: ...w w w a u n a m u l t i m e d i a c o m TT 186 DAB Plattenspieler Record Player 10033426 ...

Страница 2: ......

Страница 3: ...e durch Missachtung der Hinweise und unsachgemäßen Gebrauch entstehen übernehmen wir keine Haftung Scannen Sie den QR Code um Zugriff auf die aktuellste Bedienungsanleitung und weitere Informationen rund um das Produkt zu erhalten INHALT Sicherheitshinweise 5 Geräteübersicht 7 FM Radio 9 DAB Radio 10 Bedienung des Plattenspielers 12 BT Verbindung und Wiedergabe 13 Hinweise zur Entsorgung 16 ...

Страница 4: ... mit folgendem Hinweis GEFÄHRLICHE SPANNUNG Das Blitzsymbol mit Pfeilspitze im gleichseitigen Dreieck soll den Benutzer auf das Vorhandensein einer nicht isolierten gefährlichen Spannung im Gehäuse des Produkts aufmerksam machen die von ausreichender Größe sein kann um eine Gefahr eines Stromschlags für Personen darzustellen Das Dreieck mit dem Ausrufezeichen und folgendem Hinweis ACHTUNG Das Ausr...

Страница 5: ...Techniker oder dem Gerätehersteller durchgeführt werden Zur Reinigung des Gerätes beachten Sie bitte die Empfehlungen des Hinweises Das Netzkabel sollte abgezogen werden wenn Sie es über einen längeren Zeitraum nicht benutzen Das Gerät ist von einer qualifizierten Person zu reparieren wenn a das Netzkabel beschädigt ist b Gegenstände in das Gerät gefallen sind oder eine Flüssigkeit in das Gerät ei...

Страница 6: ... Batterieentsorgung ist zu achten Das Gerät muss in in gemäßigten Klimazonen eingesetzt werden Explosionsgefahr durch unsachgemäßen Batteriewechsel Batterien nur durch den gleichen oder gleichwertigen Typ ersetzen Der Hauptstecker muss leicht zugänglich bleiben Die Belüftung darf nicht dadurch behindert werden dass die Belüftungsöffnung mit Gegenständen wie Zeitungen Tischdecken Vorhängen usw abge...

Страница 7: ...ück 8 3 5 mm Kopfhörerbuchse 9 Auswahltaste 10 3 5 mm Aux Eingangsbuchse 11 Sleep Taste 12 LCD Anzeige 13 Rechter Lautsprecher 14 Ein Aus Schalter Lautstärke Regler 15 45 U min Puck 16 Geschwindigkeitswahlschalter 17 Auto Stop Schalter 18 Tonarmlehne Halterung 19 Line Out Buchse L R 20 FM Antennenbuchse 21 Netzkabel 1 2 3 5 4 6 7 8 11 12 13 14 15 16 17 18 19 20 21 9 10 ...

Страница 8: ... eine Steckdose an 2 Verbinden Sie die mitgelieferte FM Antenne mit der FM Antennenbuchse 21 3 Schalten Sie das Gerät durch Drücken des Ein Aus Lautstärkereglers 15 ein Die LCD Anzeige 12 leuchtet auf Das System ist nun bereit Ihre Musik abzuspielen ...

Страница 9: ...h dem nächsten oder vorherigen Radiosender zu suchen 3 Wenn das Rundfunksignal des Radiodatensystems RDS empfangen wird stellt das Gerät die Ist Zeit automatisch ein 4 Stellen Sie den Power ON OFF Lautstärkeregler 15 auf die gewünschte Lautstärke ein FM Feinabstimmung Nach dem automatischen Suchlauf wenn viele unerwünschte schwache Radiosender empfangen werden können Sie nur starke Sender auswähle...

Страница 10: ...4 Das Gerät beginnt innerhalb von etwa 2 Sekunden mit dem vollständigen Scan im Bereich 11b 12d Drücken Sie dann die Taste 7 um den gewünschten DAB Kanal auszuwählen 3 Drücken Sie kontinuierlich die Taste Menu Info 3 um die von DAB freigegebenen Informationen zu überprüfen Scrolltext Programmtyp Gruppenname Signalstärke Datum Zeitfrequenz Übertragungsrate 4 Stellen Sie den Power ON OFF Lautstärker...

Страница 11: ...ormalen Tunermodus zurückgesetzt Sie können einen aktuellen Sender überschreiben indem Sie eine andere Frequenz an seiner Stelle speichern Empfangstipps FM Der Empfänger verfügt über eine externe FM Drahtantenne zum Anschluss an die Antennenbuchse auf der Rückseite des Gerätes Diese Antenne sollte für einen optimalen Empfang komplett aufgerissen und verlängert werden Bewegen sie die Antenne um den...

Страница 12: ...age frei beweglich ist Sperren Sie den Tonarm bei Nichtgebrauch wieder 1 Schalten Sie das Gerät ein indem Sie den Ein Ausschalten 15 und die Funktionstaste 2 drücken um in den PHONO Modus zu gelangen 2 Heben Sie den Staubschutzdeckel des Plattenspielers an 3 Legen Sie die Platte auf den Plattenteller verwenden Sie den 45 U min Puck 16 wenn Sie Schallplatten mit 45 U min abspielen 4 Stellen Sie den...

Страница 13: ...nnected blinkt auf dem LCD Display d h BT im Nicht Verbindungs Suchmodus 3 Schalten Sie die BT Funktion Ihres BT Geräts z B Mobiltelefon ein und wählen Sie zum Verbinden das BT Gerät TT 186 DAB 4 Nachdem die Verbindung beendet und erfolgreich hergestellt wurde wird auf dem LCD Display das Wort Connected angezeigt 5 Stellen Sie die Lautstärke 15 auf den gewünschten Pegel ein 6 Starten Sie die Wiede...

Страница 14: ...mfang enthalten an die AUX Eingangsbuchse Ihres Hi Fi AMPLIFER Systems anschließen Hinweis Der Lautstärkeregler funktioniert nicht wenn Sie den LINE OUT verwenden Schlaffunktion 1 Drücken Sie die Sleep Taste 11 einmal 2 Drücken Sie die Taste 7 um den Sleep Timer in der Reihenfolge Off 15 30 45 60 90 Minuten Off einzustellen 3 Das System stoppt und wechselt nach Ablauf der gewählten Zeit automatisc...

Страница 15: ...ärke auf einem angemessenen Niveau auch wenn Ihr Kopfhörer für die Benutzung im Freien konzipiert wurde so dass Sie Außengeräusche hören können Bitte beachten Sie dass eine zu hohe Lautstärke die Außengeräusche noch blockieren kann ...

Страница 16: ...und entsorgen Sie Altgeräte nicht über den Hausmüll Durch die regelkonforme Entsorgung der Altgeräte werden Umwelt und die Gesundheit Ihrer Mitmenschen vor möglichen negativen Konsequenzen geschützt Materialrecycling hilft den Verbrauch von Rohstoffen zu verringern Konformitätserklärung Hersteller Chal Tec GmbH Wallstraße 16 10179 Berlin Dieses Produkt entspricht den folgenden Europäischen Richtli...

Страница 17: ...mer Congratulations on purchasing this equipment Please read this manual carefully and take care of the following hints to avoid damages Any failure caused by ignoring the items and cautions men tioned in the instruction manual are not covered by our warranty and any liability Scan the QR code to get access to the latest user manual and other information about the product ...

Страница 18: ...lash with arrowhead symbol within the equilateral triangle is intended to alert the user to the presence of uninsulated dangerous voltage within the product s enclosure that may be of sufficient magnitude to constitute a risk of electric shock to persons Triangle with exclamation point plus explanation as follows ATTENTION The exclamation point within the equilateral triangle is intended to alert ...

Страница 19: ... be unplugged when not using for a long period of time Device shall be repaired by a qualified person when a the power cord is damaged b objects have fallen into the apparatus or a liquid has been spilled into device c device was exposes to the rain d device does not work correctly without notable exterior change e device is broken The user shall not try to maintain device beyond that which is des...

Страница 20: ...spaper table cloths curtain etc No naked flame sources such as lighted candles should be placed on the apparatus Attention should be drawn to the environmental aspects of battery disposal The use of apparatus in moderate climates Danger of explosion if battery is incorrectly replaced Replace only with the same or equivalent type The main plug shall remain readily operable ...

Страница 21: ...5mm Headphone Jack 9 Select button 10 3 5mm Aux in Jack 11 Sleep button 12 LCD display 13 Right Speaker 14 Power ON OFF Volume Control Knob 15 45 RPM Record Adaptor 16 Turntable Speed Selector 17 Auto Stop Switcth 18 Tone Arm Rest Holder 19 Line Out Socket L R 20 FM Antenna Socket 21 AC Power Cord 1 2 3 5 4 6 7 8 11 12 13 14 9 10 15 16 17 18 19 20 21 ...

Страница 22: ... the Scan button 4 once unit will start to scan at tuning up direct until radio station received Press and hold the Scan button 4 for a second the unit will scan to tuning down direction Alternatively press and hold the Skip up down button 7 to auto search for the next or previous radio station 3 If the radio data system RDS broadcasting signal received the unit will set the actual time automatica...

Страница 23: ...button 2 2 Press the Scan 4 button once unit will start to full scan from range 11b 12d one time within around 2 second Then press Skip up down button 7 button to select your desired DAB channel 3 Press the Menu Info button 3 continuously to check the below info released by DAB scrolling text program type Group name signal strength date time frequency transfer rate 4 Adjust the Power ON OFF Volume...

Страница 24: ...E ANTENNA TO OBTAIN THE BEST RECEPTION Language setting This apparatus provide 4 language for FM DAB operation display 1 In DAB FM mode Press and hold the Menu Info button 3 to enter the Menu then press Skip up down button 7 button to select Language 2 Press Select button 9 to enter language mode setting then press Skip up down button 7 button to select your desired language between English German...

Страница 25: ...lowly move it over the record The platter will begin spinning 6 Place the tone arm down onto the record in the location that you want to play 7 Adjust the volume 15 to the desired level 8 At the end of record the platter will automatically stop spinning Lift the tone arm from the record and return it to the rest 9 To stop playing manually lift the tone arm from the record and return it to the rest...

Страница 26: ...o control the music playback 8 If you want to connect to another BT enabled device after you ve already successfully paired press and hold the Play pause button 4 for a few seconds until the word Disconnected starts flashing on the LCD display again OR turn off the BT on the device that was previously paired The word Disconnected starts flashing again repeat step 3 5 above AUX IN connection Connec...

Страница 27: ...vely 3 System will stop and go to standby mode automatically after running the selected time 4 To cancel the sleep mode press Skip up down button 7 until it reaches Off Using headphones not included Inserting the plug of your headphones into the Headphone jack 8 will enable you to listen in private READ THIS IMPORTANT INFORMATION BEFORE USING YOUR HEADPHONES 1 Avoid extended play at very high volu...

Страница 28: ...012 19 EU this symbol on the product or on its packaging indicates that this product may not be treated as household waste Instead it should be taken to the appropriate collection point for the recycling of electrical and electronic equipment By ensuring this product is disposed of correctly you will help prevent potential negative consequences for the environment and human health which could othe...

Страница 29: ......

Страница 30: ......

Отзывы: