background image

22

c. Press 

#

DISPLAY

"

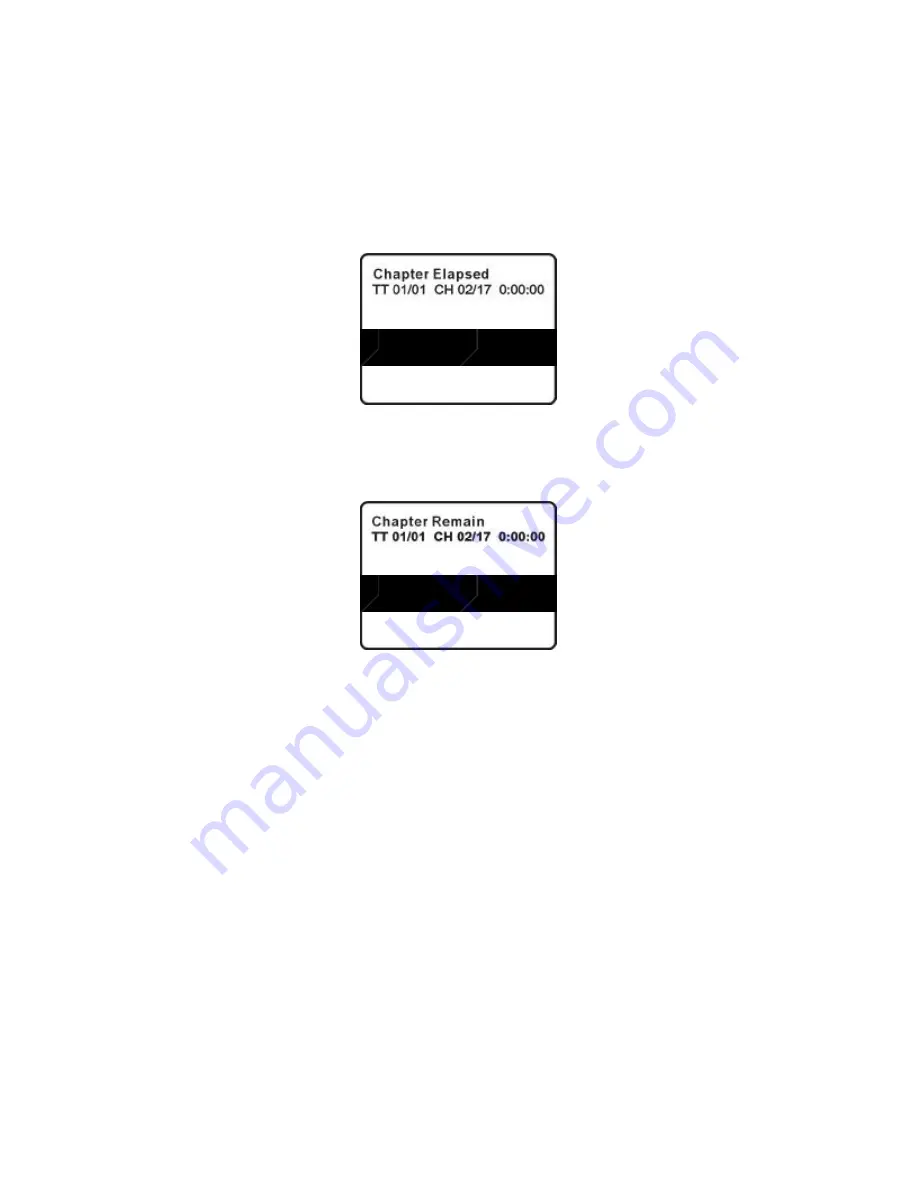
 a 3rd time to display the Elapsed Time for the

chapter. The heading will disappear automatically in 3 seconds.

Chapter Elapsed Time Screen Display

d. Press 

#

DISPLAY

"

 a 4th time to display the Remaining Time for the

chapter.  The heading will disappear automatically in 3 seconds.

Chapter Remaining Time Screen Display

e. Press 

#

DISPLAY

"

 a 5th time to exit, 

#

Display Off

"

  will be displayed

and will disappear automatically in 3 seconds.

2. ANGLE

During playback of a disc, press 

#

ANGLE

"

 to display the available angles

if discs containing multi-angles*, with the current angle number (1)

and the total number of angles (2) displaying. Press 

#

ANGLE

"

 to se-

lect another angle, then press again to exit and return to the nor-

mal viewing angle.  The angle display will disappear automatically if

the 

#

ANGLE

"

 button is not pressed again within 3 seconds.

*NOTE:  

Not all discs contain this feature.

Содержание VBP620

Страница 1: ...VBP620 PORTABLE 6 2 LCD MONITOR AND DVD PLAYER IN A BAG ...

Страница 2: ...talled in a motor vehicle and visible to the driver if the LCD panel or video monitor is used for vehicle information system control rear or side observation or navigation If the LCD panel or video monitor is used for television reception video or DVD play the LCD panel or video monitor must be installed so that these features will only function when the vehicle is in park or when the vehicle s pa...

Страница 3: ...ck do not expose this appliance to rain or moisture Do not place the set on an unstable cart stand tripod bracket or table to prevent it from falling Keep the unit away from strong magnets heat sources direct sunlight excessive dust If the unit is brought directly from a cold to a warm location mois ture may condense inside the unit When you move it from a cold to a warm location wait for about on...

Страница 4: ...ch as hot air ducts Do not touch the surface of disc Handle the disc by its edge Clean the disc by wiping the disc from the center out with a cleaning cloth Remove the disc from the unit and store it in its case after playing Some playback opera tions of discs may be intentionally fixed by software producers Since this unit plays discs according to the disc contents the soft ware producers designe...

Страница 5: ... cigarette lighter socket Figure 1 3 Powering the system with rechargeable Battery Please refer to K Rechargeable Battery Installation and Use Page 34 and 36 E Installation Prior to installation Make sure that the unit is placed into the mounting bag with the clear plastic covering around DVD door Load a disc into the DVD compartment and then fasten the Velcro strap across the top portion of the u...

Страница 6: ... Adjust the strap until the bag is firmly secured 2 Take another strap from the carrier bag and connect the latch to the lower metal ring on the left side of the bag Attach the S hook to the same ring after looping the strap around the seat rail Repeat this process for the right side In some vehicles it may be necessary to attach the S connector to the rail directly as it may not be long enough to...

Страница 7: ... seat Repeat this process for the right side Passenger Seat 2 Take another strap and connect the latch to lower metal ring on the left side of the bag Attach the S hook to the same ring after looping the strap around the driver s seat rail Repeat this process for the right side In some vehicles it may be neces sary to attach the S connector directly to the rail as it may not be long enough to reac...

Страница 8: ...n 5 Previous Button 6 Stop Button 7 Next Button 8 IR Transmitter 9 Remote Control Sensor 10 Power LED 11 Power On Off Switch 12 Brightness control 13 Volume control 14 Headphone Jack 1 15 Headphone Jack 2 16 IR On Off Switch 17 DC 9V Input Jack 18 DVD Video Output Jack 19 DVD L R Audio Output Jack 20 Video Input Jack 21 Audio L R Input Jack ...

Страница 9: ... AUDIO Button 5 ZOOM Button 6 UP DOWN LEFT RIGHT ENTER Button 7 RETURN Button 8 A B Button 9 FORWARD Button 10 REVERSE Button 11 SLOW Button 12 STOP Button 13 NUMERIC KEYPAD 14 SETUP Button 15 MENU Button 16 REPEAT Button 17 PREVIOUS Button 18 NEXT Button 19 PLAY Button Figure 5 20 PAUSE Button ...

Страница 10: ... right side of the door until it clicks shut The unit will load the disc and start playing d Rotate BRIGHT and VOLUME to adjust the LCD s brightness and the DVD player s volume e To stop playing a disc press STOP f To turn off the DVD player slide POWER ON OFF to OFF The DVD player s POWER indicator turns off g To remove the disc open the disc tray just use your finger to access the right inner co...

Страница 11: ...eral SETUP Menu Screen a Select TV Type using UP DOWN and then press the RIGHT button to enter the submenu Choose TV Type using UP DOWN and then press ENTER to confirm the setting Press the LEFT button to return TV Type Screen Display b Select TV Display using the UP DOWN button and then press RIGHT to enter the submenu Select the TV display mode on the screen using UP DOWN and press ENTER to conf...

Страница 12: ...ayer is connected to a wide screen TV a wide picture is shown on the full screen c Select Angle Mark using the UP DOWN buttton and then press the RIGHT button to enter the submenu Choose Angle Mark on or off using the UP DOWN button and then press ENTER to confirm the setting Press the LEFT button to return Angle Mark Screen Display On The screen will show the angle mark icon If an angle option is...

Страница 13: ...ter ap proximately five minutes if the same image remains on the screen e Select Last Memory by using the UP DOWN button and then press the RIGHT button to enter the submenu Choose Last Memory on or off using the UP DOWN button and then press ENTER to confirm the setting Press the LEFT button to return Last Memory Screen Display On The unit will return to the last position on the disc Off The unit...

Страница 14: ...press ENTER you can change the brightness by pressing the LEFT or RIGHT button To exit Brightness setting press ENTER again to return the main Menu Brightness Screen Display b Select Contrast by using the UP DOWN button then press EN TER you can adjust the Contrast by pressing the LEFT or RIGHT buttton Contrast Screen Display To exit Contrast setting press ENTER again to return to the main Menu ...

Страница 15: ...enu d Select Saturation by using the UP DOWN button then press EN TER you can adjust the Saturation by pressing the LEFT or RIGHT button Saturation Color Screen Display To exit Saturation setting press ENTER again to return to the main Menu 3 Select Password using the LEFT or RIGHT buttons press ENTER to enter the password setup page then press the RIGHT button to enter the submenu Password Change...

Страница 16: ... Screen Display NOTE The Default Password is 3308 This password is always ef fective even after you have selected your own password and changed it To avoid the possibility of others using the default password to set the parental level and change the password you can record this default password in another area and delete it from this manual Some discs can be limited depending on the age of users w...

Страница 17: ...nu Select the audio language you desire using the UP or DOWN button then press ENTER to confirm the setting Press LEFT to return Preference Audio Language b Select Subtitle the using UP DOWN button then press RIGHT to enter the submenu Select the desired subtitle language or Sub title Off using the UP or DOWN button then press ENTER to con firm the setting Press LEFT to return Preference Subtitle ...

Страница 18: ...ed language is not available the player will play and display on the screen the original recorded language contained in the disc d Select Parental using the UP DOWN button then press RIGHT to enter the submenu Parental Preference Screen Display Select the parental level you desire using the UP or DOWN button for discs with lock out function or multiple rating levels These are listed from the lowes...

Страница 19: ...using the UP DOWN button then press RIGHT to enter the submenu Press ENTER to make the setting return to the factory set mode Loading Factory Setting NOTE The parental setting is not affected by the default reset func tion ...

Страница 20: ...he previous chapter track or scene during playback Scan forward at 2 4 8 16 or 32 times speed Scan backward at 2 4 8 16 or 32 times speed Used for Menu Navigation Execute item or confirm setting Select item setting or password Return Display the main menu of the disc Repeat playing title chapter or track Repeat a specific portion from point A to point B of the disc Display information title chapte...

Страница 21: ...Y 1 PLAYING TIME AND REMAINING TIME a During playback press the DISPLAY button to display the cur rent title number 1 the total number of Titles 2 the current chapter number 3 the total Number of Chapters 4 and the playing elapsed Time for the title 5 The heading will disappear automatically after 3 seconds if the DISPLAY button is not pressed Title Chapter Number and Time Screen Display b Press D...

Страница 22: ... DISPLAY a 5th time to exit Display Off will be displayed and will disappear automatically in 3 seconds 2 ANGLE During playback of a disc press ANGLE to display the available angles if discs containing multi angles with the current angle number 1 and the total number of angles 2 displaying Press ANGLE to se lect another angle then press again to exit and return to the nor mal viewing angle The ang...

Страница 23: ...languages 2 displayed If there are multiple languages press SUBTITLE again to select another subtitle language To turn subtitles off press the SUBTITLE button until Subtitle Off is displayed The Subtitle display will disappear automatically if the SUB TITLE button is not pressed again within 3 seconds Subtitle Screen Display Some DVDs only allow access to this function through the DVD menu ...

Страница 24: ...on is not pressed within for 3 seconds Audio Language Screen Display Some DVDs only allow access to this function through the DVD menu 5 ZOOM During playback press ZOOM to enlarge the picture by 2x 3x or 4X with the current zoom multiple 1 Press ZOOM one time the pic ture will be enlarged 2X 2 Press ZOOM a 2nd time the picture will be enlarged 3X 3 Press ZOOM a 3rd time the picture will be en larg...

Страница 25: ... Starting Point Screen Display b Press A B second time to set the Ending Point B and the player will repeatedly play the part between Point A and Point B A B Repeat Ending Point Screen Display c Press A B a third time to cancel A B repeat and resume playback A B Repeat Cancelled Screen Display ...

Страница 26: ...y play the cur rent chapter Chapter Repeat Screen Display b During playback press REPEAT again to repeatedly play the current title Title Repeat Screen Display c During playback press REPEAT a 3rd time to repeat all Chapters and Titles All Repeat Screen Display ...

Страница 27: ...e to view time information The options below show you what information is available using this function a The current track and playing time of that track will be displayed on the screen Single Elapsed Screen Display b Press DISPLAY one time and Single Remain appears along with the current track playing and the amount of time left Single Remain Screen Display ...

Страница 28: ...he CD Total Remain Screen Display e Press DISPLAY a 4th time and Display Off will appear momentarily then disappear The CD time Information will not be displayed USING THE REPEAT FEATURE The default mode for the Repeat feature is OFF Pressing REPEAT consecutively changes the repeat options Track repeats the track that is playing All repeats the disc that is playing Off As you toggle through the op...

Страница 29: ... the DVD player will initialize the disc and the directory folder will be shown on the TV screen MP3 Menu Screen Display When a MP3 disc is inserted into the unit the menu screen appears automatically You can use the menu screen to change folders and songs The system plays the songs in the order they were burned onto the disc 1 Press the or button to choose a folder from the folder list on the lef...

Страница 30: ...s Single Repeat One Repeat Folder Folder Pressing REPEAT a 4th time will resume normal playback As you toggle through the options the repeat option changes The selected repeat option loops repeatedly until you turn it off NOTE icon in front of a file name indicates that this is a folder not a MP3 file MP3 icon in front of a file name indicates that this is a MP3 file If the MP3 disc only contains ...

Страница 31: ...d time WIPE BOTTOM will display on the screen the picture will refresh from bottom to top c Press display 3rd time WIPE LEFT will display on the screen the picture will refresh from left side to right side d Press display 4th time WIPE RIGHT will display on the screen the picture will refresh from right side to left side e Press display 5th time DIAGONAL WIPE LEFT TOP will dis play on the screen t...

Страница 32: ...sh from four window s top side to bottom side n Press display 14th time WINDOW V will display on the screen the picture will refresh from four window s left side to right side o Press display 15th time WIPE FROM EDGE TO CENTER will display on the screen the picture will refresh from 4 edges to center 7 When previewing the file pressing ANGLE SUBTITLE AUDIO NUMBER AB RETURN REW FF SLOW a hand icon ...

Страница 33: ... video cable s yellow plug into the DVD VIDEO OUT jack on the back of the unit and the other yellow plug to the VIDEO INPUT jack on your TV or Monitor Figure 7 J Specifications Compatible DISC DVD CD MP3 JPEG Signal system NTSC PAL Panel size 6 2 inch Frequency response 20 Hz to 20 kHz Video output 1 Vp p 75 Ohm unbalanced Audio output 1 4Vrms 10kOhm Audio S N Better than 60 dB Dynamic range Bette...

Страница 34: ... For longer periods of storage please re charge the battery at least once every two months to maintain the battery in optimum condition Under no circumstances short the bat tery terminals store the battery in a metal container or leave the bat tery in a humid or damp environment Ideally store the battery in an airtight container with desiccant or other dehumidifying agent Each full recharge takes ...

Страница 35: ...t to be used for long time During this period please recharge the battery at least once two months to avoid irreparable damage to the battery Installing the Battery Pack 1 First make sure the player is in Stop mode and that the AC power supply has been disconnected 2 Close the player cover 3 Align the battery pack with the player module s front edge 4 Push the battery towards the back of the playe...

Страница 36: ...Plugging headset into Headphone Jack 1 disables external speakers 2 Wireless headphones The VBP620 includes a built in infrared transmitter for use with wire less headphones PN IRHSCS Turning the Wireless Headphone switch ON will activate the internal IR transmitter and the volume can then be adjusted separately with the controls on the wireless headphones Any number of wireless headphones can be ...

Страница 37: ...88 5MHz and 88 7MHz The vehicle radio must be tuned to the same frequency that is selected on the wireless FM modulator Installation 1 Plug the Power Adapter into the 12 VDC outlet in the vehicle 2 Connect the 3 5mm audio jack to the audio output jack on the rear of the DVD player 3 Connect the DC jack to the 9 VDC input on the side of the DVD player 4 Tune the vehicle radio to the same frequency ...

Страница 38: ...XTENT OFTHE COMPANY S LIABILITY UNDERTHIS WARRANTY IS LIMITEDTOTHEREPAIRORREPLACEMENTPROVIDEDABOVEAND INNOEVENT SHALL THECOMPANY SLIABILITYEXCEEDTHEPURCHASEPRICEPAIDBYPURCHASERFORTHE PRODUCT This Warranty is in lieu of all other express warranties or liabilities ANY IMPLIED WARRAN TIES INCLUDINGANYIMPLIEDWARRANTYOFMERCHANTABILITY SHALLBELIMITEDTO THE DURATION OF THIS WRITTEN WARRANTY ANY ACTION FO...

Страница 39: ...128 7017 2004 Audiovox Electronics Corp 150 Marcus Blvd Hauppauge N Y 11788 ...

Отзывы: